Attributes in CloudCheckr CMx
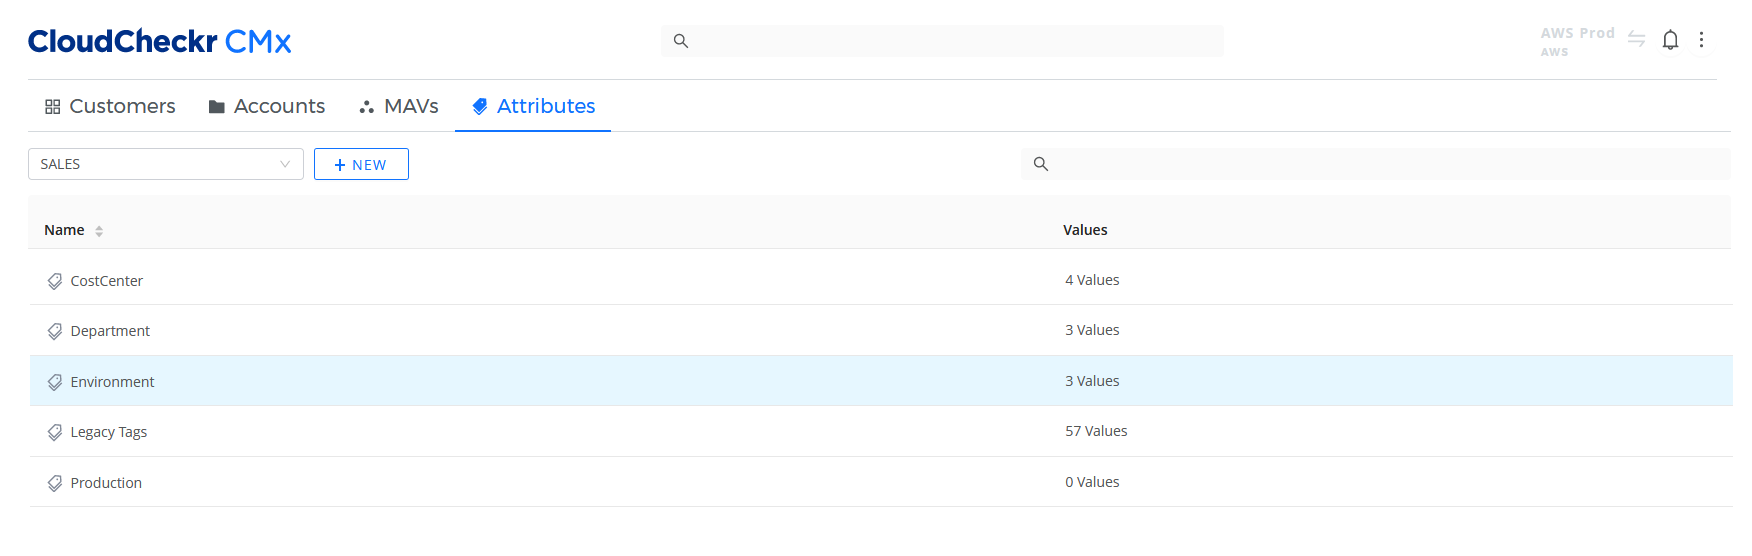
The Attributes tab on the Account Hierarchy page is where you can view, search for, modify, or create attributes.
Attributes are key/value pairs that help your organize and categorize your accounts in CloudCheckr CMx— similar to how account-level tags work currently in CloudCheckr.
For example, a company may want to analyze their costs and data by department. They can create an attribute called Department and associate values with this attribute—each value representing a company department: IT, Finance, and Sales. Once they apply these attributes to selected accounts, they can create reports that will more accurately reflect the costs and data across these departments.
Procedure
Click the button to learn more about the actions you can perform in the Attributes tab:
This procedure shows you how to create a new attribute, add values to the attribute, and assign accounts to the new attribute.
- Launch CloudCheckr.
- Navigate to the Accounts Hierarchy page.
- Click the Attributes tab.
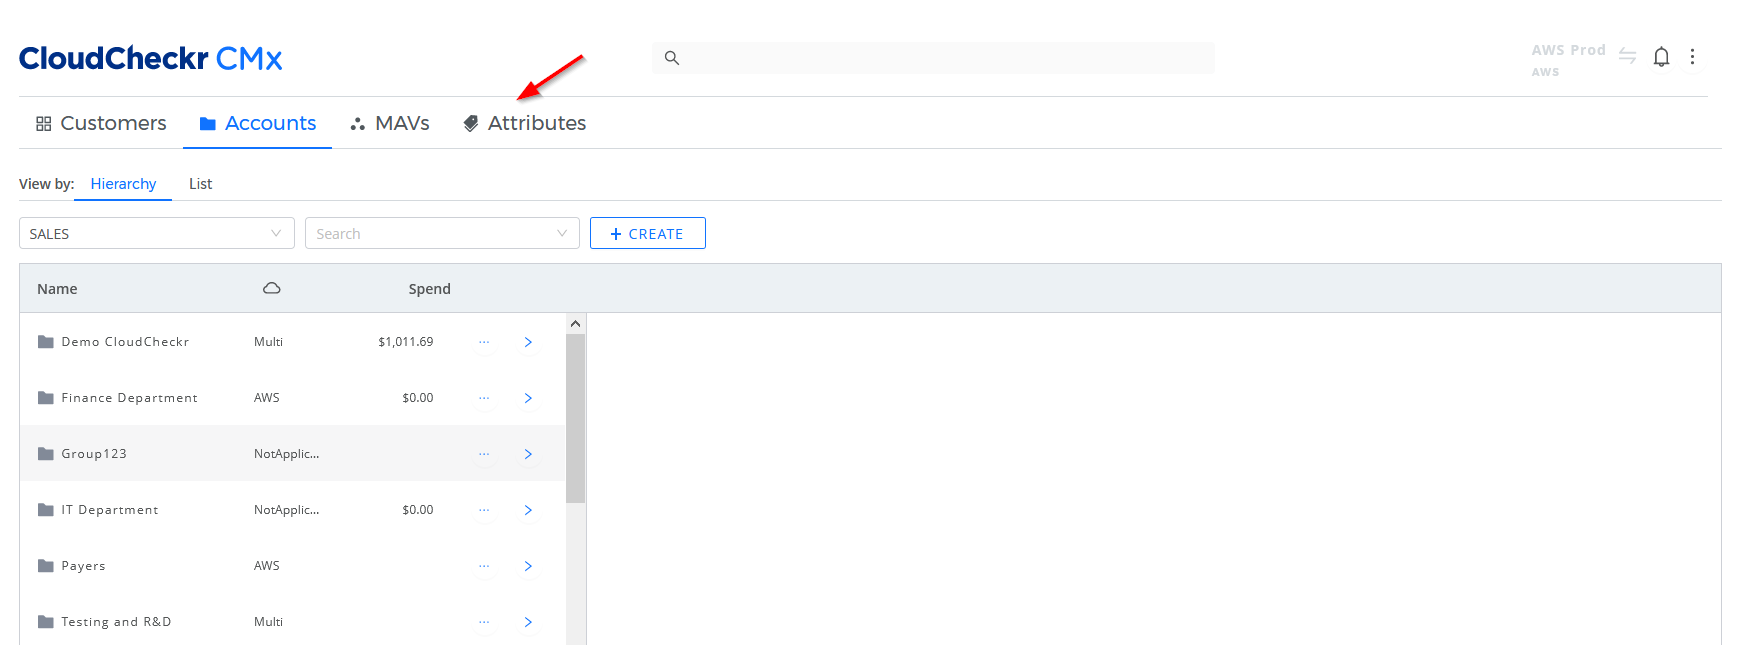
- Click the + NEW button.
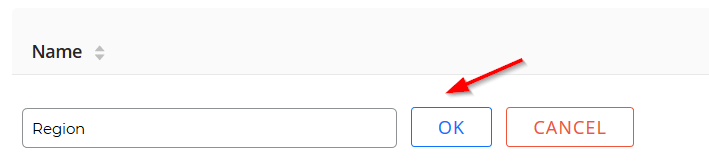
- In the new text field, type a name for your attribute and click OK.
The Edit sub-drawer opens.
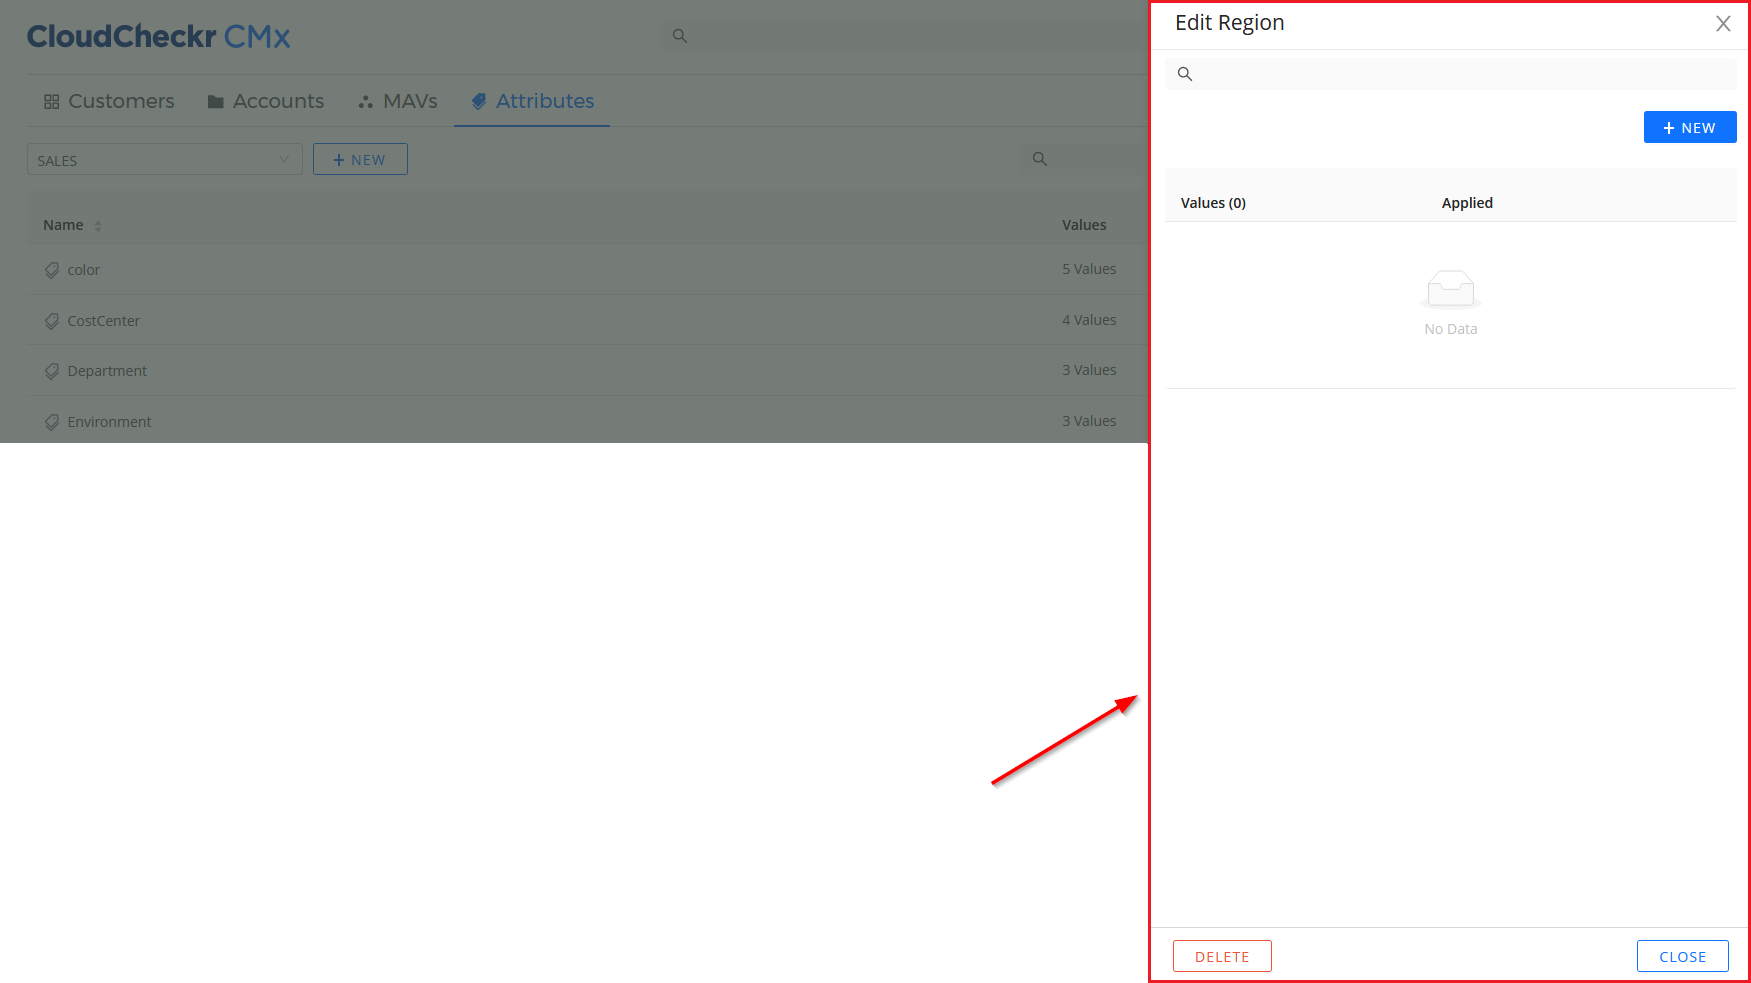
- Search for an existing value or create a new value.
For this procedure, there are no values, so will create the following: IT, Sales, and Finance.
- Click + NEW.
- In the new text field, type IT and click OK.
- Repeat the steps to add the Sales and Finance values.
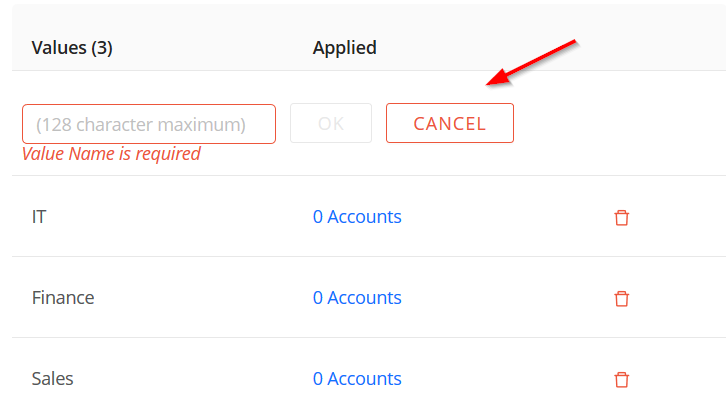
- Because CloudCheckr automatically displays a blank text field after you click OK, you must click CANCEL before you can assign values to any accounts or to close the sub-drawer.
- Click the row labeled IT.
A second sub-drawer opens.
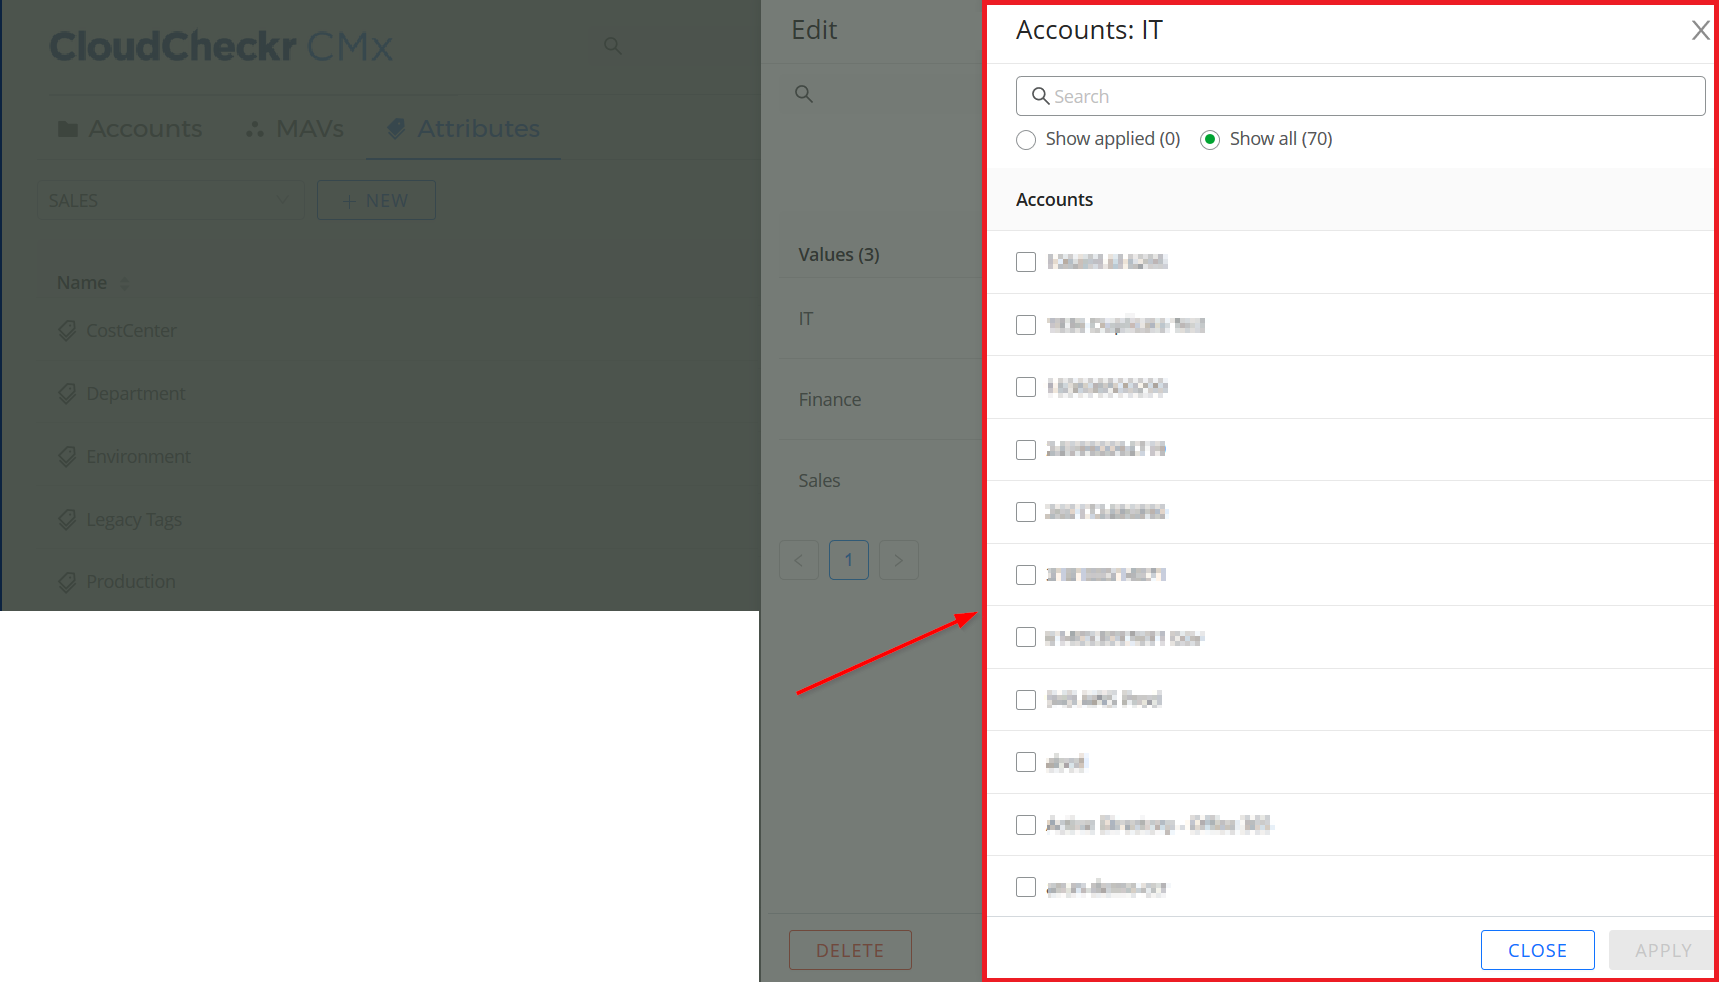
- Select the account(s) you want to associate with the new attribute and click APPLY.
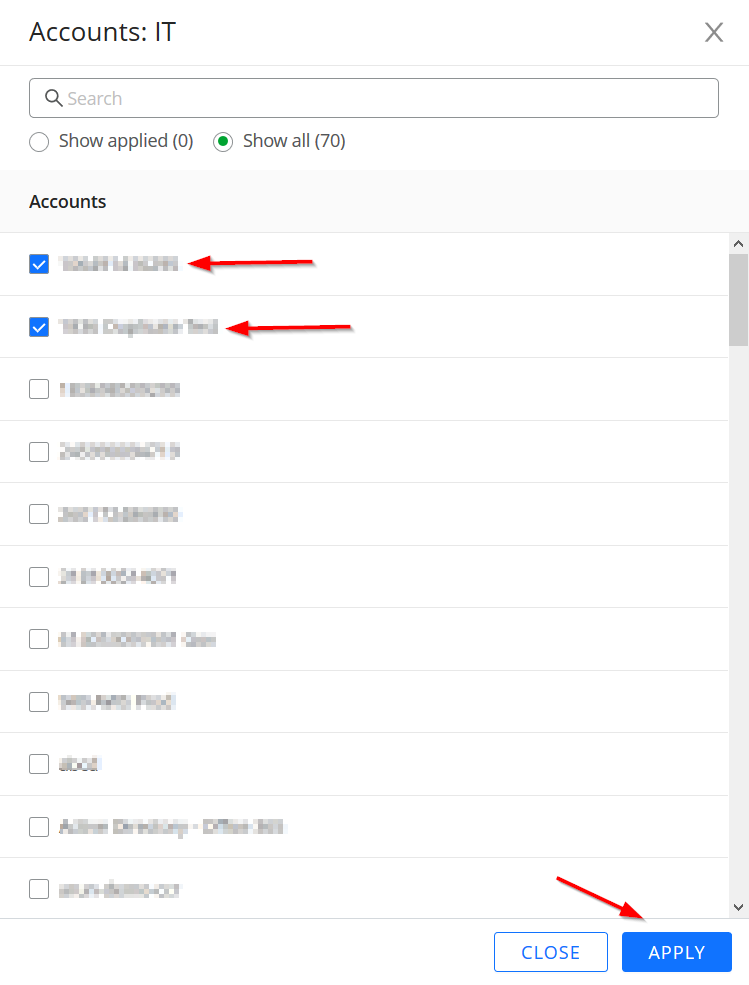
- Repeat the steps to select the accounts you want to associate with the Sales and Finance attributes.