Create a User Group in CloudCheckr
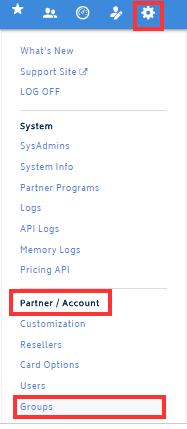
- From the header menu, click the Settings icon and choose Partner / Account > Groups.
 The Groups page opens.
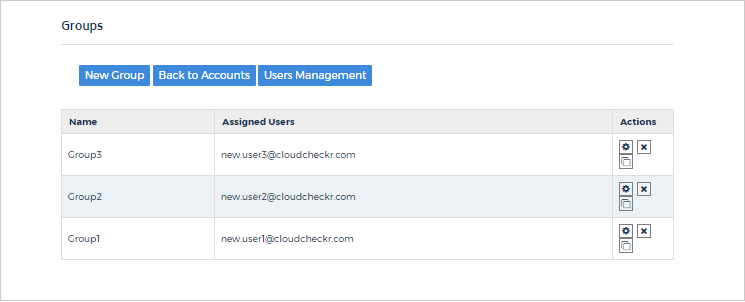
- Click New Group.
The New Group page opens.
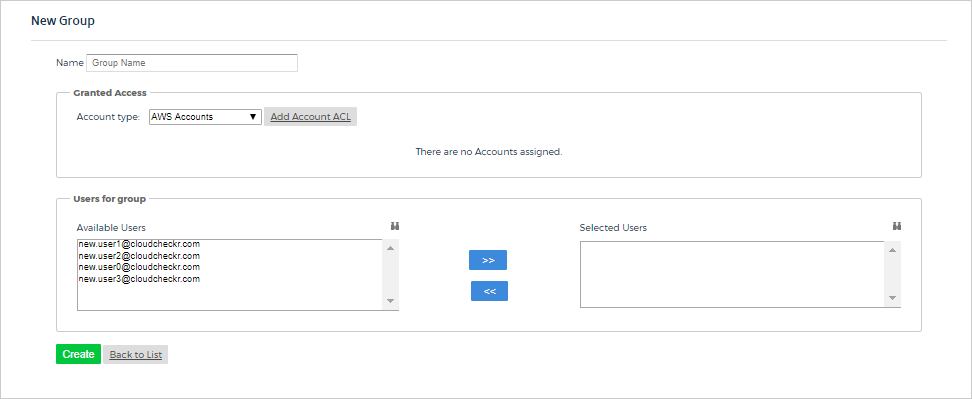
- In the Name text field, type a group name.
- In the Granted Access section:
- go to the Account type drop-down menu and select the account types that you want to assign to the group or
- click Add Account ACL to add an account using the Access Control List (ACL)
- In the Users for group section, select a user our users from the Available Users list and click
 to add them to the Selected Users list.
- Click
 to open a list of all the users from which you can select or filter.
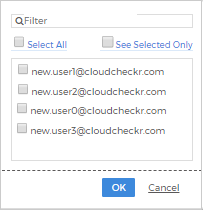
- In this dialog box, you can type a keyword in the Filter text field to search for users that meet your search criteria, click Select All to select all users in the list, or click See Selected Only to see only the filtered results.
- Click OK to select the users.
- Click
- Click Create.
Use Case
You need to create a group that will provide its users access Best Practice reports and Cost reports and allow them to view List Cost functionality within those Cost reports. This group will also need to set up their own email notifications. This procedure will show you how to create this group.
- On the New Group page, click Add Account ACL.
The Access Account-Acl dialog box opens.
- Click the Generic tab.
- Select the Edit Emails and See List Costs checkboxes.

- Click the Settings tab.
- Select the Email Settings check box.
- Click the Cost tab.
- Select the Select All check box to allow the users in this group to access all of the cost reports.
The Select All check box switches to Deselect all when you have all of the cost reports selected.
