Customize Your App in CloudCheckr
As a Master (L1) or Child (L2) partner, you can customize the look-and-feel of your CloudCheckr application—leveraging the CloudCheckr functionality while rebranding it to suit your specific business needs. These customizations will filter down to all of the accounts or payees within your project.
This topic focuses on the In-App customization in CloudCheckr available to our partners as part of our enterprise pricing model.
Here is a quick summary of the levels of customization we offer in CloudCheckr where:
 = fully customizable
 = partially customizable
NA = not available
|
Feature |
In-App Customization |
Standard |
Premium |
|
Header Logo |
|
|
|
|
Browser Tab Favicon |
|
|
|
|
Color and Theme |
|
|
|
|
Landing Page Text | NA |
|
|
|
Customer Signup/Login Pages |
NA |
|
|
|
Email Domains | NA |
|
|
|
URL | NA |
CloudCheckr subdomain |
|
Procedure
- From the header menu, click the Settings icon and choose Partner / Account > Customization.
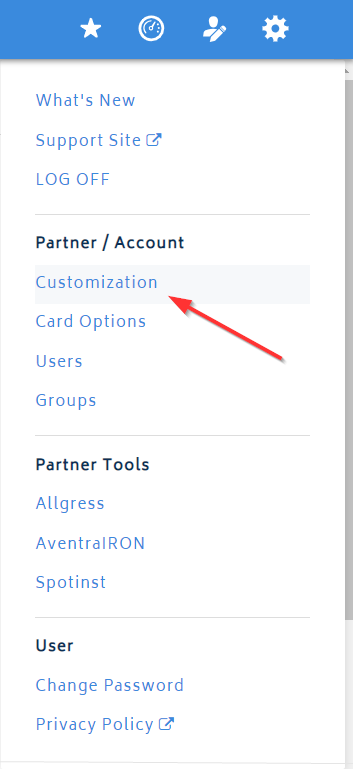 The Customization page opens.
 - To make your changes, click the button corresponding to the feature you want to customize.
To change the Header logo:
- Go to the Header Logo section and click Browse.
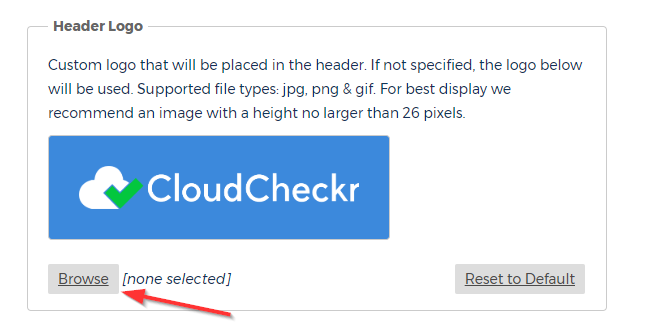
- Navigate to the location where you store your logo and click Open.
To change the Print logo:- Go to the Print Logo section and click Browse.
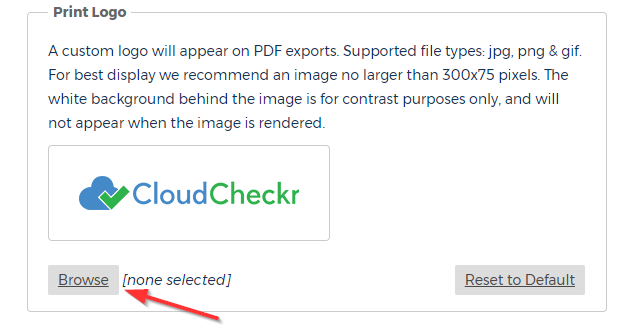
- Navigate to the location where you store your logo and click Open.
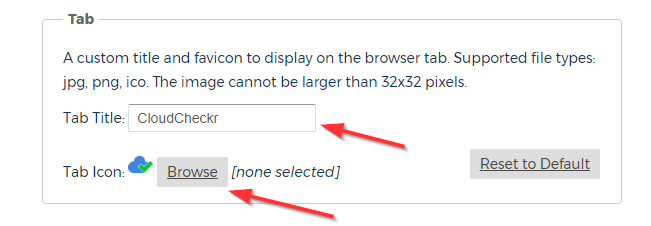
To change the custom title and favicon:- Go to the Tab section and type a name for the tab.
- Click Browse to navigate to the location where you store your tab logo and click Open.
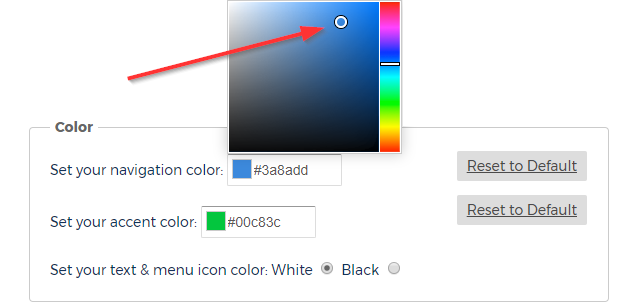
To change the navigation or accent color:- Go to the Color section and click the square.
- Use your mouse to select a new color from the fly-out color block.
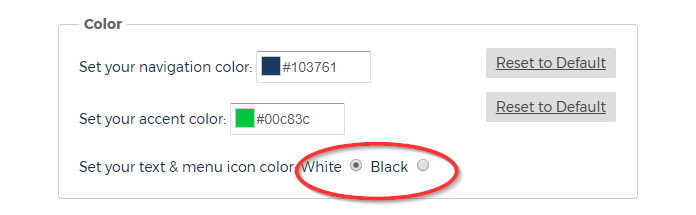
To change the text and menu icon color:- Go to the Color section.
- Select the White or Black radio button.
- Go to the Header Logo section and click Browse.