Edit Account Name in CloudCheckr
As a Partner SysAdmin or L2 administrator, CloudCheckr allows you to change the account name of your L2 payers, which is auto-generated as a part of the creation of reseller links.
This functionality is helpful if you fall into one of the following categories:
- A Payer account is repurposed from one customer to the next.
- A customer renamed their company or organization.
- You set up a Payer account as a placeholder while waiting for a new customer to onboard and deploy.
- A Partner SysAdmin set up a Payer account several years ago and does not remember the significance of the customer's name.
- Since the Cost and Usage Report (CUR) doesn't contain friendly names, any name changes in AWS do not carry over to CloudCheckr.
Procedure
As your business evolves, you may need to change the names of your resellers quickly and with little effort. Follow these steps to see how to change the name of your L2 payer's accounts.
- Launch CloudCheckr.
- From the left navigation pane, choose Account Settings > Edit Name.
- In the text field that contains the current account name, type a new account name.
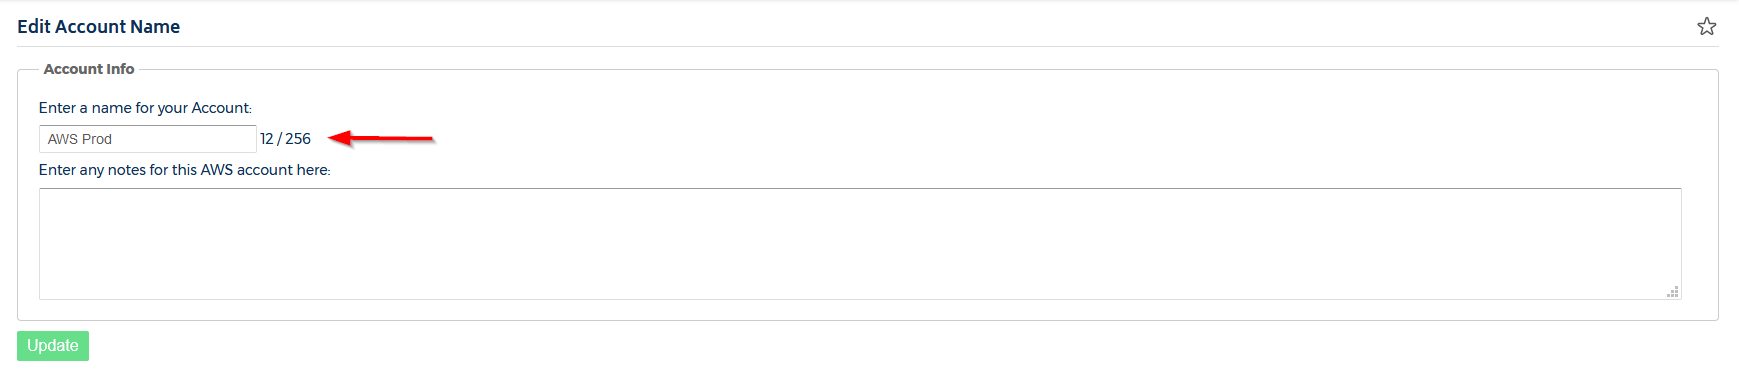
- Click Update.