Bookmarks
You can use the Bookmark feature to create quick links to your favorite reports and access them directly from your account list.
Procedure
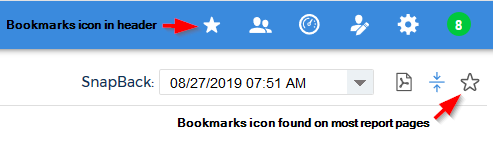
- Locate the Bookmarks icon on your report page. This is the star icon with the grey border found on the right side of most report pages.
Do not confuse this with the Bookmarks icon found in the header menu, which is a white star icon without a grey border.
The screenshot illustrates the differences between the two icons:
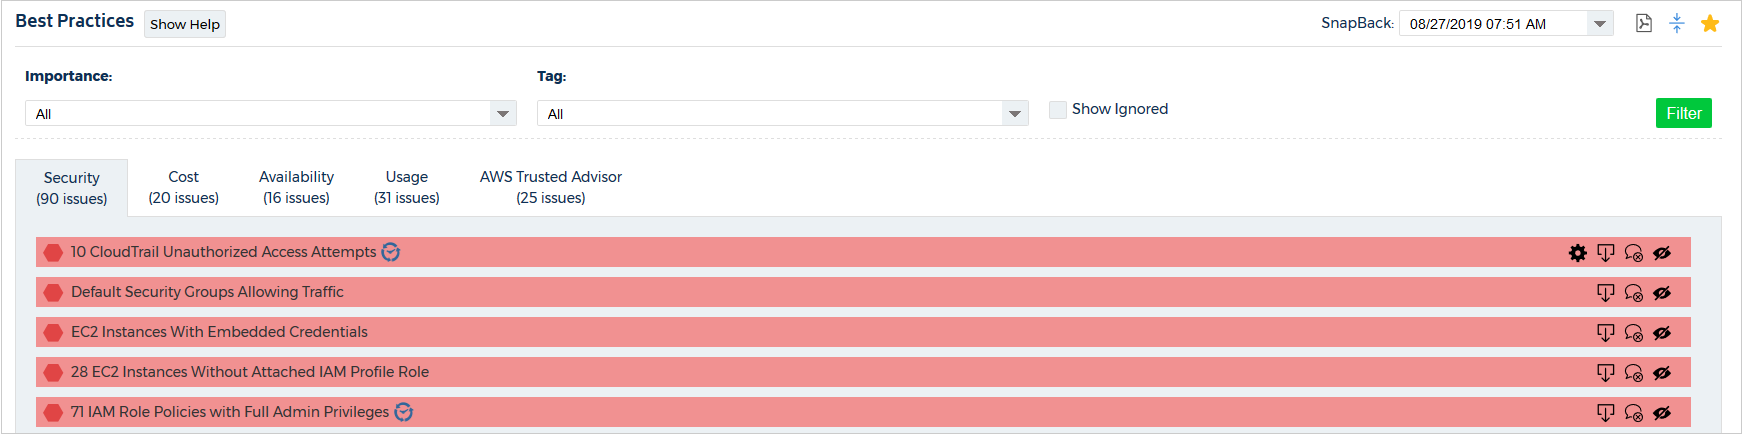
For this procedure, we will bookmark the Best Practice report.
- Navigate to the Best Practice report page.
- Click the Bookmarks icon with the grey border.
A pop-up prompts you to type a name for your bookmark.
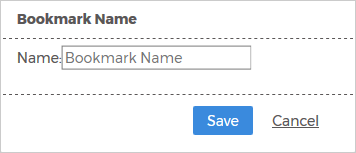
- Type a name and click Save.
For this example, we typed Best Practice Report.
A pop-up indicates that CloudCheckr saved your bookmark.
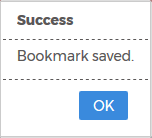
- Click OK.
- Navigate to another report or page in the application.
In this example, we navigated to the Single Month Billing Summary report.
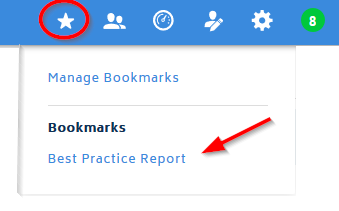
- Click the Bookmarks icon in the header menu.

You have two options:
- From the fly-out menu, select one of your saved bookmarks. In this example, we selected Best Practice Report.
CloudCheckr returns you to the Best Practices report.
- From the fly-out menu, select Manage Bookmarks.
CloudCheckr returns you to the Accounts page where you can view a list of your bookmarks and delete individual bookmarks by clicking the Trash icon.

- From the fly-out menu, select one of your saved bookmarks. In this example, we selected Best Practice Report.