Creating a cross-account role manually is an alternative to the CloudFormation template, which is pre-configured with all your parameters and permissions. But when you create a cross-account role manually, you must attach each least privilege policy to your cross-account role separately.
To create a cross-account role manually:
In AWS: you will create a role, attach least privilege policies to your role, and copy the ARN value.
In CloudCheckr: you will apply the ARN value to finish credentialing your account with AWS.
Procedure
Perform the following steps in the AWS Management Console:
Log in to the AWS Management Console.
The AWS services page opens.
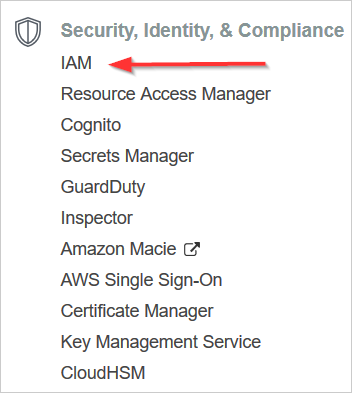
Scroll down to the Security, Identity & Compliance section and select IAM.
The Welcome to Identity and Access Management screen displays.
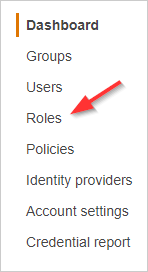
From the dashboard, click Roles.
The Roles page opens.
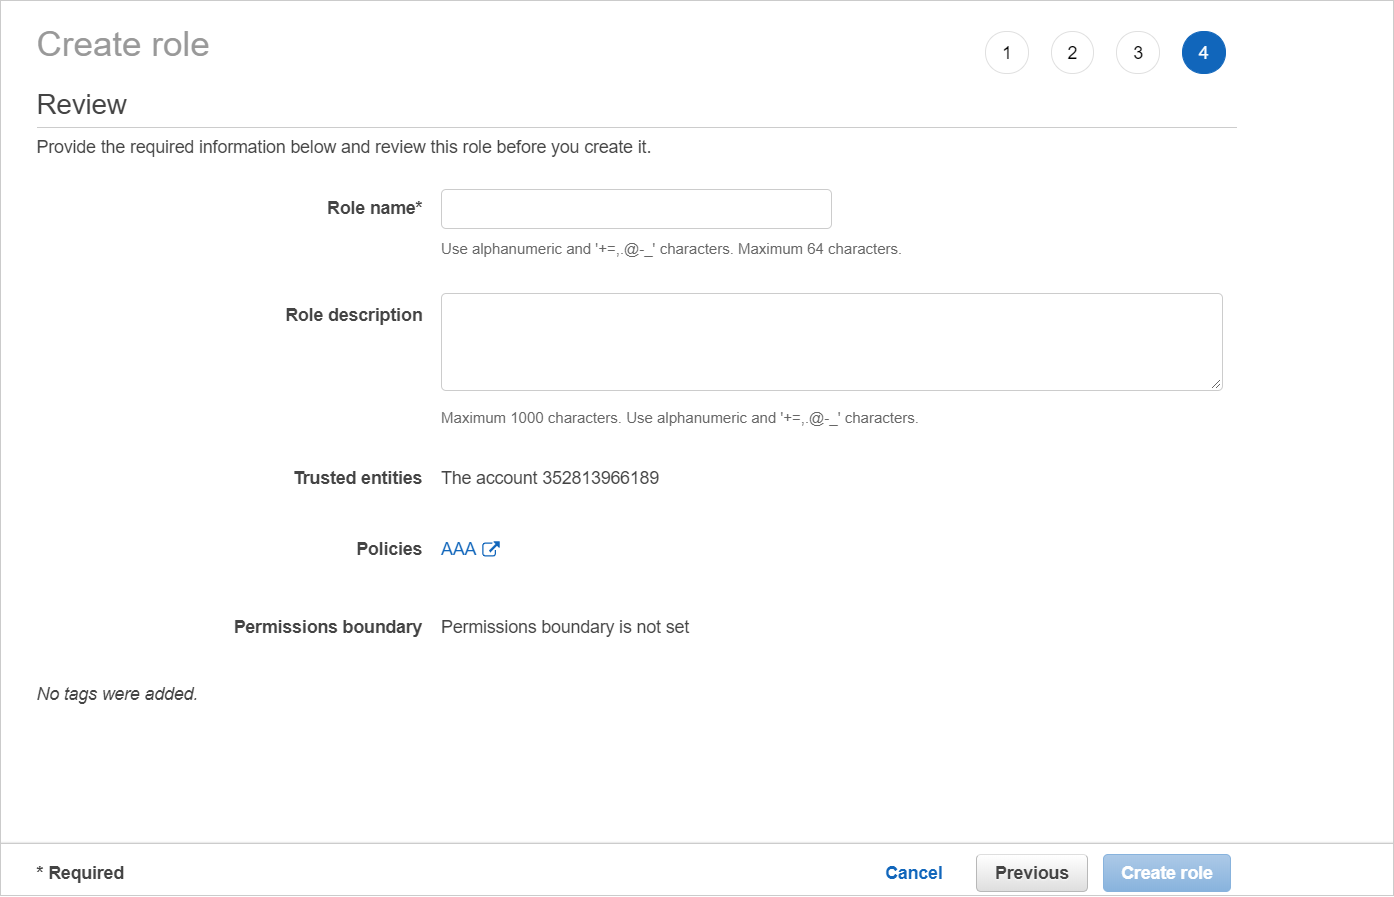
From the middle of the page, click Create role.
The Create role page opens.
In the Select type of trusted entity section, click Another AWS account.
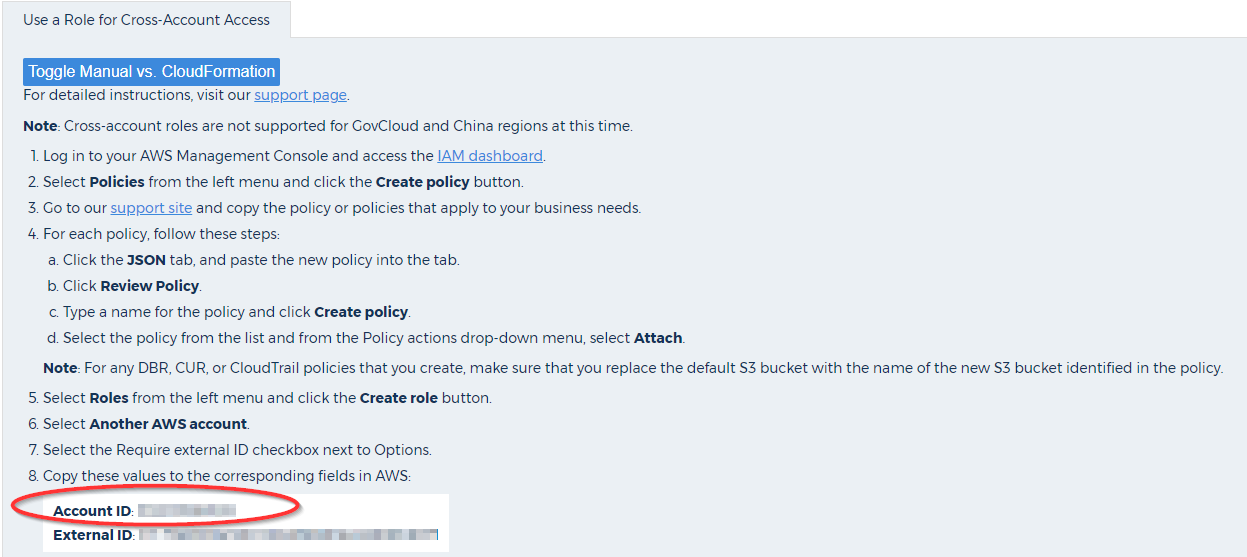
Copy the Account ID value from CloudCheckr.
Launch CloudCheckr.
Select your account from the Accounts List page. If you have not created a CloudCheckr account, go to the Create an Account in CloudCheckr topic.
From the left navigation pane, select Account Settings > AWS Credentials.
The Credentials page opens. The Use a Role for Cross-Account Access tab is displayed.
Click Toggle Manual vs CloudFormation to view the instructions on how to create a cross-account role manually.
Copy the account ID.
Return to the AWS Management Console and perform the following steps:
Paste the account ID from CloudCheckr.
In the Options section, select the Require external ID (Best practice when a third party will assume this role) checkbox.
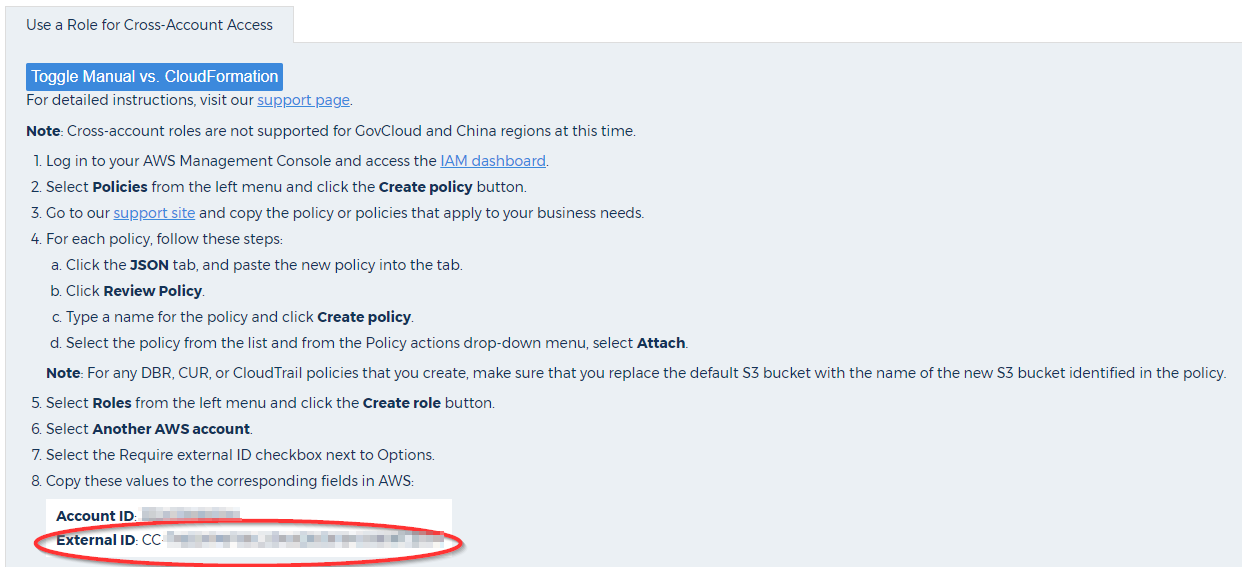
Copy the External ID value from CloudCheckr.
Return to the Credentials page for your selected account in CloudCheckr.
Copy the external ID.
Return to the AWS Management Console and perform the following steps:
Paste the external ID value and verify that the Require MFA radio button is not selected.