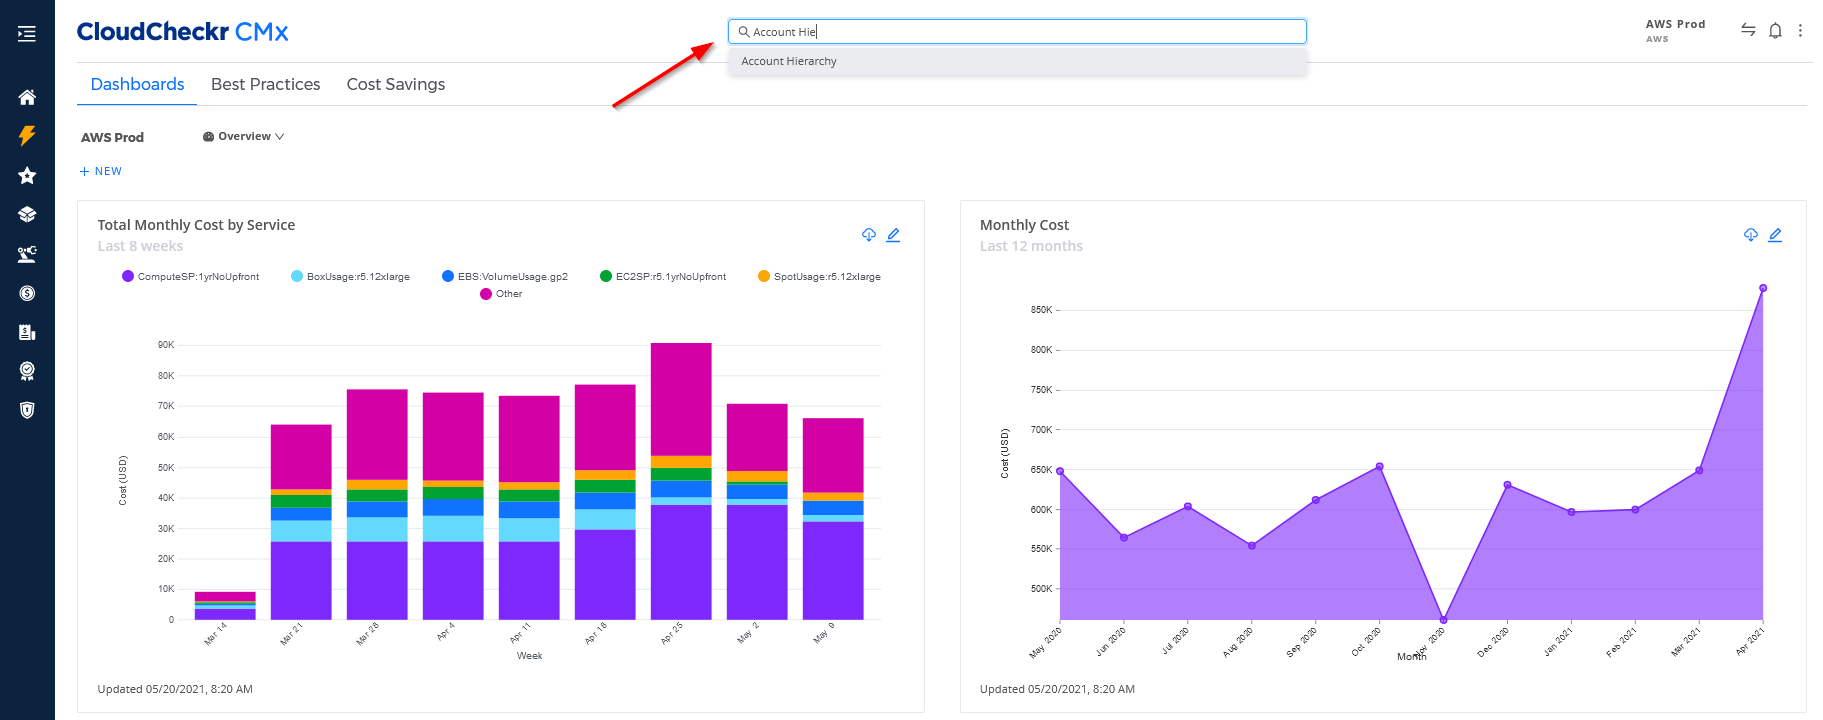
On the Home page, type Account Hierarchy in the Search bar at the top of the screen.
The Accout Hierarchy page opens with the Accounts tab displayed by default.
On the Accounts page, click the + NEW button.
Select Account from the fly-out menu. The Create Account sub-drawer opens.
Type a name for your account.
Select Azure as your cloud provider from the drop-down menu.
From the Location drop-down menu, select an option if you want to put your account within an existing folder.
If you have a Payer account, select an option from the Payee Organizations drop-down menu that best fits how you want to create any future Payee accounts:
Place new payees at hierarchy root (default): CloudCheckr automatically places auto-created Payee accounts at the root (no parent group)
Place new payees in same parent group as payer: CloudCheckr automatically places any newly created Payee accounts within the same group as the Payer account
Place new payees in a specific location: CloudCheckr allows you to select an account group where it to place all auto-created Payee accounts
From the Attributes drop-down menu, select attributes that you want to apply to your account. Attributes are key/value pairs that help your organize and categorize your accounts in CloudCheckr CMx — similar to how account-level tags work currently in CloudCheckr. For the purposes of this procedure, we won't add any attributes during our initial configuration.
Click SAVE. CloudCheckr CMx saves your new account and the page now displays the Edit Account sub-drawer.
In the Edit Account sub-drawer, click the Manage Credentials drop-down arrow and select MCA or Enterprise Agreement Account from the drop-down list:
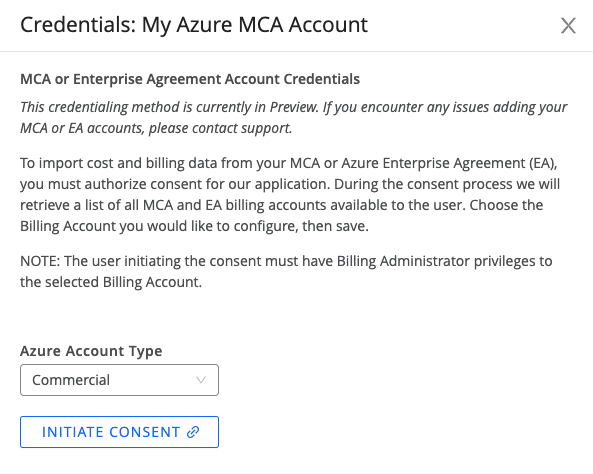
The MCA or Enterprise Agreement Account Credentials sub-drawer is displayed to the right of the Edit Account sub-drawer.
From the Azure Account Type drop-down menu, select Commercial, Azure Government, or Azure Germany.
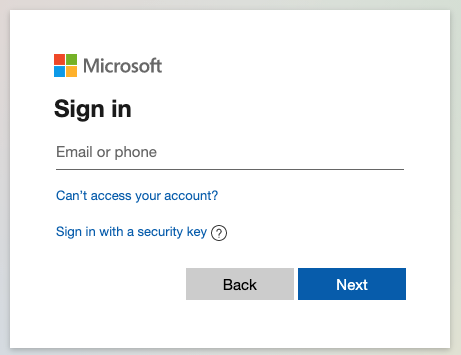
Click INITIATE CONSENT. The Microsoft Sign In page opens.
Enter your username and password into the Microsoft sign in form and click Accept.
The Consent on behalf of your organization checkbox is optional. If you select this option and try to re-consent to the CPV application in the future, Microsoft will bypass the Accept screen and automatically accept the application.
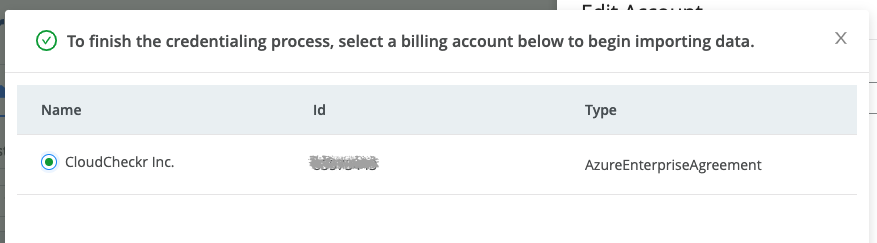
You will be redirected back to CloudCheckr and presented with a list of billing accounts available to the user who initiated the consent process. Select the desired billing account and click Save.
CloudCheckr CMx will display a message indicating that the credentials have successfully saved.