Create an Account in CloudCheckr
- Launch CloudCheckr.
The main page of the application displays.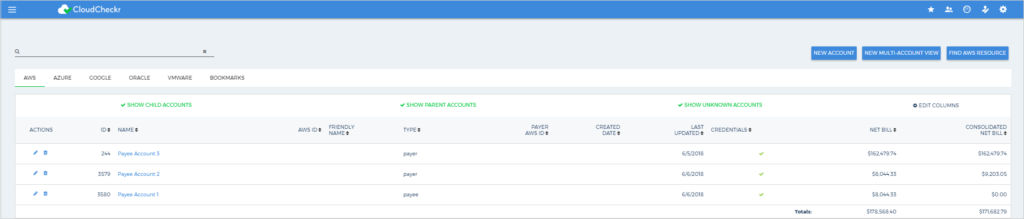
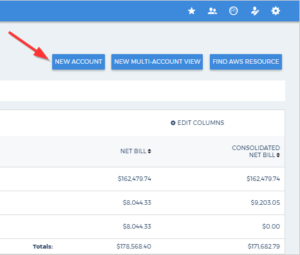
- From the right side of the screen, click NEW ACCOUNT.
Or, from the left navigation pane, click the drop-down arrow and select + Account.
The New Account screen displays.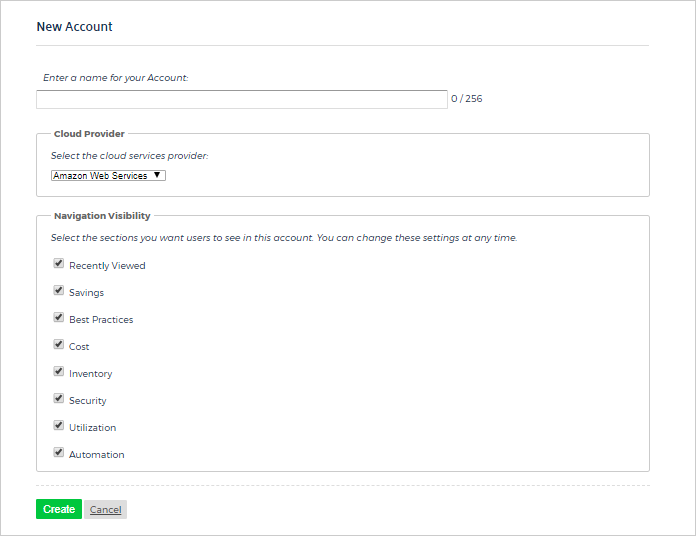
- Type a unique name for your account and in the Cloud Provider section, select Amazon Web Services.
- Scroll down to the Navigation Visibility section.
The Navigation Visibility section gives you control over which main modules and sections of the application will be visible and accessible for this account.
You have the flexibility to configure visibility for the following modules/sections: - Recently Viewed: shows the 10 reports that were most recently accessed
- Savings: shows you how to save the most amount of money in the shortest amount of time
- Best Practices: contains 550+ valuable, actionable recommendations based off the industry compliance standards
- Cost: includes all reports on your daily spend, Reserved Instances (RIs), access to raw billing data, and more
- Inventory: contains list of Summary, Detail, and Trending reports for your cloud provider's offerings
- Security: helps you audit, conduct forensics, and manage other security issues for your cloud deployment
- Utilization: provides metrics, visualization, analysis, and right-sizing recommendations for your environment
- Automation: provides functionality to automate administrative tasks related to security and maintenance
- Select the checkboxes next to the sections or modules that you want to be visible for the new account.
- At the bottom of the New Account page, click Create.
If you are preparing your account for the first time, continue to:
- the Least Priviliege Policies topic if you are creating a cross-account role manually
- the Create a Cross-Account Role Using CloudFormation topic if you are creating a cross-account role and selecting policies using the CloudFormation template