Create an IAM User
Rather than share your root user credentials with others, AWS recommends that you create individual IAM users who can access your account. You can also create access and secret keys for each IAM user that will allow them to make programmatic requests to work with resources in your account.
This procedure will show you how to create an IAM user and generate an access key and secret key in the AWS Management Console and add the credentials to CloudCheckr.
- Log in to the AWS Management Console.
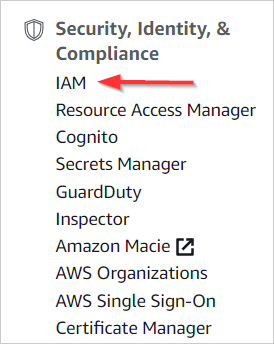
- From the AWS Services screen, select Security, Identity & Compliance > IAM.
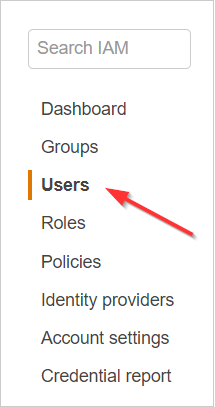
- From the dashboard, click Users.
- Click the Add user button.
The Add User wizard screen displays.
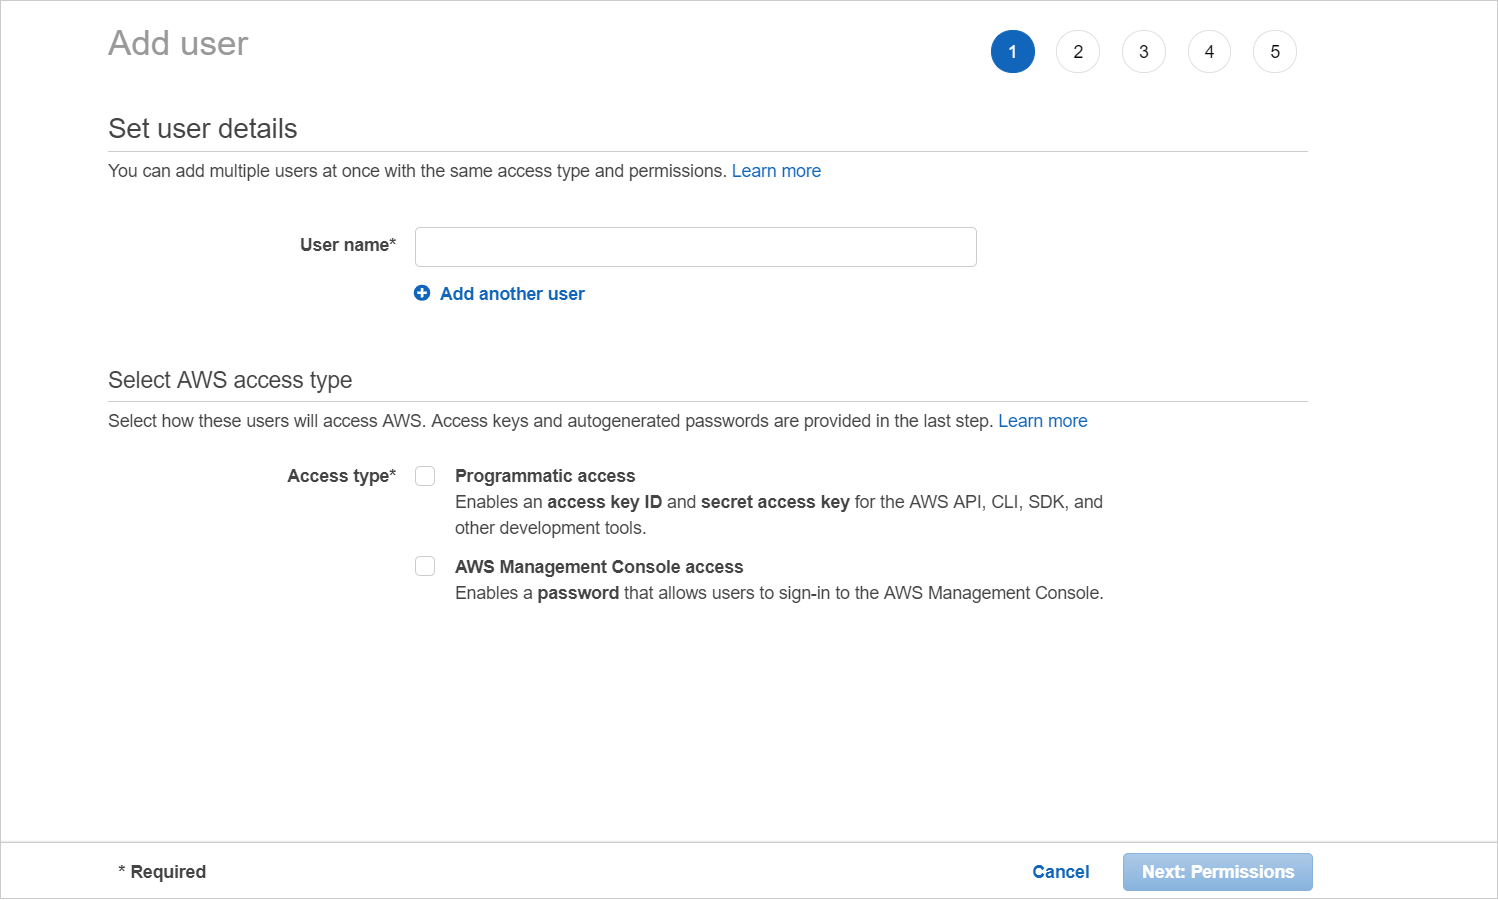
- On this screen:
- Type the username for the new IAM user.
- Select the Programmatic access check box to generate an access key and secret key ID.
- Click Next: Permissions.
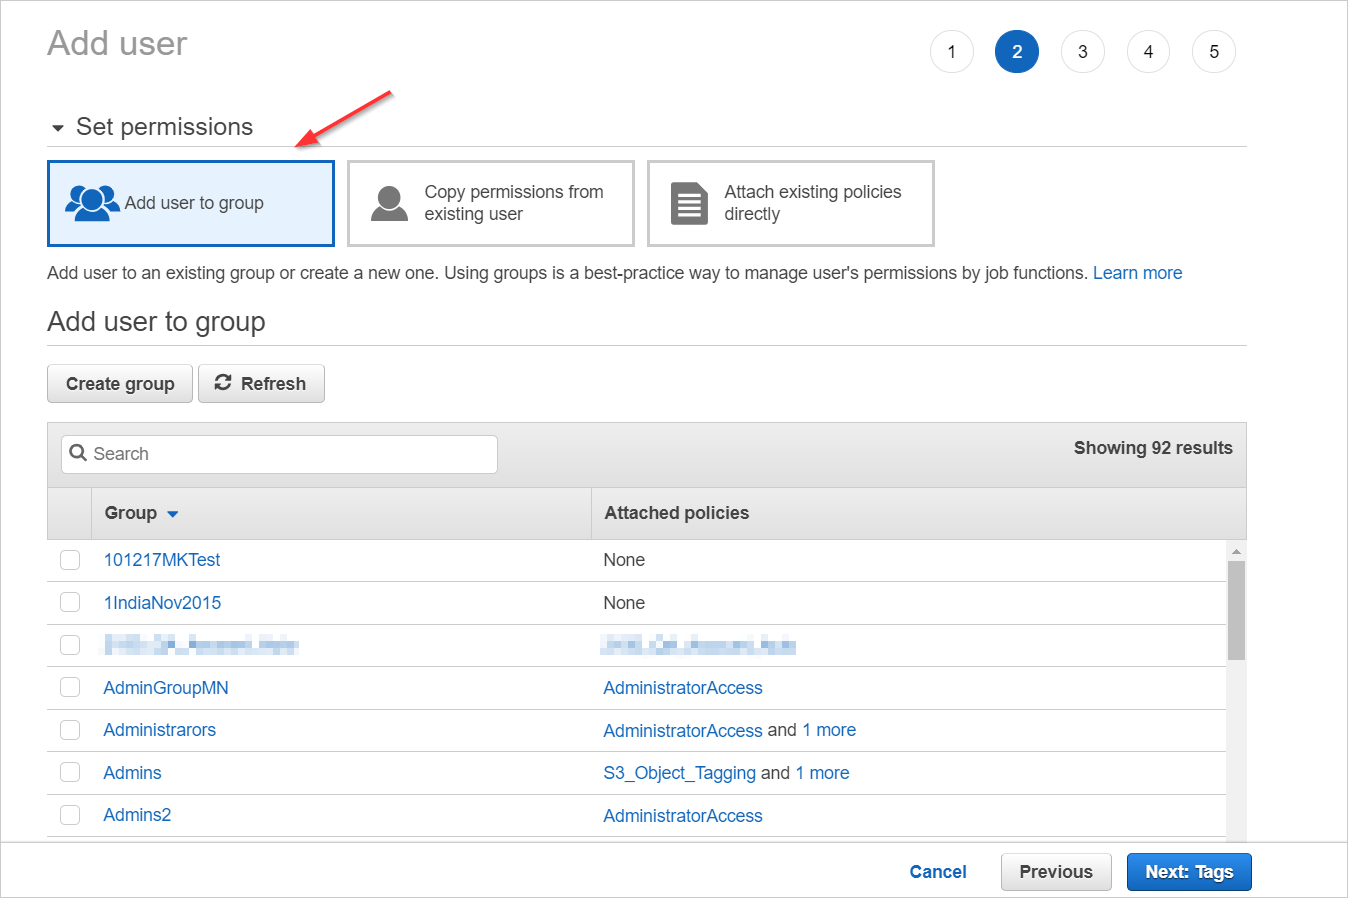
- Select the checkbox associated with the IAM group you created earlier and click Next: Tags.
- The Add tags (optional) page displays. This is an optional step. For the purposes of this procedure, we will not add tags.
- Click Next: Review.
The page displays the name of new IAM user, the AWS access type, and the group that the IAM user belongs to.
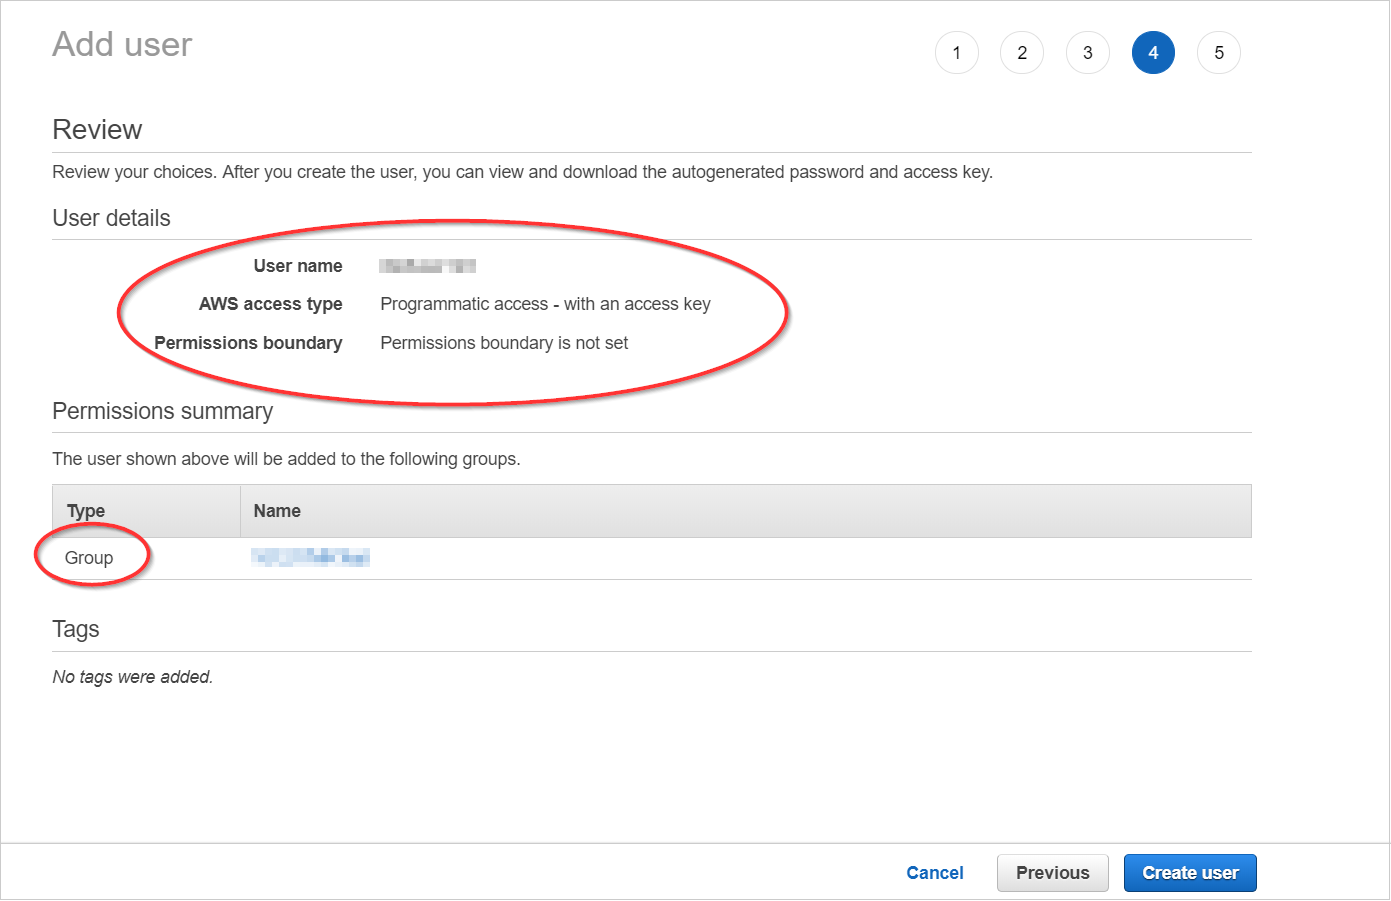
- Review your choices and click Create user.
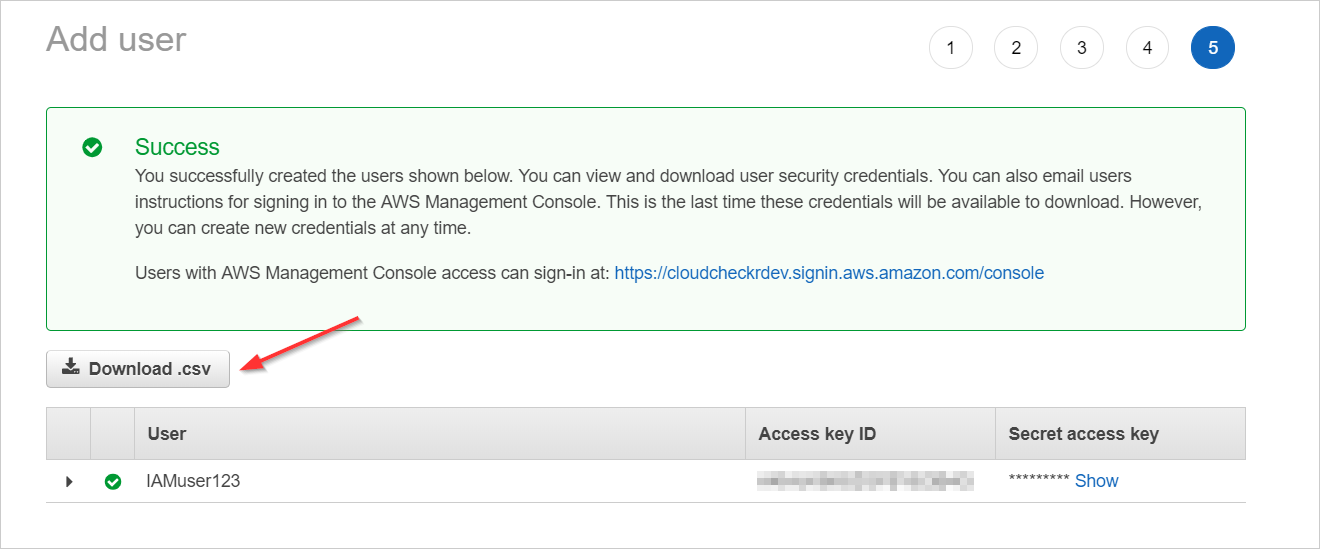
A message indicates that AWS created the IAM user successfully and lets you know that you can download the security credentials, which contain the user name, password, access key ID, secret access key, and the console login link. - Click Download .csv to save the security credentials as a .CSV export and click Close.
- Perform the following actions in CloudCheckr:
- Launch CloudCheckr.
- Select your account from the Accounts List page.
- From the left navigation pane, select Account Settings > AWS Credentials.
The Credentials page opens. The Use a Role for Cross-Account Access tab will be displayed by default.
- Click the Use an IAM Access Key tab.
The instructions on how to add the access key and secret key IDs display.
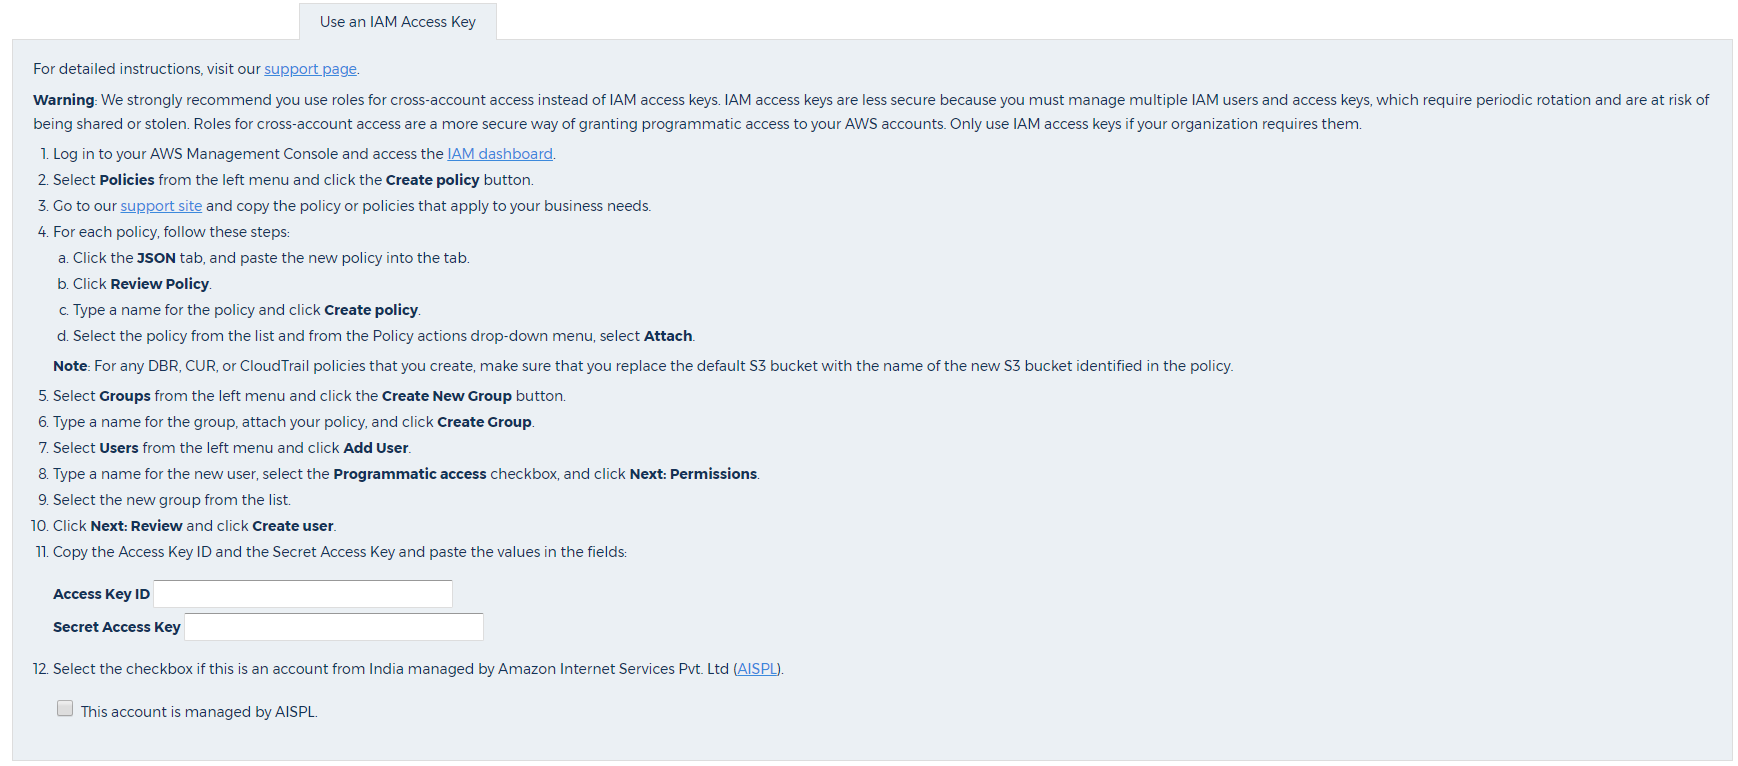
- Paste the Access Key ID and the Secret Access Key values into the appropriate fields.
- Scroll down to the step that refers to accounts from India.
- Select the This account is managed by AISPL checkbox if the account is an account from India managed by Amazon Internet Services Pvt. Ltd (AISPL). *NOTE* This should not be checked if your partner is an L2.
- Click Update.