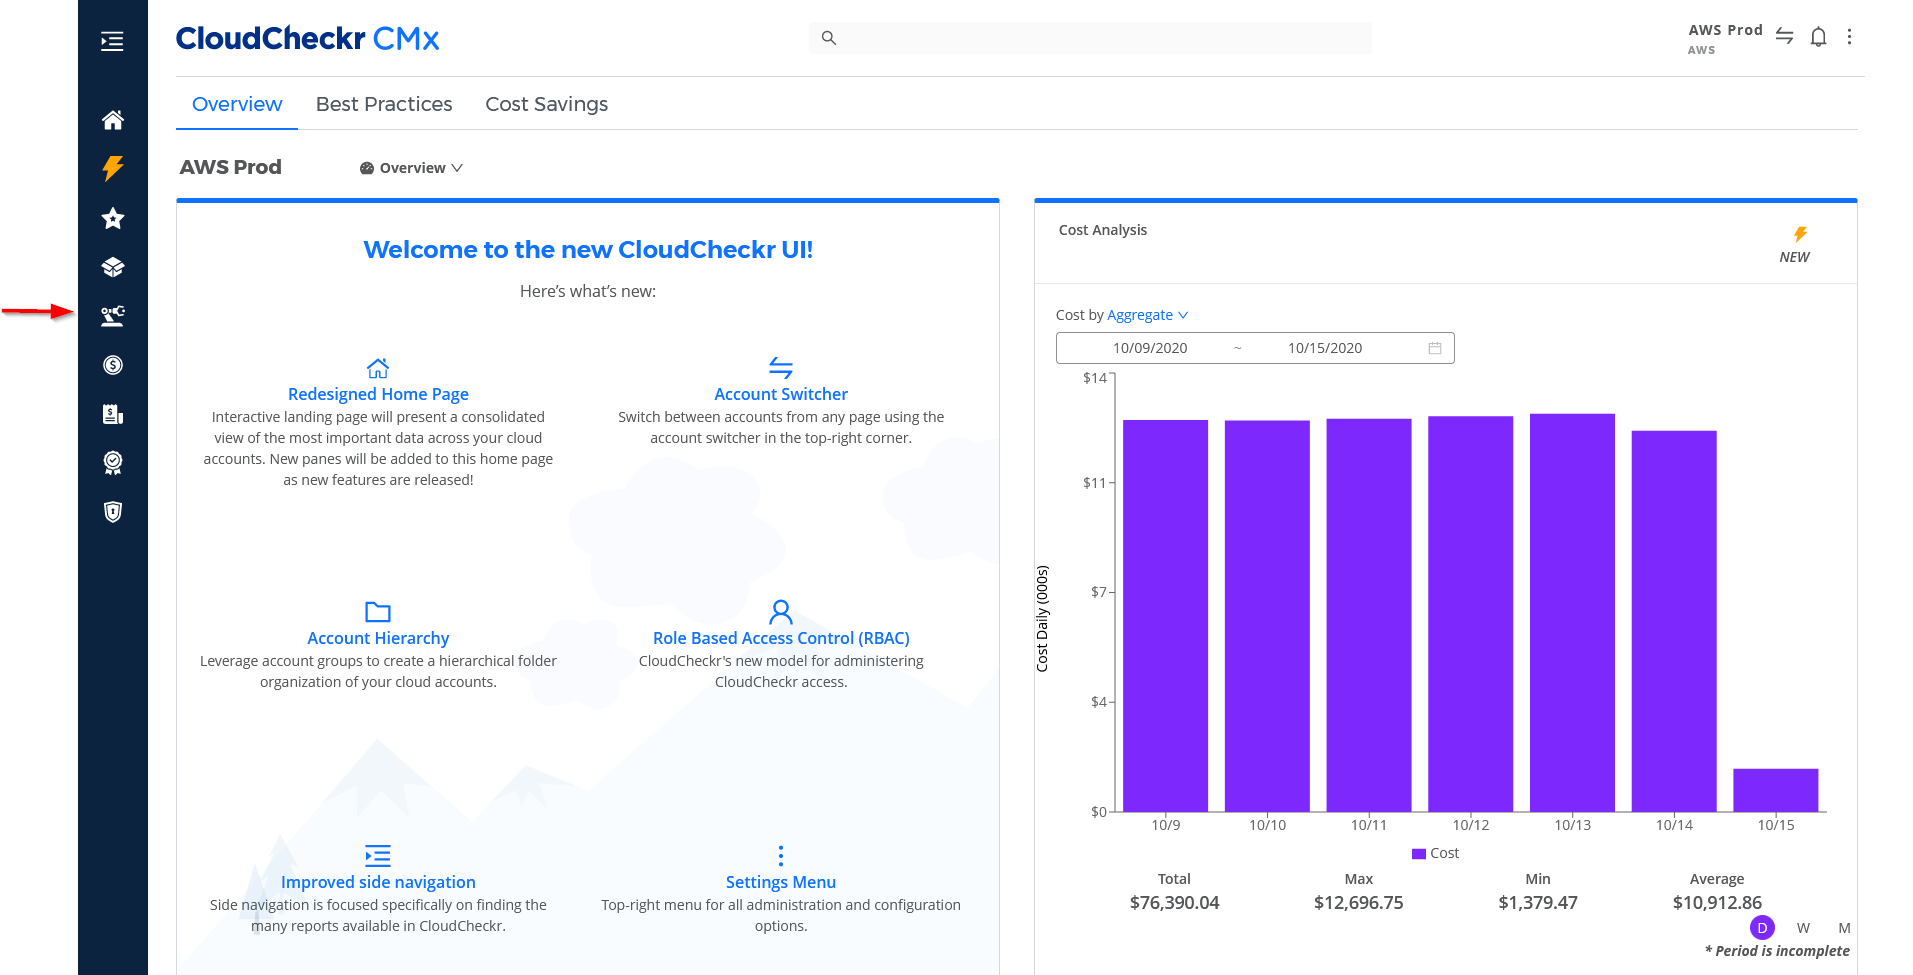
Left Navigation Pane in CloudCheckr CMx
The Left Navigation pane organizes the CloudCheckr reports by module or function.

The Left Navigation pane is visible on every page in CloudCheckr except when you access any of the Settings menu options.
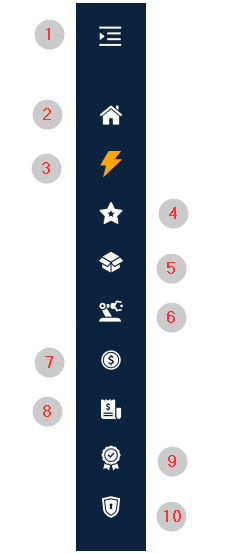
Using the callouts as a guide, review the table to learn more about the features in the Left Navigation pane:

Callout | Feature | Description |
1 | Dock icon | Toggle to dock or undock the menu options. |
2 | Home | Click to return to the Home page from anywhere in the application. If you are in the Settings menu, the Left Navigation pane is not visible. To return to the Home page, click the CloudCheckr logo in the upper left corner of the screen. |
3 | New Cost Reporting | Click to view the new Cost reporting features: the Summary report. |
4 | Favorites | Click to see a list of the reports you added to your Favorites. |
5 | Resources | Click to access the Resources module, which contains reports on Inventory Summary, Tagged Resources, Trending, Map Overlay, and custom inventory reports. |
6 | Automation | Click to access the Automation module, which contains reports and features that will help you modify or remove unused resources. |
7 | Cost | Click to access the Cost module, which contains reports and features related to cost alerts, spend analysis, reserved usage, tagging, and Saving Showback. |
8 | Billing | Click to access the Billing module, which contains reports and features that will help you generate invoices and configure options such as account families, custom cost, and custom billing options. |
9 | Total Compliance | Click to access the Total Compliance module to see how your accounts and resources measure up to industry-standard compliance frameworks. |
10 | Security | Click to access the Security module, which contains reports and features on security alerts, user configurations, security configuration options, and activity monitoring. |
