Integrate with Jira
This integration enables you to configure CloudCheckr alerts and Best Practice Checks to create Jira tickets.
To learn how to configure your integration with Jira, review the procedure.
CloudCheckr's Jira integration currently only supports Jira Cloud.
Procedure
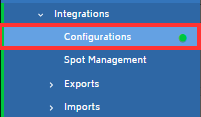
- From the left navigation bar, choose Account Settings > Integrations > Configurations.
- From the drop-down menu, select Jira.
- Type a name for your new integration. The name in this example is JIRA Integration Demo.
- Click Create.
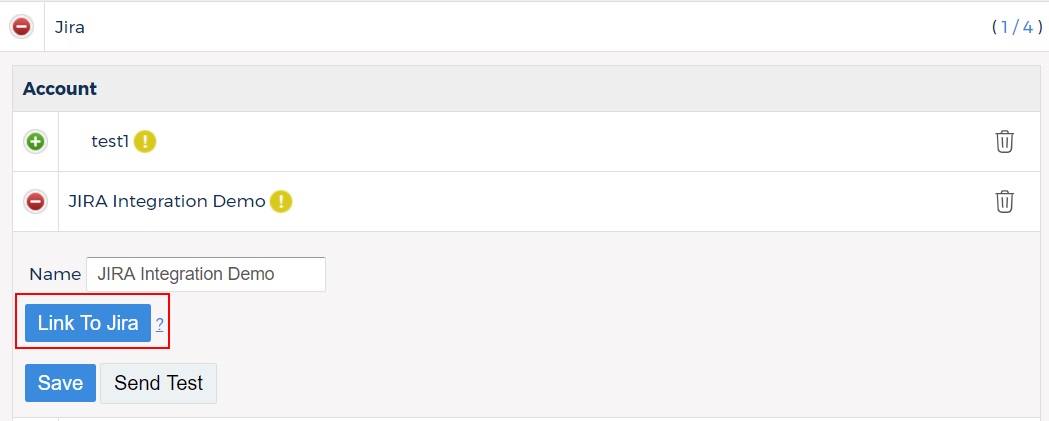
- In the JIRA section, click the plus sign to expand the list and see your Jira integrations.
- Under the JIRA Integration Demo, click Link To Jira.
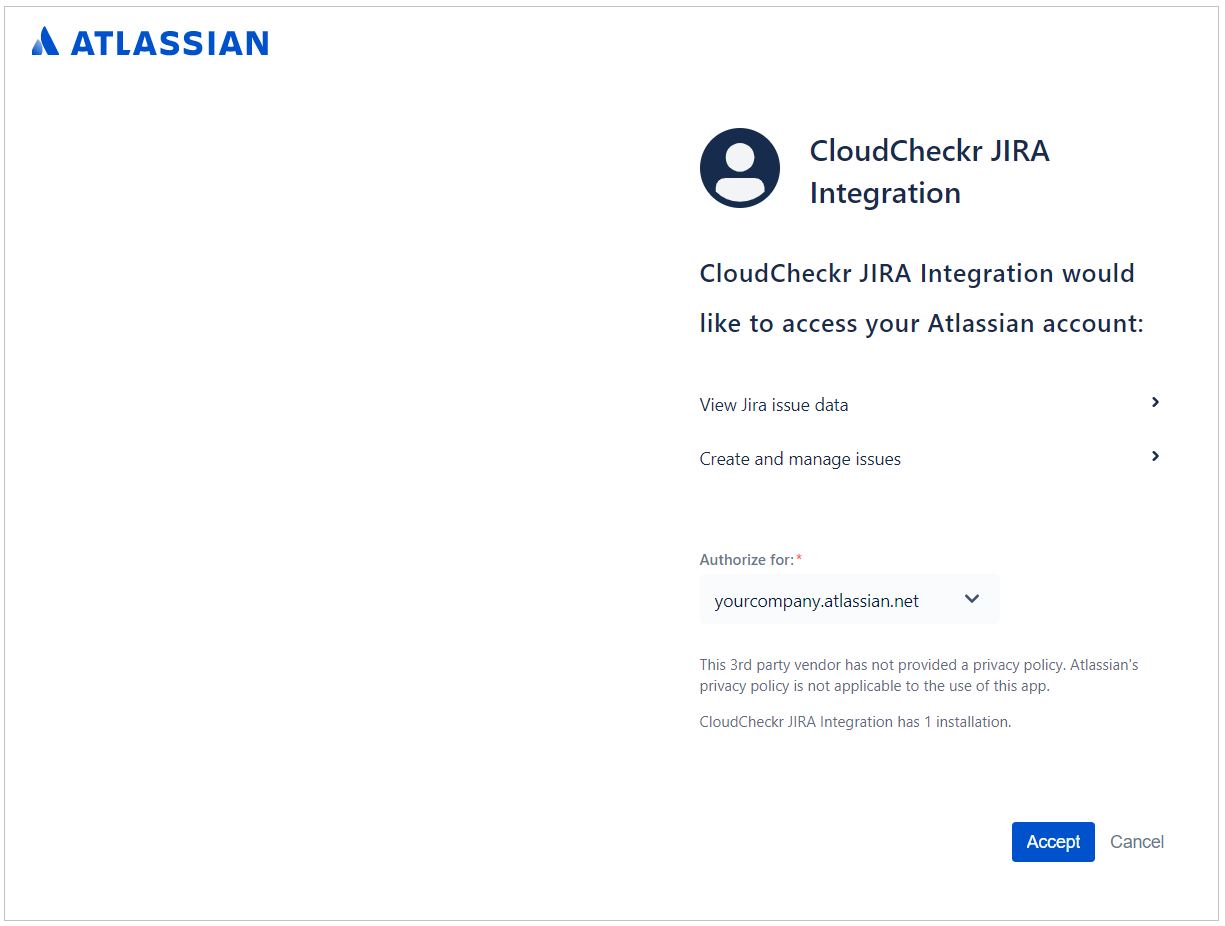
- Under Authorize for, type your company's Alassian URL.
- Click Accept.
You are returned to the Integration Configurations screen in CloudCheckr.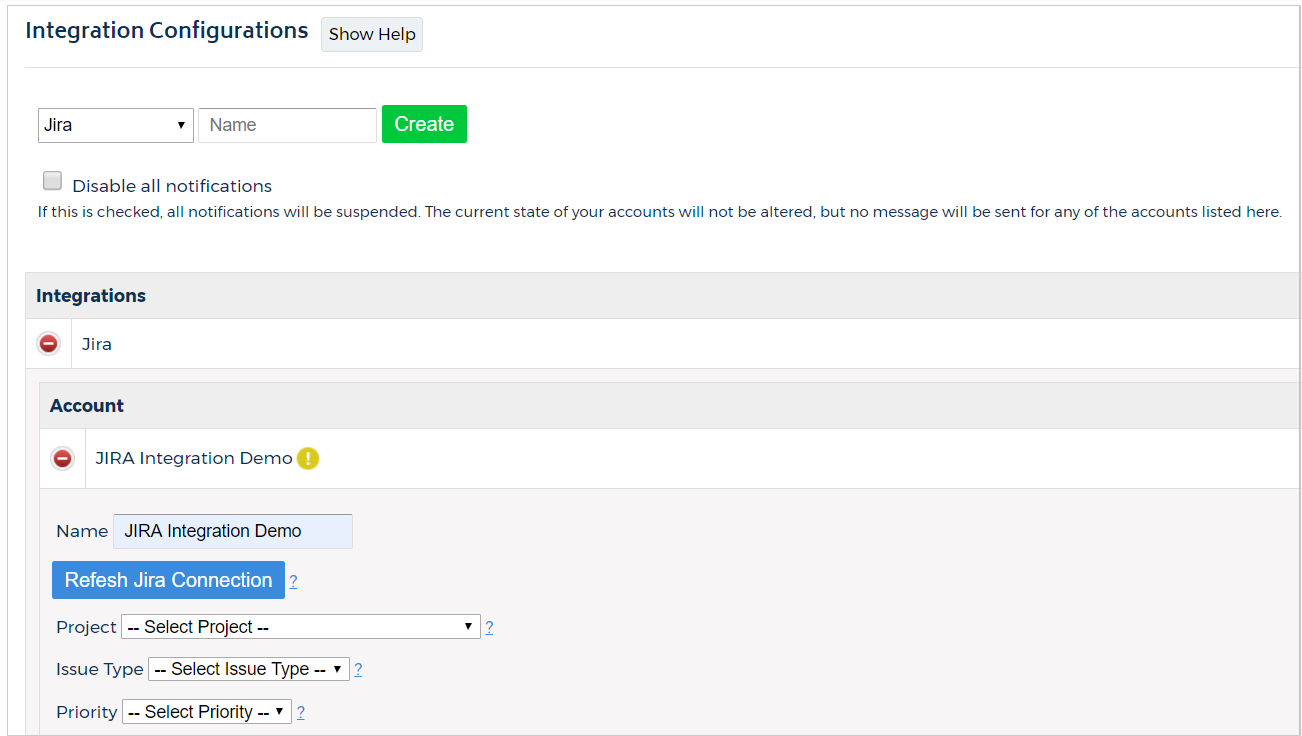
- Configure your integration by selecting options from your own Jira projects, issue types, and priorities.Make sure to select an issue type and priority that is part of your Jira project—otherwise, you will get an error message prompting you to try again.CloudCheckr will display the first 50 Projects. If you have additional Projects that you'd like to configure with CloudCheckr, please contact support.Your Jira integration is now complete.
Whenever a notification is triggered, your Jira project will get tickets created by CloudCheckr.
Connect the Jira Integration to Alerts
To learn about other configuration options and to turn on alerts, review the topic, Integration Configuration: Understanding Other Options.