Tagging
In the Tagging section of CloudCheckr CMx (or the Tags from Detailed Billing area of CloudCheckr), you will find many reports that focus on tagging data from your Detailed Billing Report (DBR) or Cost and Usage Report (CUR). These reports can help you find tag data, keep track of tagging conventions, set up rules to find improperly tagged resources, and look up tags associated with a selected resource.
Reports
Click a link to learn more about each report.
The Search Tags report shows your tag data and allows you to filter by any tag key, and see resources associated with those keys.
To access this report, go to the left navigation pane and choose Cost > Tags (from Detailed Billing) > Search Tags.
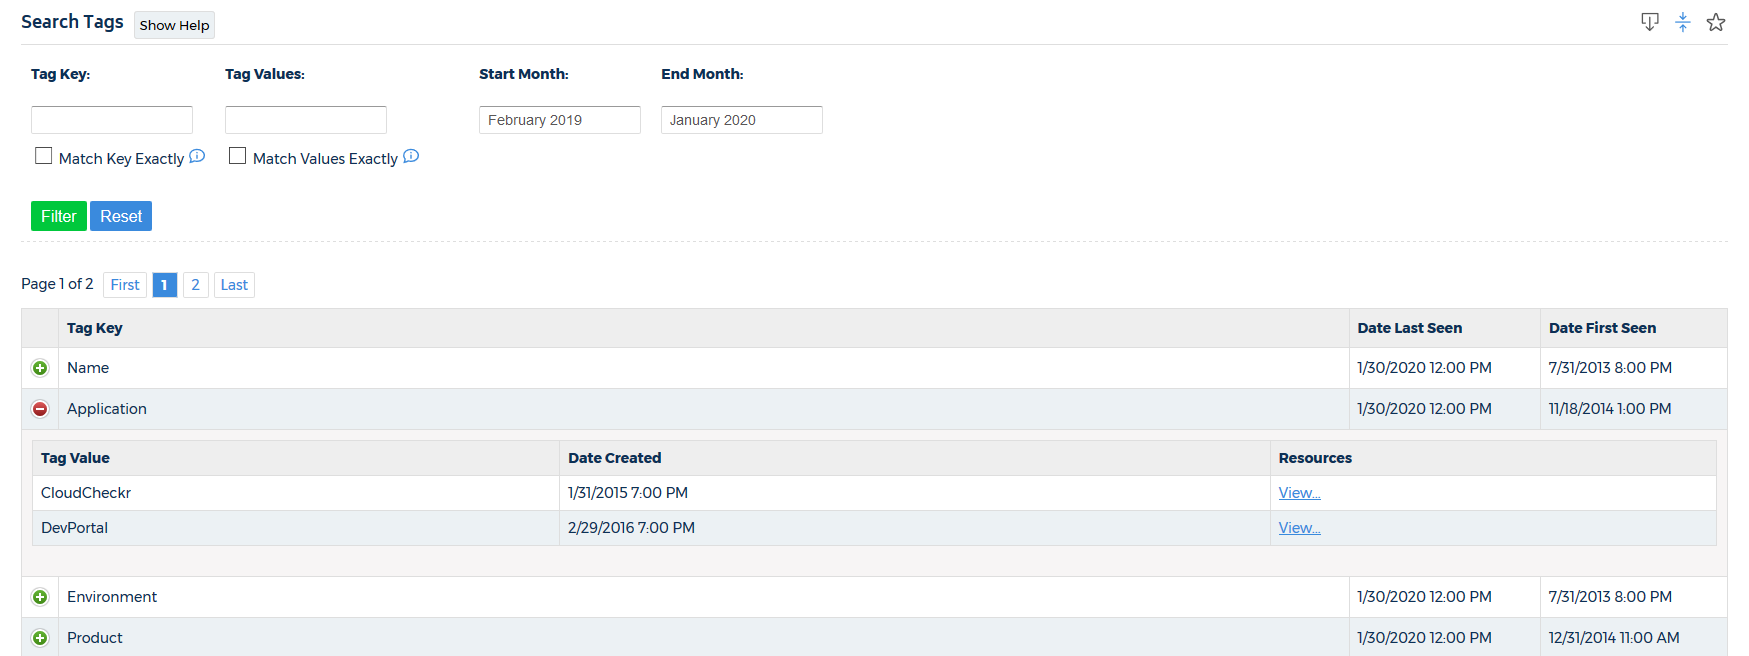
For more information, see Search Tags.
To access this report, go to the left navigation pane and choose Cost > Tags (from Detailed Billing) > Lookup Resources.
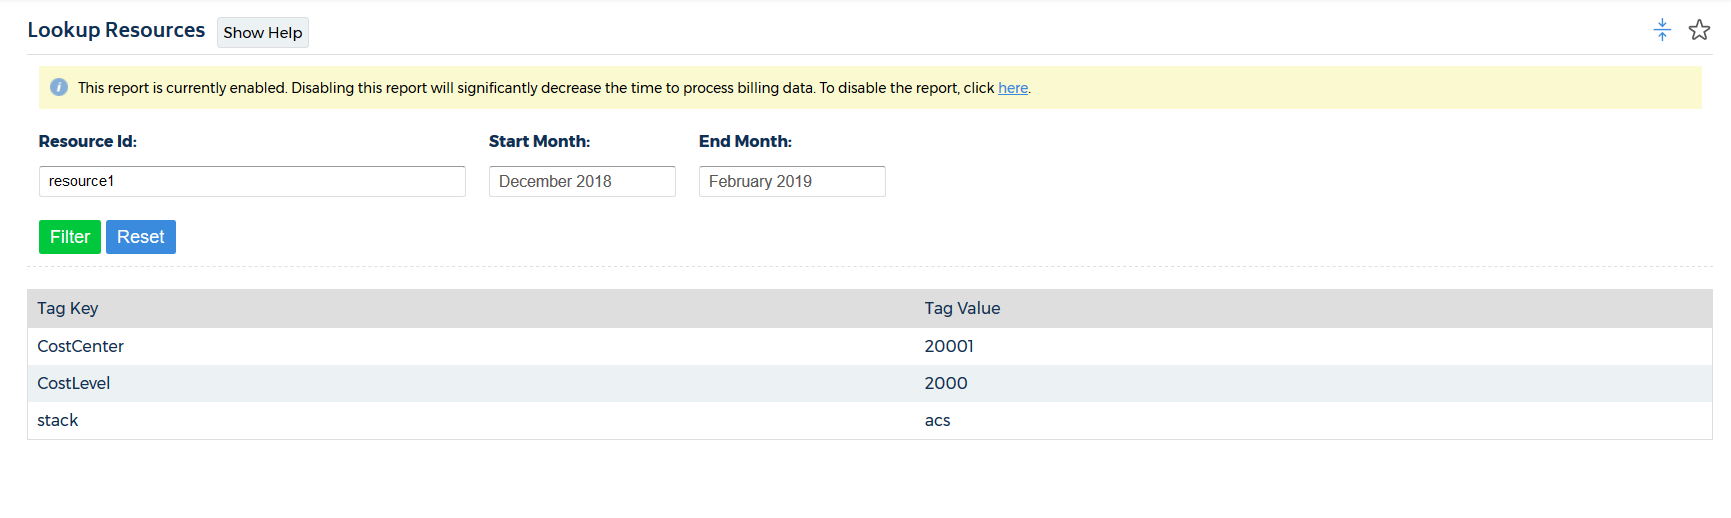
For more information, see Lookup Resources.
The Tagging Rules report helps you enforce your tagging policy across your AWS deployment.
To access this report, go to the left navigation pane and choose Cost > Tags (from Detailed Billing) > Tagging Rules.
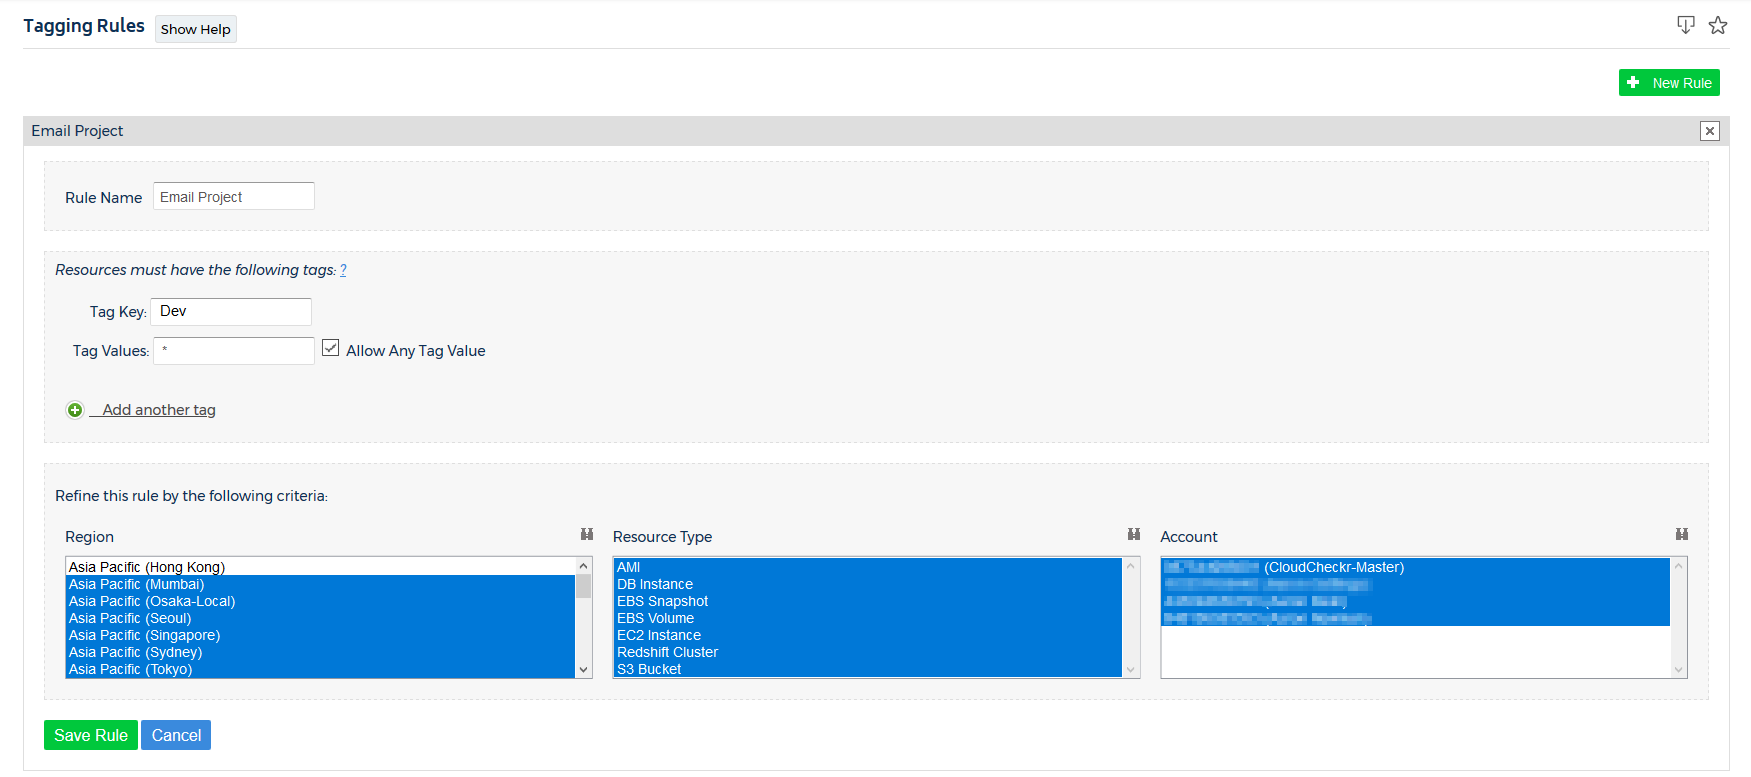
For more information, see Tagging Rules.
The Improperly Tagged Resources report shows all the resources that are not following your tagging rules.
To access this report, go to the left navigation pane and choose Cost > Tags (from Detailed Billing) > Improperly Tagged Resources.
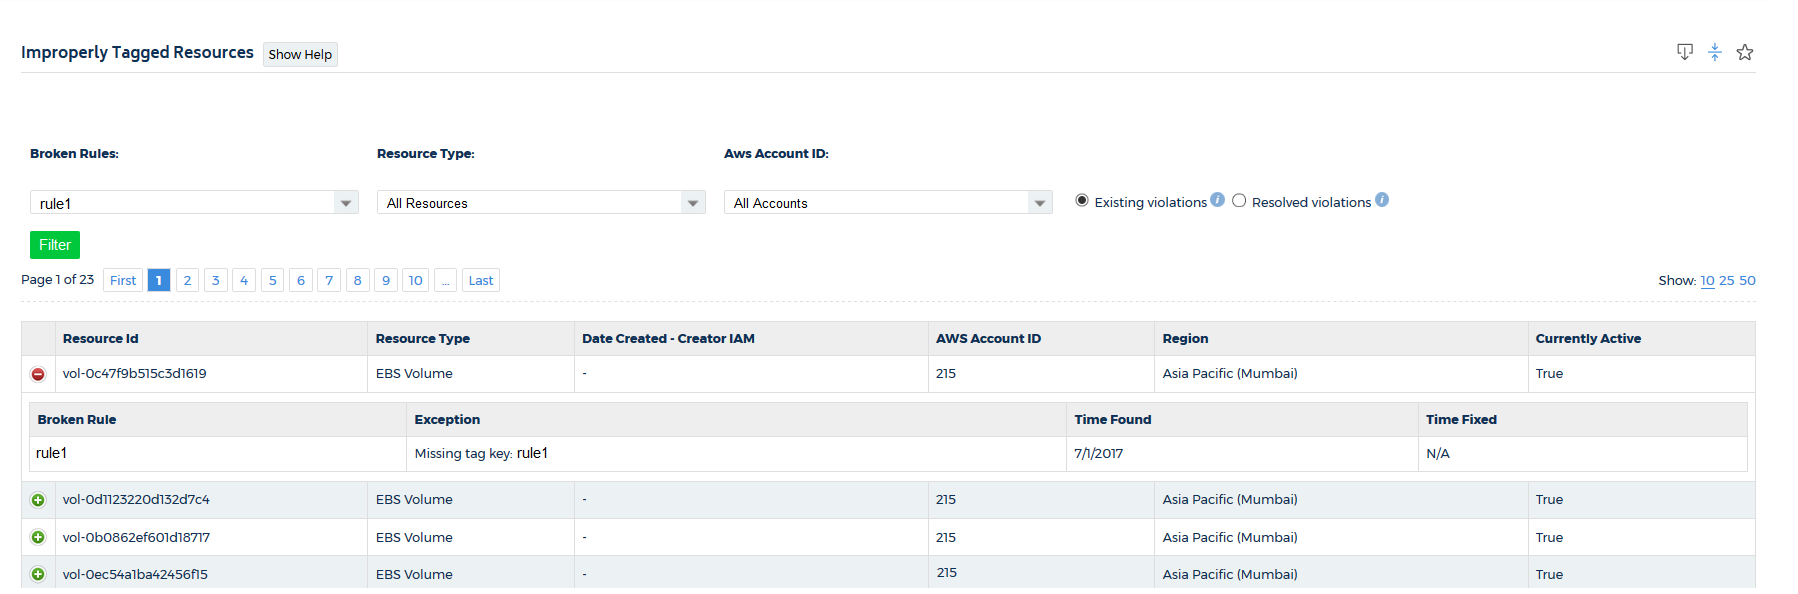
For more information, see Improperly Tagged Resources.
The Tag Mapping feature allows you to create payer cost tags using existing tag keys and values from your billing reports.
To access this feature, go to the left navigation pane and choose Cost > Tags (from Detailed Billing) > Tag Mapping.

For more information, see Tag Mapping.
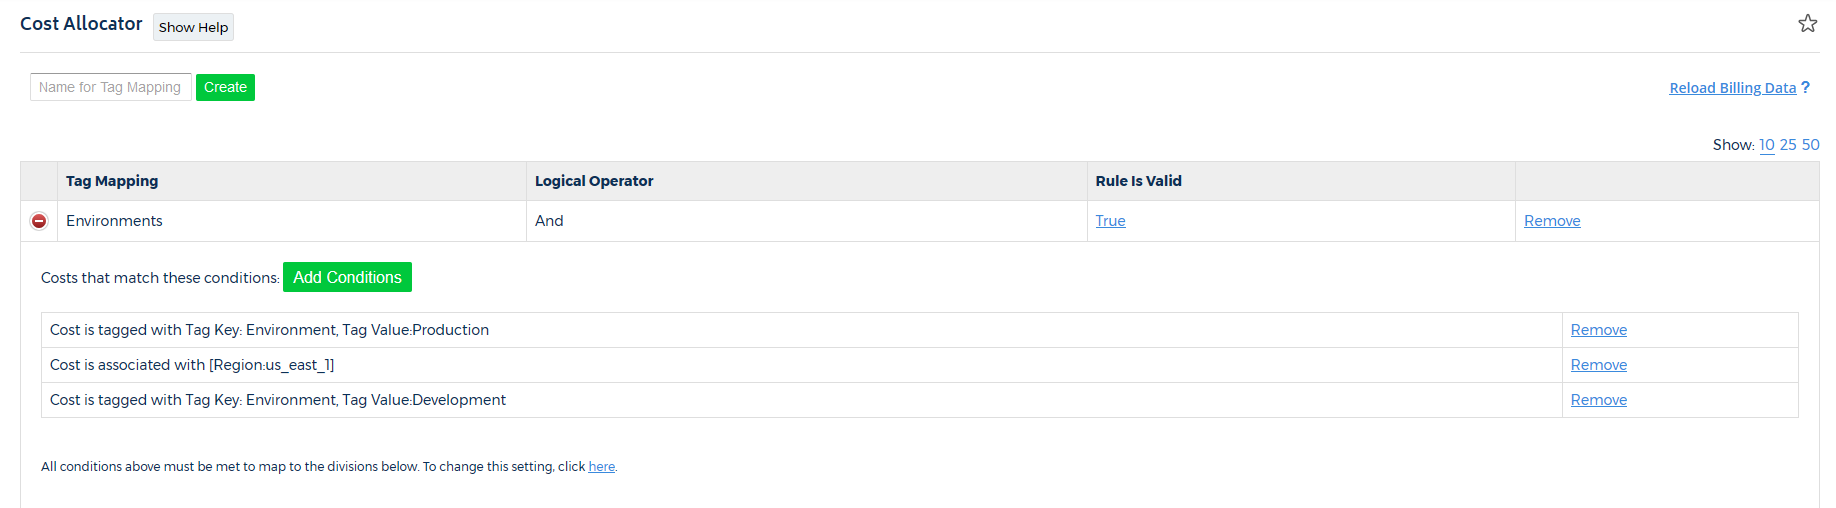
The Cost Allocator feature allows you to determine how you want to split your costs across multiple tag keys and tag values.
To access this feature, go to the left navigation pane and choose Cost > Tags (from Detailed Billing) > Cost Allocator.
For more information, see Cost Allocator.