How To Dock/Undock CloudCheckr CMx Content
Our new UI allows you to control the look-and-feel of a page. Some customers want a streamlined look, so that additional panes do not obscure the view of a selected report or feature. Other customers always like to see the navigational path as a quick visual reminder.
You can show or hide CloudCheckr features and content by activating the icon at the top of the Left Navigation pane.
When you first log in to the application:
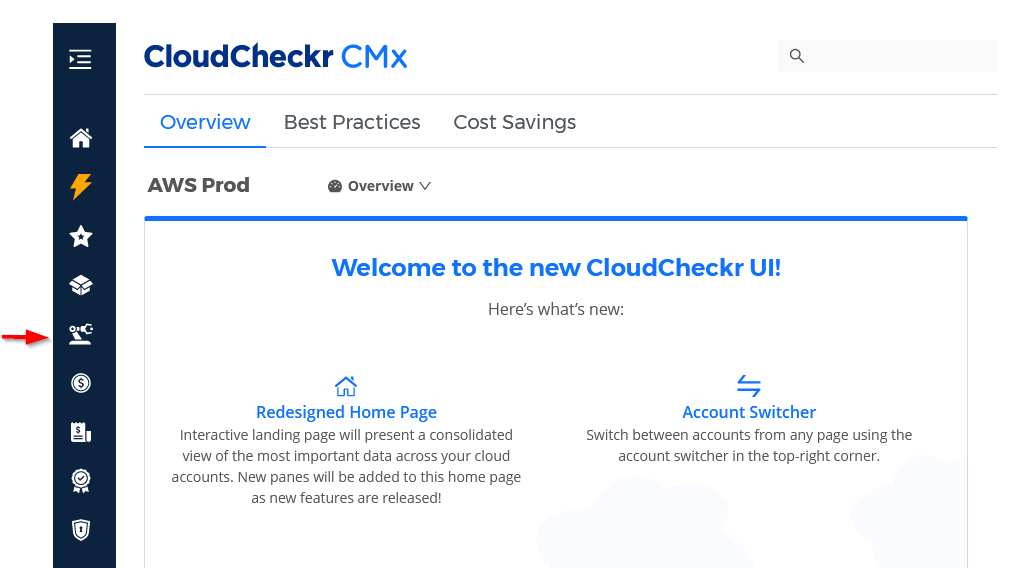
- the icon is not activated as indicated by the right-pointing arrow:

- you will only see icons in the Left Navigation pane:
and,
Procedures
Click a button to learn more about how the UI behaves depending on the state of the icon in the Left Navigation pane:
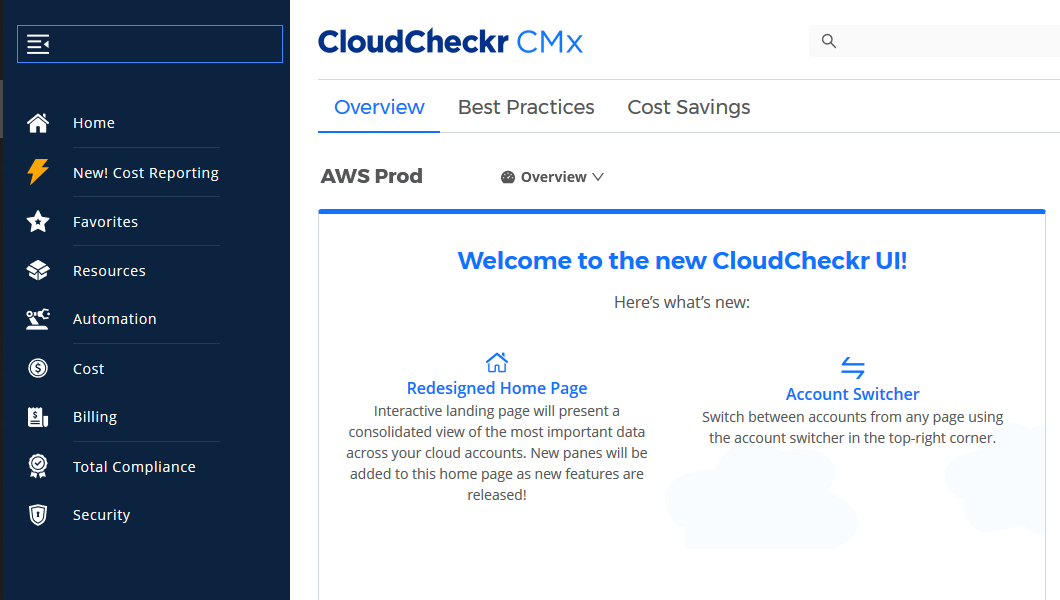
CloudCheckr's default state is to hide content and features.
In this state, when you hover anywhere on the Left Navigation pane, it expands:
When you move your cursor off the Left Navigation pane, it collapses back to its original state.
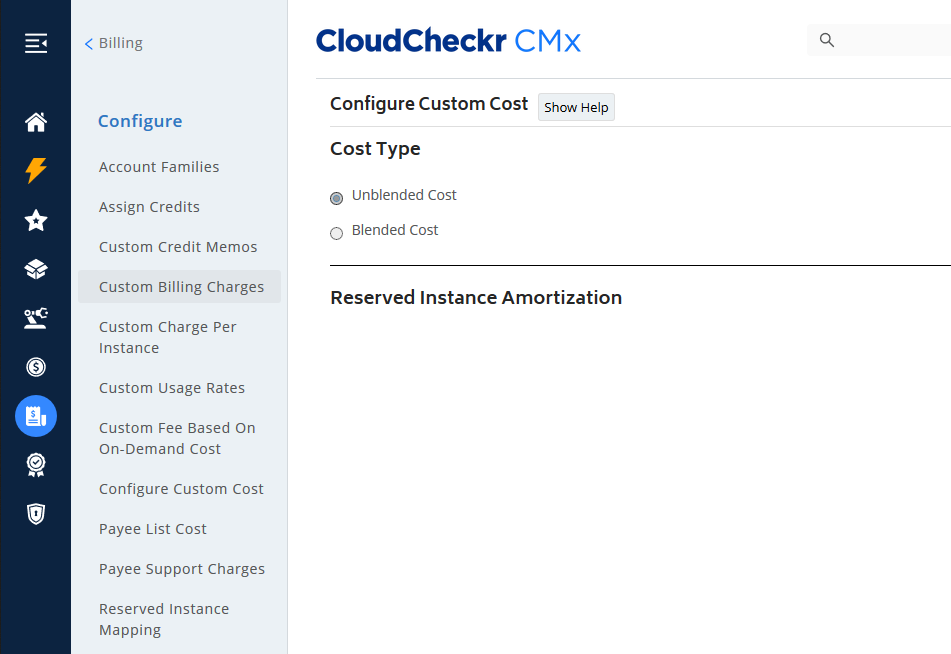
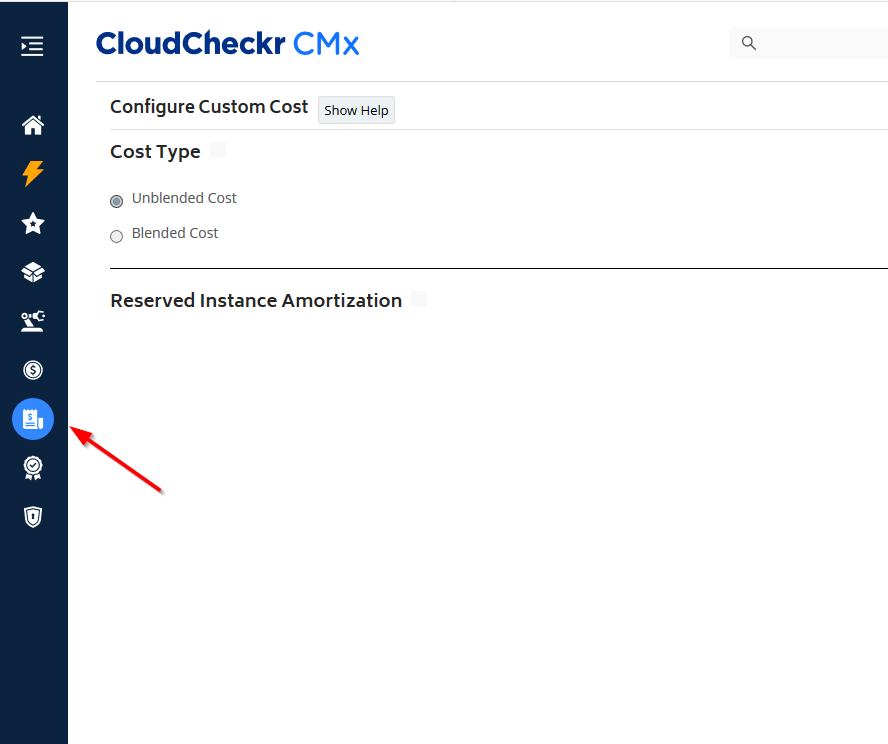
Lets say you want to access the Configure Custom Costs page. Here is what happens when you navigate to that page in the default state:
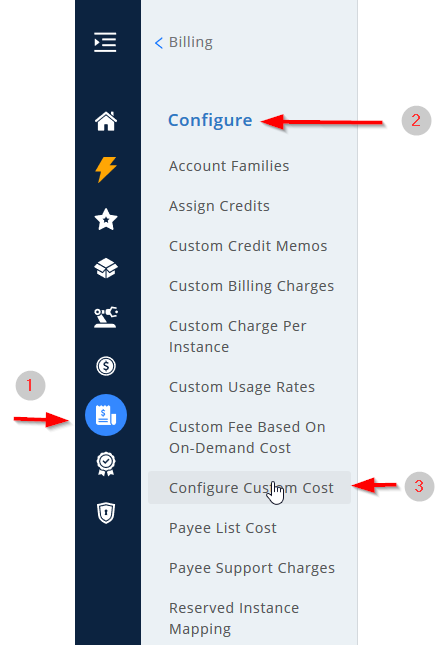
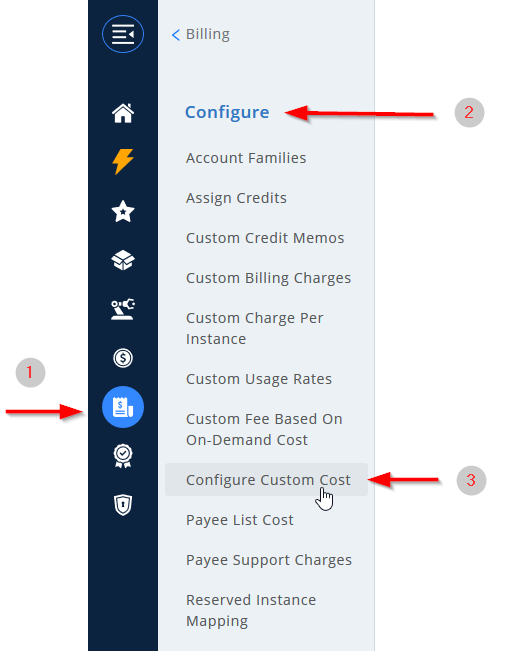
- Click Billing.
The Left Navigation pane collapses, and the Billing icon becomes highlighted.
A second pane opens. It contains all the Billing sub-menus.
- Select the Configure sub-menu.
- Select Configure Custom Cost.
Once CloudCheckr opens your report, the second pane closes, but the Billing icon remains highlighted:
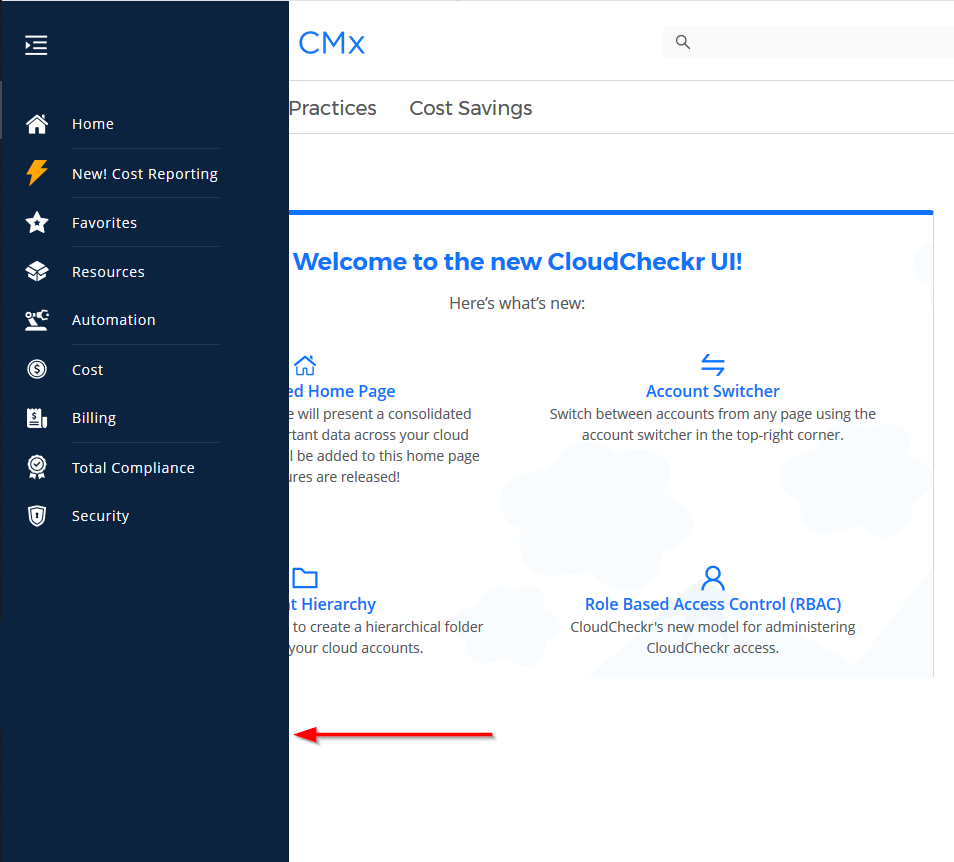
When you click the icon at the top of the Left Navigation pane, the icon gets activated as indicated by the left-pointing arrow: 
As a result, the Left Navigation pane expands:
If you move your cursor off the Left Navigation pane, the pane remains expanded because it is now docked.
Lets say you want to access the Configure Custom Cost page. Here is what happens when you navigate to that page in the activated state:
- Click Billing.
The Left Navigation pane collapses, and the Billing icon becomes highlighted.
A second pane opens. It contains all the Billing sub-menus.
- Select the Configure sub-menu and select Configure Custom Cost.
Even when CloudCheckr opens your report, the second pane remains docked and the Billing icon remains highlighted: