The Accounts tab on the
Account Hierarchy page is where you can view, search for, modify, or create an account or account group.
CloudCheckr organizes accounts by Account Group folders, which can contain sub-folders and individual accounts.
Click to expand a folder and display the contents in a new pane. Continue to click until you find the content you wish to review.
In this example, we expanded our initial folder, CloudCheckr, and navigated to the contents of the Commercial Accounts sub-folder:
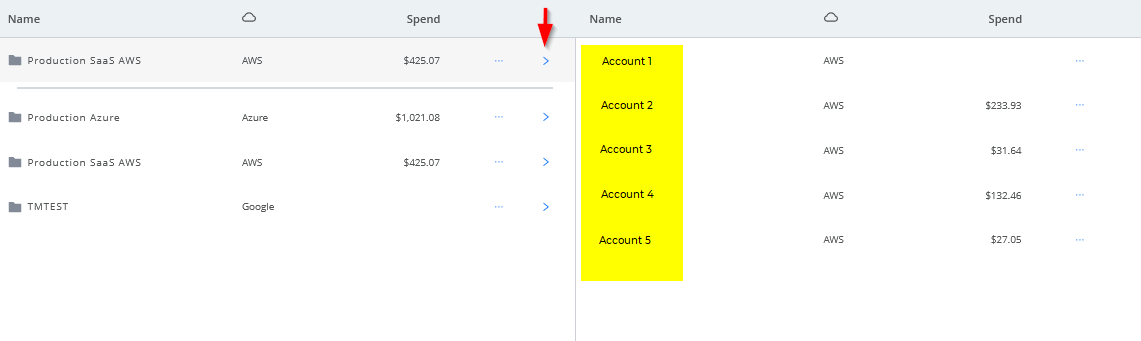
If we continue to expand the Production SaaS AWS sub-folder, we would see a list of its accounts:
Procedures
Click a button to learn more about the actions you can perform in the Accounts tab:
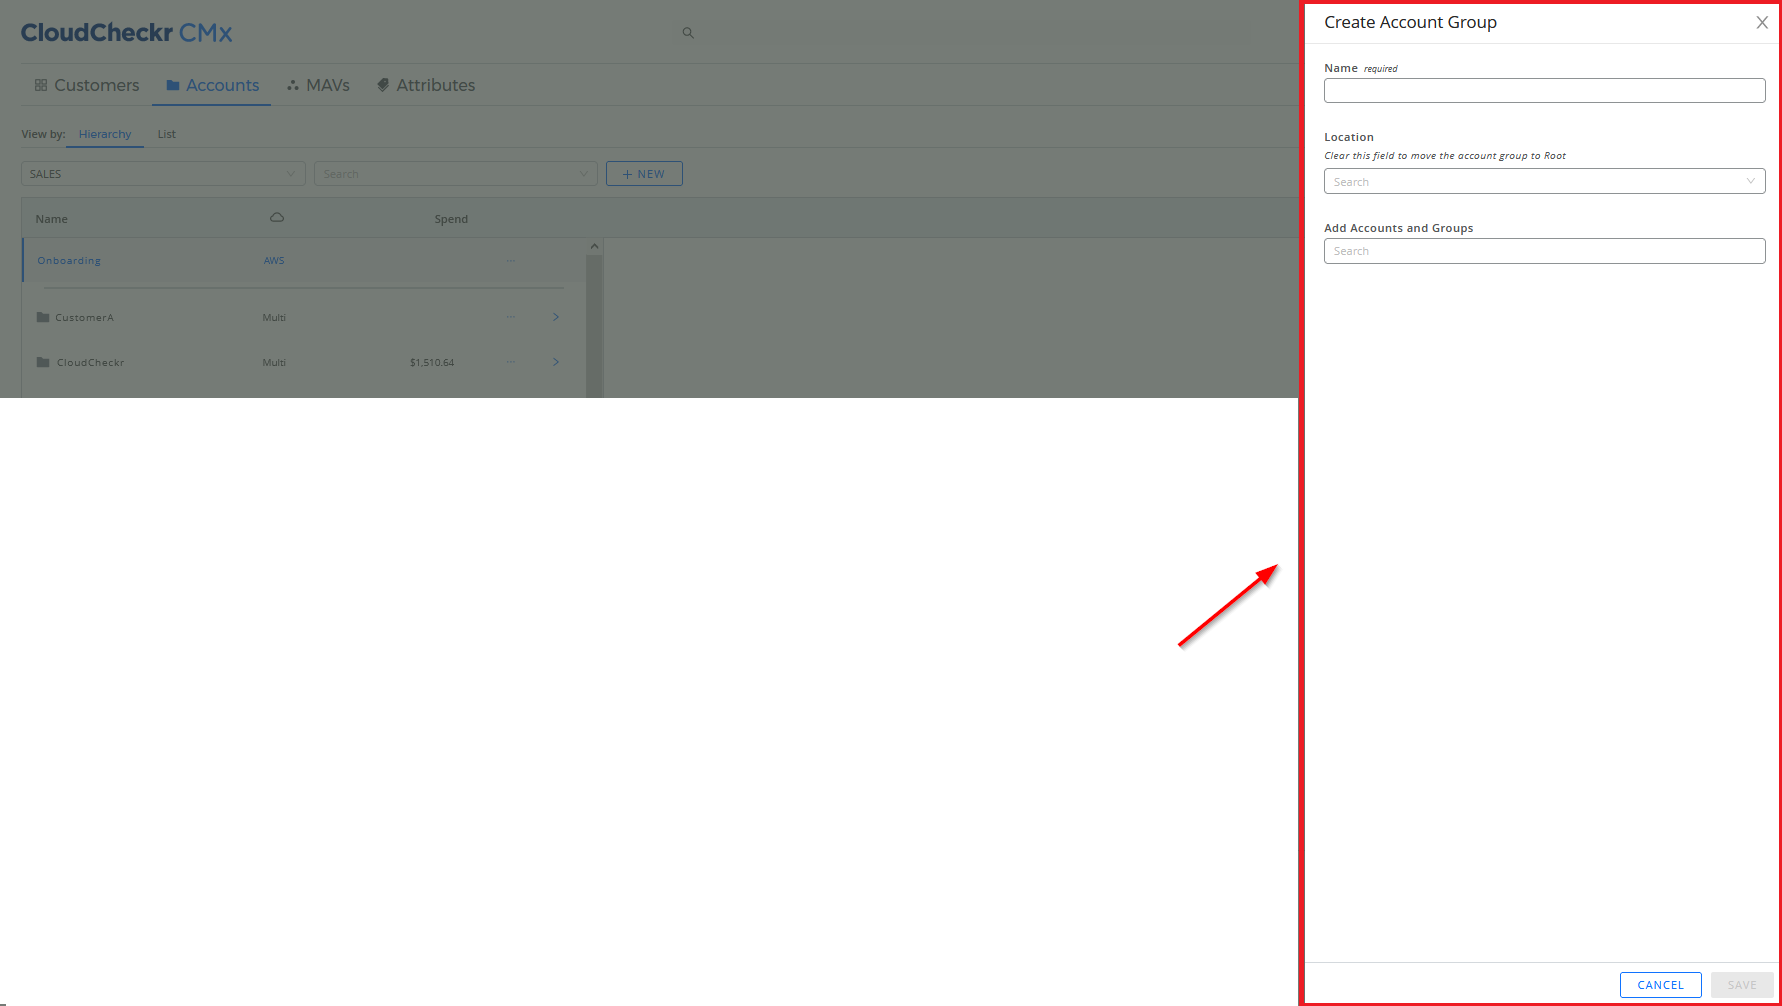
Click the + NEW button.
Select Account Group from the fly-out menu.
The Create Account Group sub-drawer opens.
Type a name for your account group.
From the Location drop-down menu, select an option if you want to put your group within an existing folder.
From the Add Accounts and Groups drop-down menu, select the accounts and groups you want to add to the account group.
Click SAVE.
To automate your account creation process, see the
Control Tower topic.
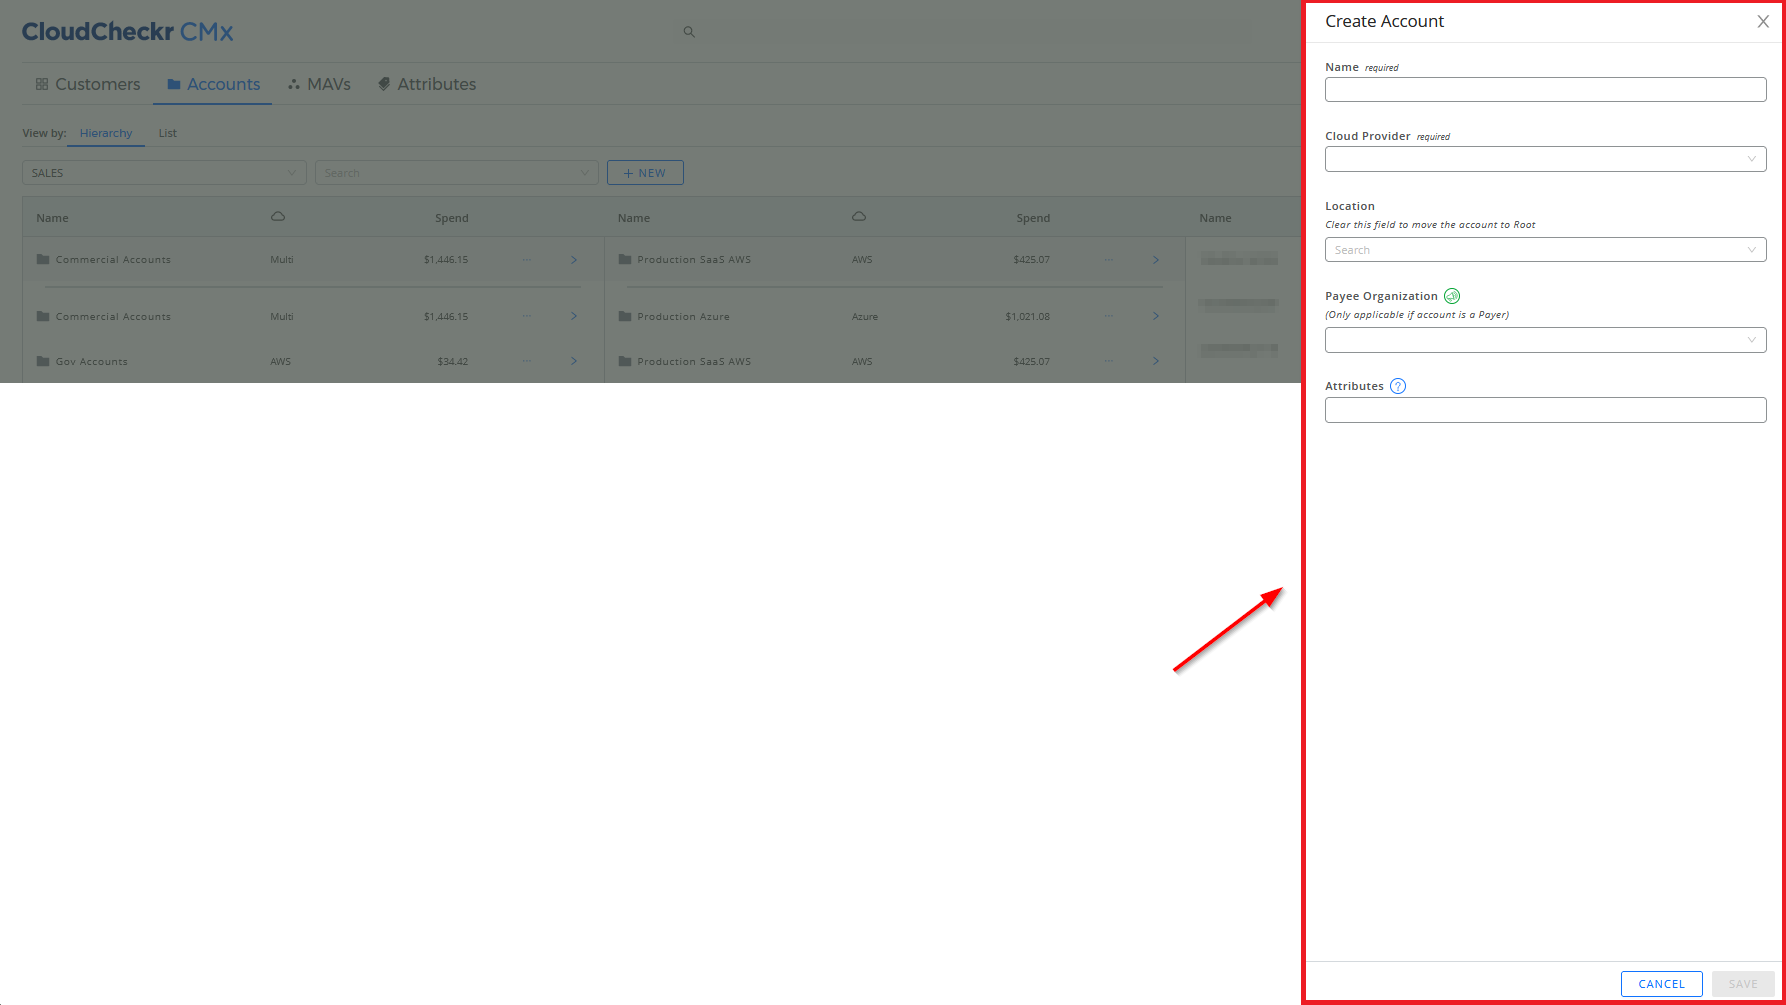
Click the + NEW button.
Select Account from the fly-out menu.
The Create Account sub-drawer opens.
Type a name for your account.
Select a cloud provider from the drop-down menu.
From the Location drop-down menu, select an option if you want to put your account within an existing folder.
If you have a Payer account, select an option from the Payee Organizations drop-down menu that best fits how you want to create any future Payee accounts:
Place new payees at hierarchy root (default): CloudCheckr automatically places auto-created Payee accounts. at the root (no parent group)
Place new payees in same parent group as payer: CloudCheckr automatically places any newly created Payee accounts within the same group as the Payer account.
Place new payees in a specific location: CloudCheckr allows you to select an account group where it to place all auto-created Payee accounts.
From the Attributes drop-down menu, select attributes that you want to apply to your account.
Click SAVE.
Click
in a selected folder.
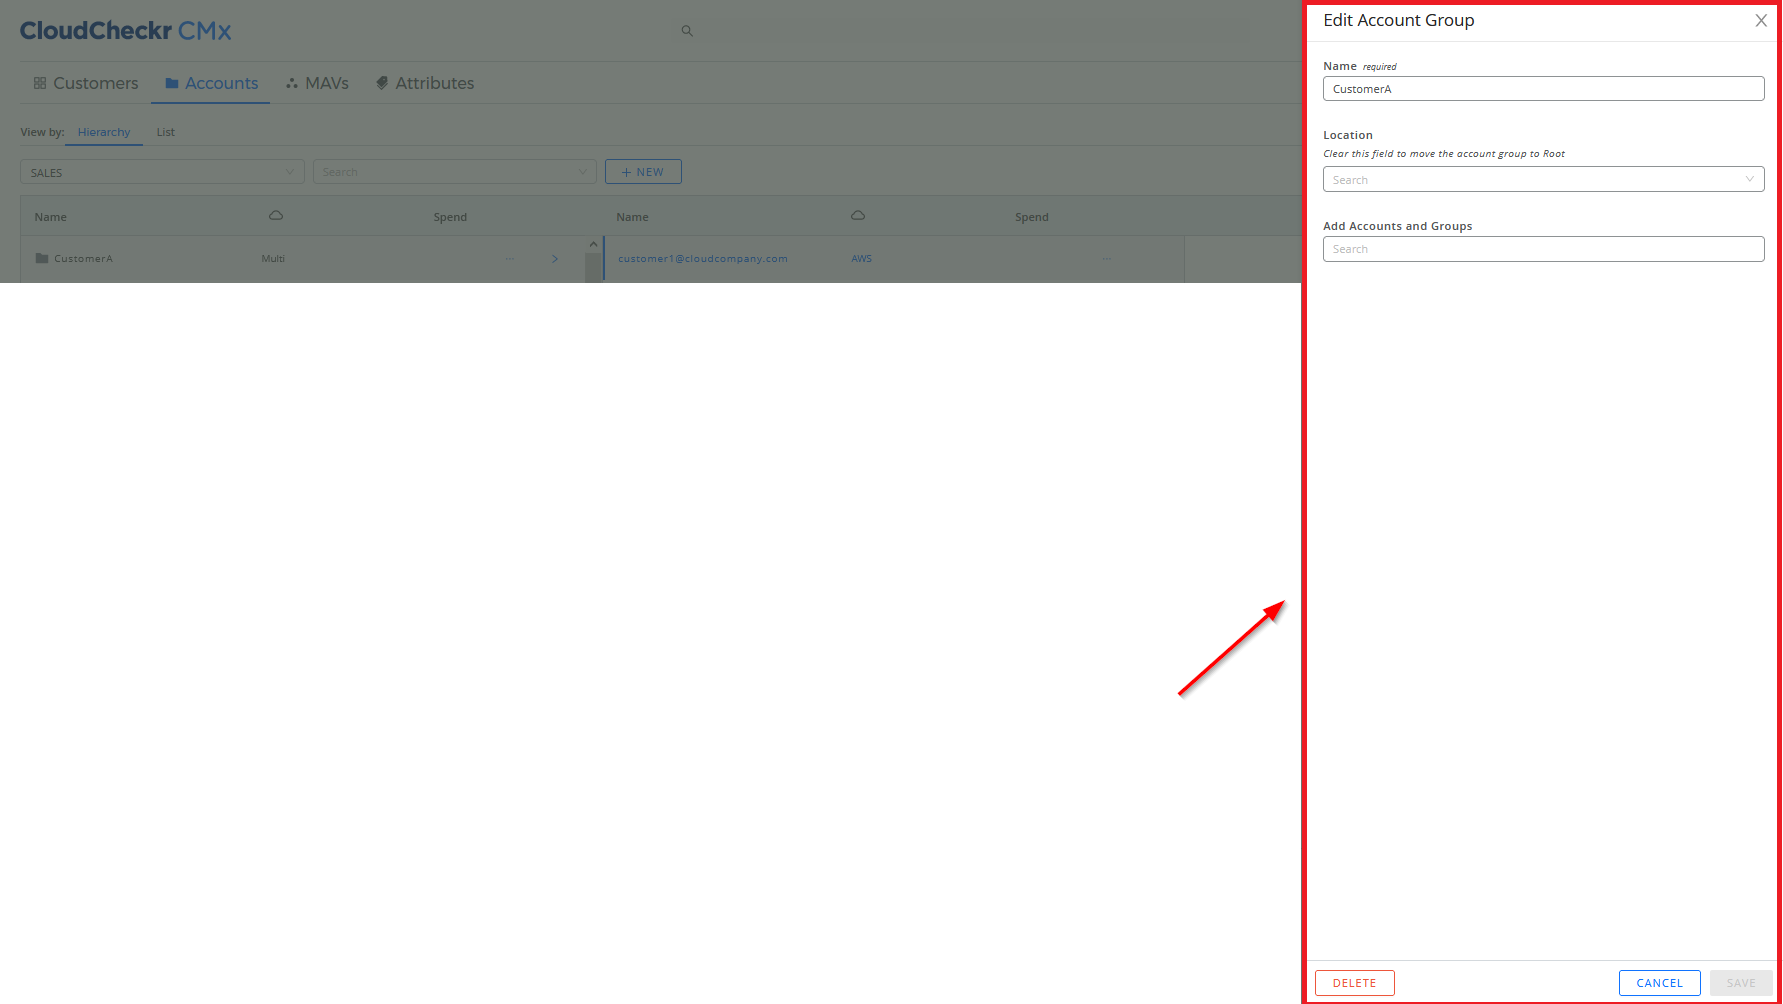
The Edit Account Group sub-drawer opens.
From this sub-drawer, you can:
change the name of the account group
select a folder from the Location drop-down menu to move your account group to another location or folder in the account hierarchy
add accounts or account groups to the selected account group
delete the account group
Follow this procedure to learn how to modify your account in CloudCheckr CMx.
Click
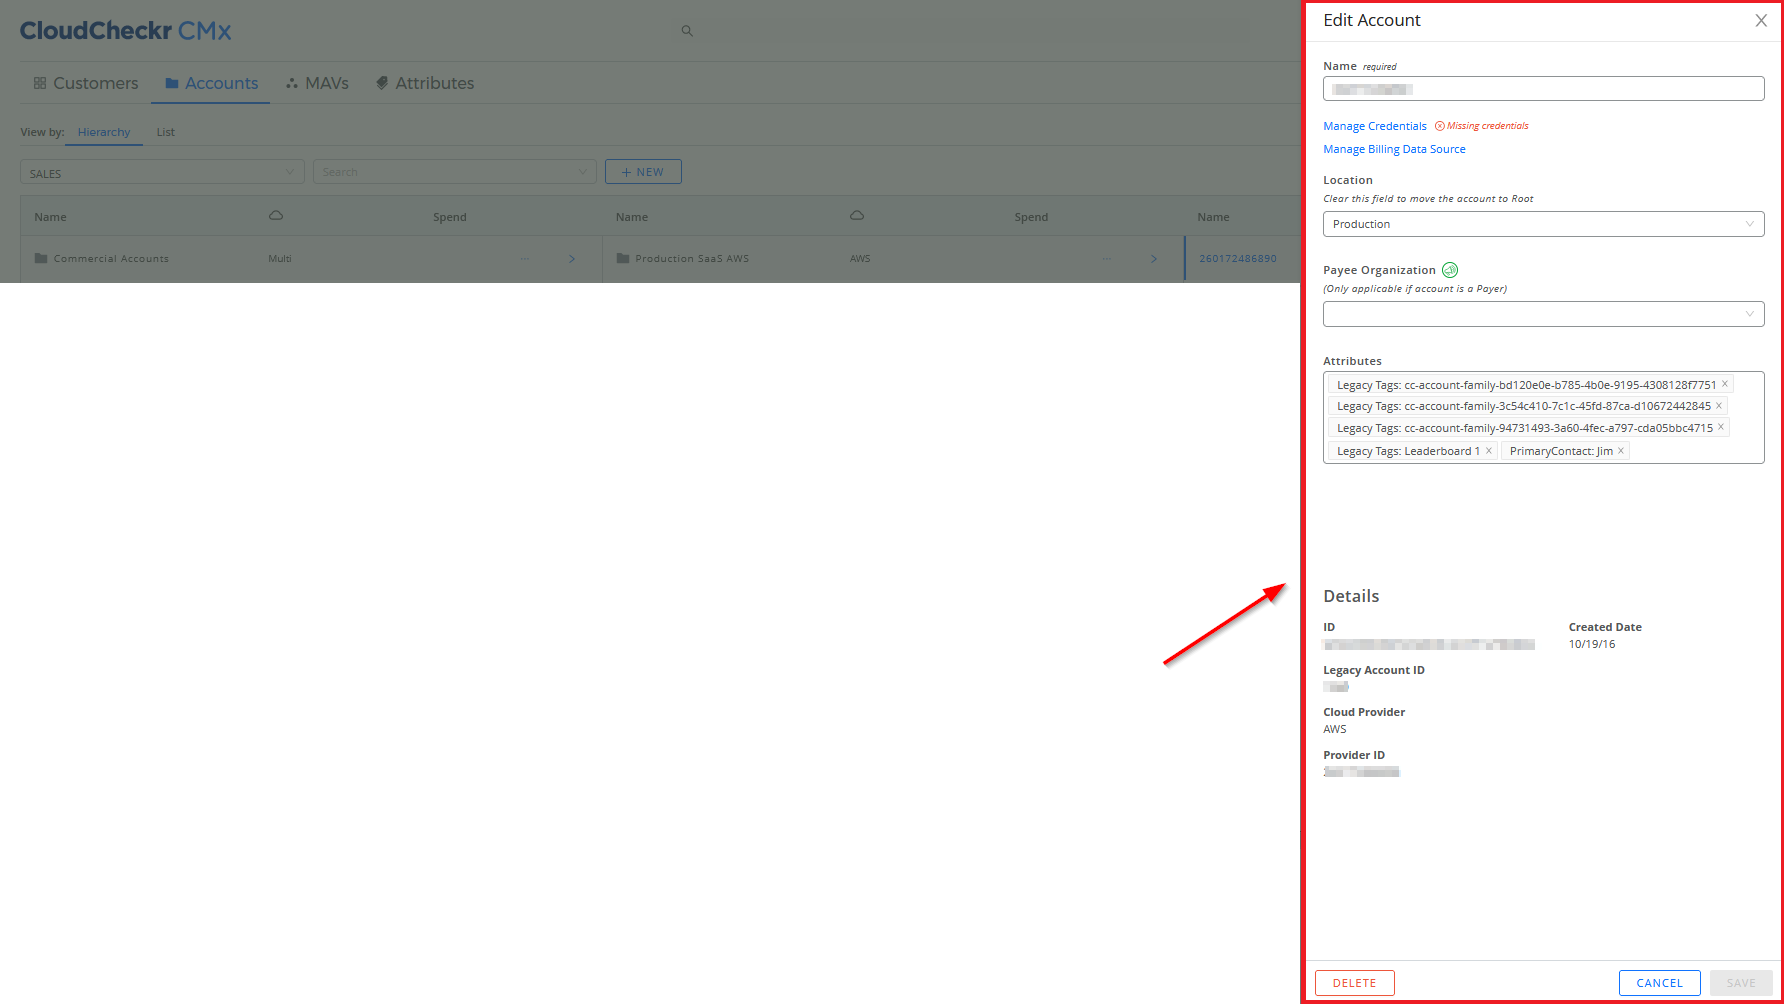
in the row of a selected account.
The Edit Account sub-drawer opens.
The cloud provider associated with your account determines what options you will see in the Edit Account sub-drawer and more importantly, what settings you can modify in your
AWS accounts,
Azure accounts, and
Google Cloud accounts.
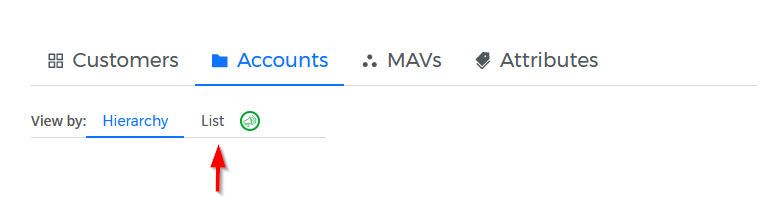
By default, CloudCheckr CMx shows your accounts grouped by folder, but you can switch to see a List view of the accounts in your project.
In the View by section, click List.
CloudCheckr CMx now displays the accounts in an alphabetical list:
To modify an account in the list, click the row of a selected account to display the Edit Account drawer.
To drill into the details of an acccount in the list, click
to switch to the Home page of the selected account.
To see where this account is located in the account hierarchy, go to the Parent Group column.
The List view also shows the credential status for each account:
Icon
Status
The account has valid credentials.
The account credentials failed, are unknown, have a warning, or the API was not able to validate the credentials.
The account credentials are empty or are not configured.
If you hover over the icon, a tooltip will indicate, Credential Status = Empty or Credential Status = NotConfigured.
In the List view, you can refine the account list by provider, type, or your own search criteria. You can select one or multiple filters.
In the List view, go to the Search bar labeled Search accounts table:
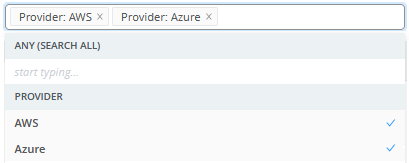
To search by provider:
Click the Search bar and from the drop-down list, select your provider(s):
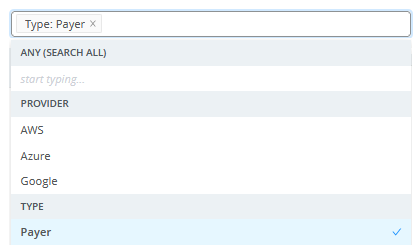
To search by type:
Click the Search bar and from the drop-down list, select your type(s):
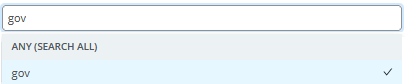
To filter by a custom search:
Click the Search bar and type your search term(s):
To reset your filter options:
Click the x next to your filter(s):
In the List view, you can export a list of accounts to a CSV file.
Click the
located on the right side of the page:
Your next steps will depend on which browser you are using.
Follow any on-screen prompts to open or save the new CSV file.
 to expand a folder and display the contents in a new pane. Continue to click
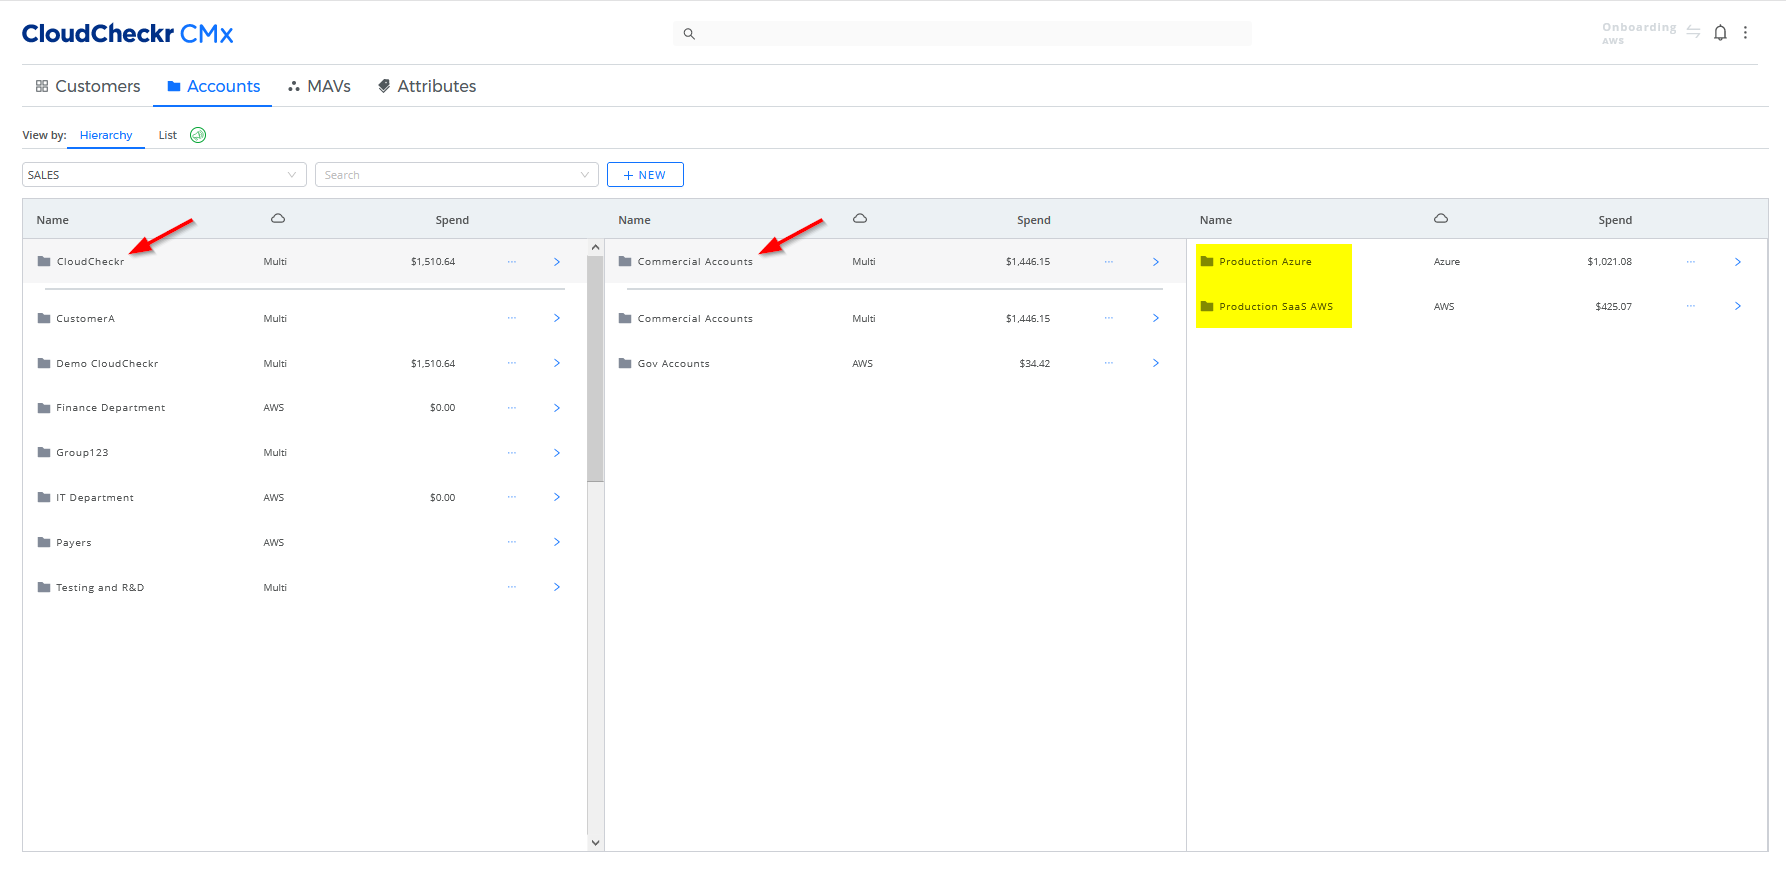
 in a selected folder.

 to switch to the Home page of the selected account.


 located on the right side of the page:
