Create and Configure Your Google Cloud Account in CloudCheckr
CloudCheckr is happy to provide early access to our Google Cloud offering. Currently, there is limited functionality, but Early Access allows you to get comfortable with the CloudCheckr interface and see what our product has to offer.
If you have any questions about setting up your Google Cloud account, contact Customer Success.
Workflow
If you want to connect your Google Cloud account with CloudCheckr, please follow this workflow.
- Launch CloudCheckr.
The main page of the application displays.
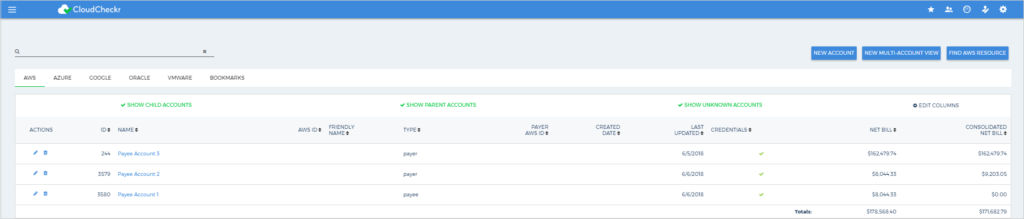
- From the right side of the screen, click NEW ACCOUNT.
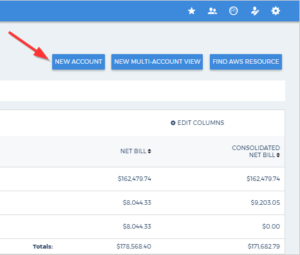
The New Account screen displays.
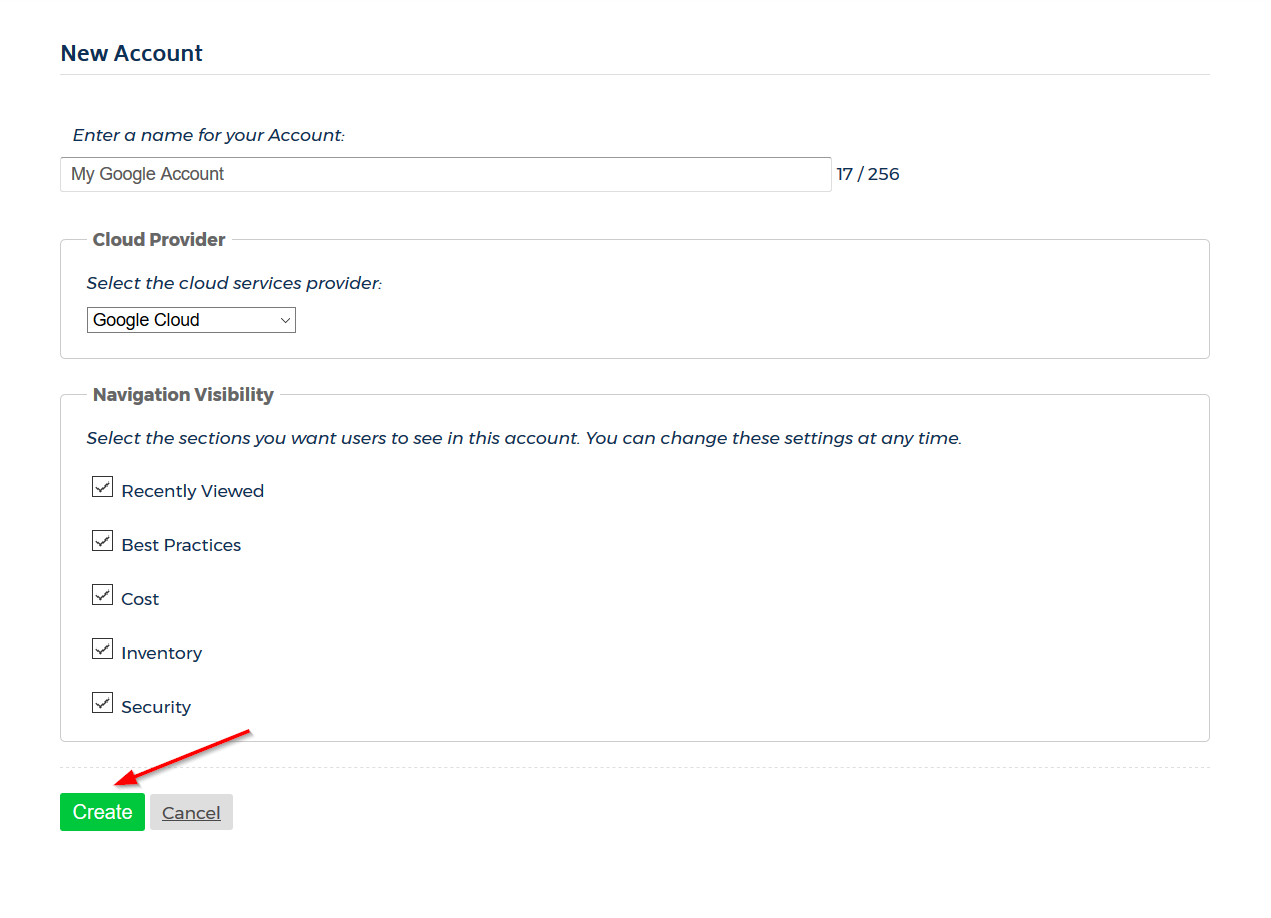
- Type a unique name for your account and in the Cloud Provider section and select Google Cloud.
- In the Navigation Visibility section, select the checkboxes next to the modules that you want to be visible and accessible for this account:
- Recently Viewed: shows the 10 reports that were most recently accessed
- Best Practices: contains 550+ valuable, actionable recommendations based off the industry compliance standards
- Cost: includes all reports on your daily spend and access to raw billing data
- Inventory: contains list of Summary, Detail, and Trending reports for your cloud provider's offerings
- Security: helps you audit, conduct forensics, and manage other security issues for your cloud deployment
- At the bottom of the New Account page, click Create.
Right after you create a Google Cloud account, CloudCheckr will display the Configure Account page. In the foreground, you will see a message about Google Cloud Early Access.
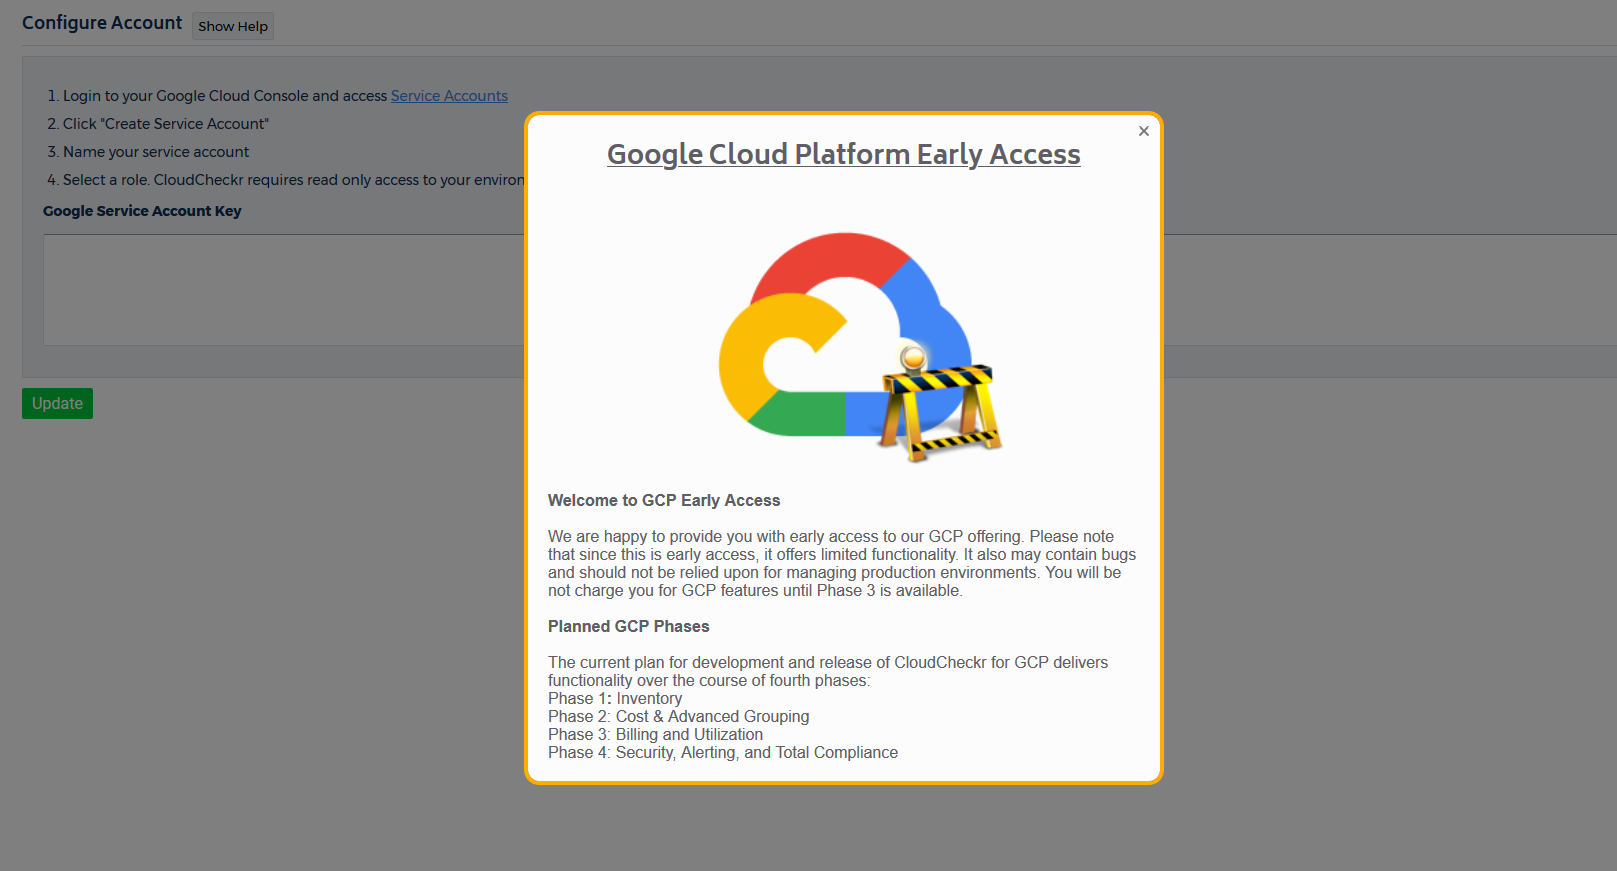
- Click X to close the message.
- Log in to your Google Cloud Platform console and select IAM > Admin.
- Click Service Accounts.
- Click the Create Service Account button.
-
Type a name for your service account and select a role.
CloudCheckr requires read-only access for your environment. We recommend Project Viewer.
- Select Furnish a new private key.
We recommend the JSON key type.
- Copy the private JSON account key.
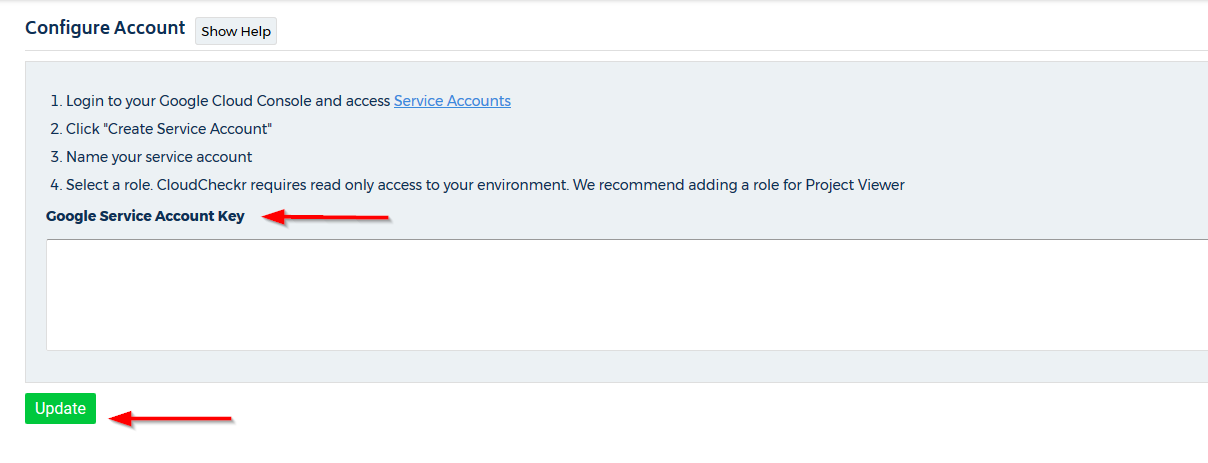
- Return to the Configure Account page in CloudCheckr.
- Paste the key into the Google Service Account Key field and click Update.