All Categories
>>
Create IAM Admin Users and Adding User to Administrator's Group
Create IAM Admin Users and Adding User to Administrator's Group
As a best practice, the AWS account requires that you you create a new IAM user with administrator access in order to set up policies, users, and groups rather than use the root user's credentials.
Before assigning administrator access to an IAM user in the AWS console, you must attest or validate that the user is approved for administrator access in Cloudcheckr.
CloudCheckr classifies IAM users as an administrator if they have been granted one of the following permissions, either directly or indirectly through membership in a group:
This procedure will show you how to create an IAM admin user and assign that user to the Administrator's group.
Create An IAM Admin User and Add User to Administrator's Group
Log in to the
AWS Management Console.
The AWS services page opens.
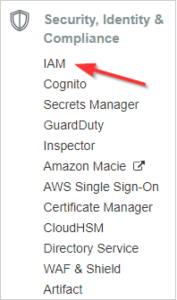
Scroll down to the Security, Identity & Compliance section and select IAM.
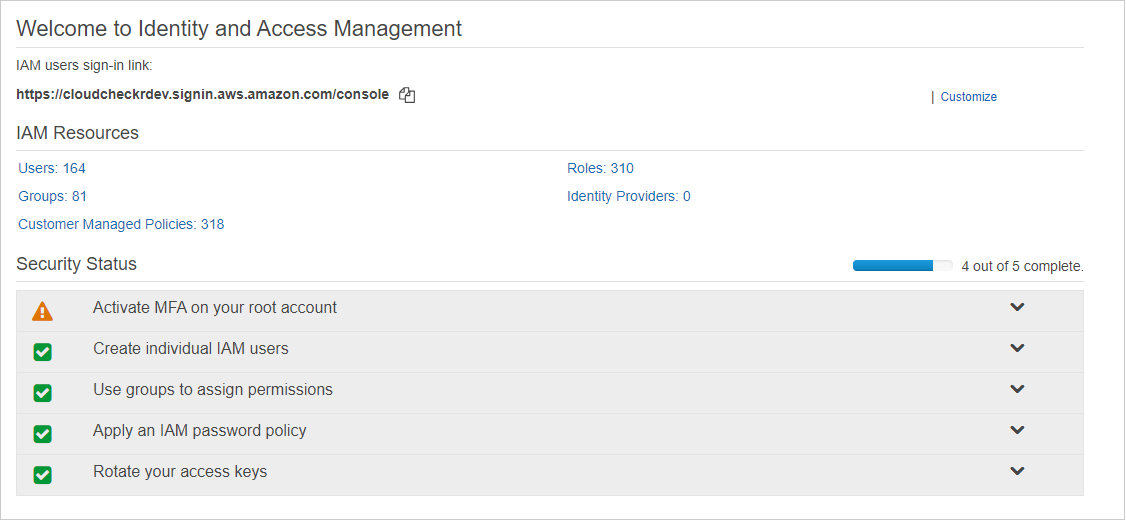
The Welcome to Identity and Access Management screen displays.
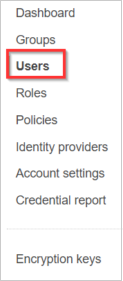
Click Users on the left side of the console.
A list of users displays.
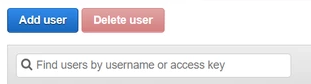
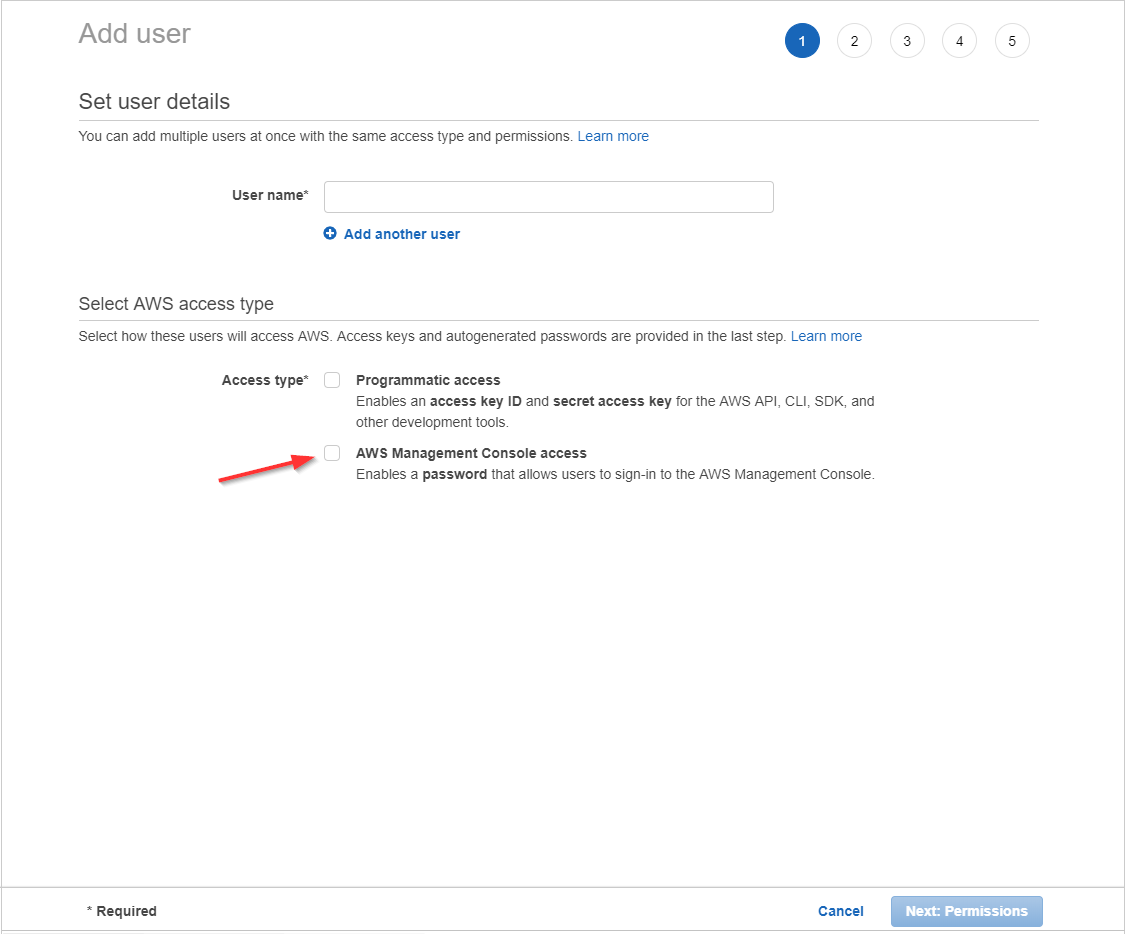
Click the Add user button.
Type a user name.
We recommend naming the user Administrator for easy identification.
Ensure the AWS Management Console access check box is selected.
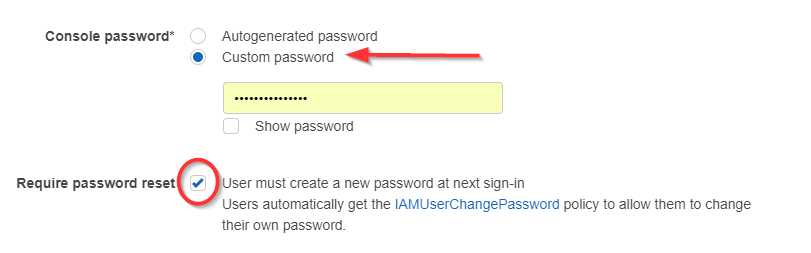
The Console password section displays.
Select Custom password, type your new password in the text field, and select the Require password reset checkbox.
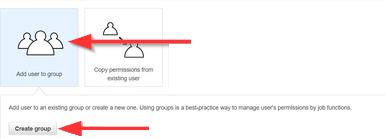
Click Next: Permissions.
Click Add user to group and click Create group.
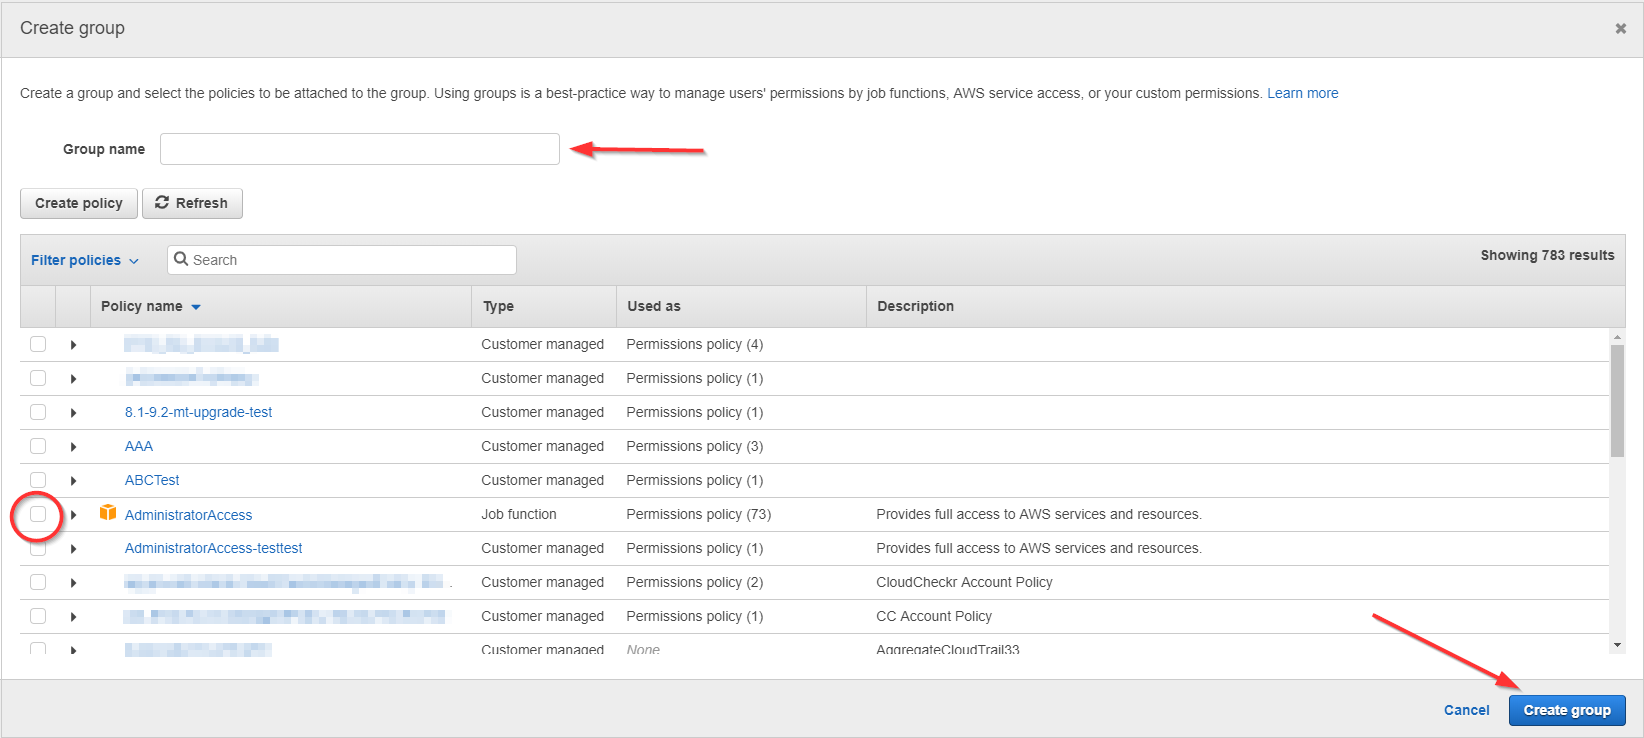
The Create group dialog box opens.
Type the name of the new group and select the Administrator Access checkbox from the policy list, and click Create group.
The new group is now displayed in the groups list.
Click Next: Tags.
The Add tags (optional) page displays. This is an optional step. For the purposes of this procedure, we will not add tags.
Click Next: Review.
The Review page opens.
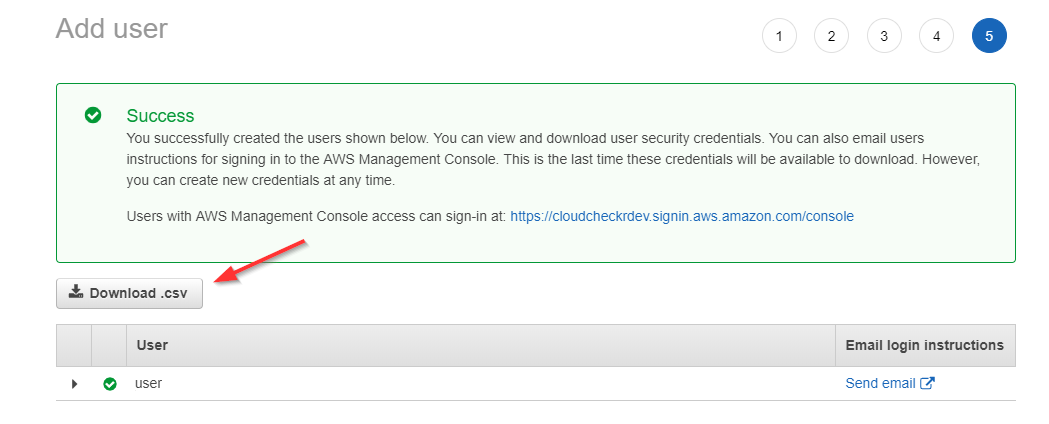
Review your selections and click Create user.
Click the Download .csv button to save the security credentials as a CSV export, and click Send Email to provide the user with instructions on how to log in to the AWS Console.
Click the Close button on the bottom of the console.
Perform the following actions in CloudCheckr:
Launch CloudCheckr.
Select your account from the Accounts List page.
From the left navigation pane, select Account Settings > AWS Credentials.
The Credentials page opens. The Use a Role for Cross-Account Access tab will be displayed by default.
Click the User an IAM Access Key tab.
The instructions on how to add the access key and secret key IDs display.
Scroll down to the step that refers to accounts from India.
Select the This account is managed by AISPL checkbox if this is an account from India managed by Amazon Internet Services Pvt. Ltd (AISPL).