If you are a CloudCheckr enterprise customer who purchased our white label package, contact Customer Success or Support to confirm you're set up properly.
Workflow
Unless noted otherwise, you will complete these steps in the Azure portal.
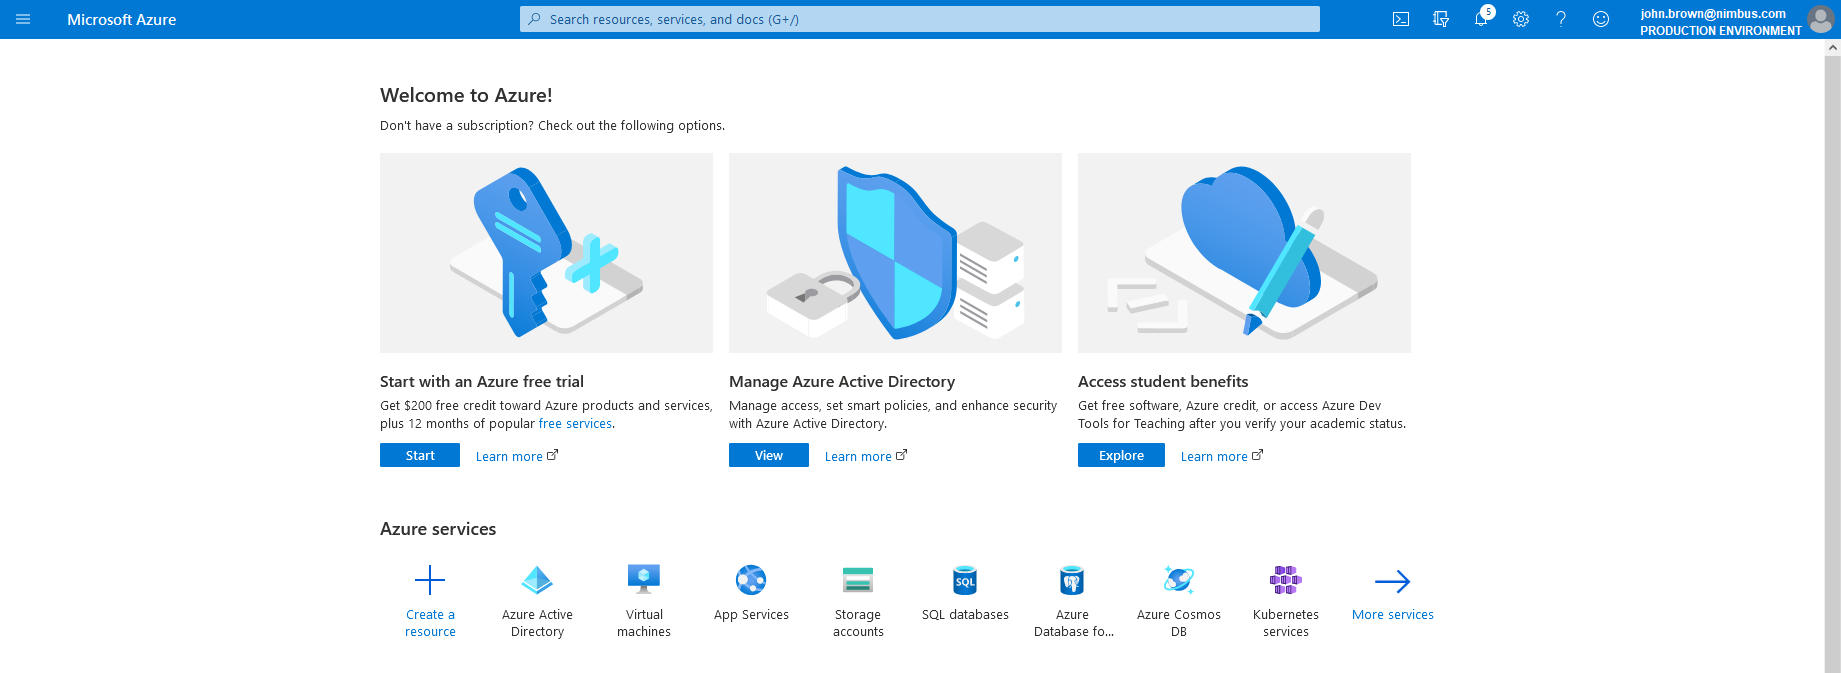
Log in to the Azure portal. The Welcome to Azure screen opens.
From the top left of the screen, click to display the portal menu.
Click Azure Active Directory from the portal menu.
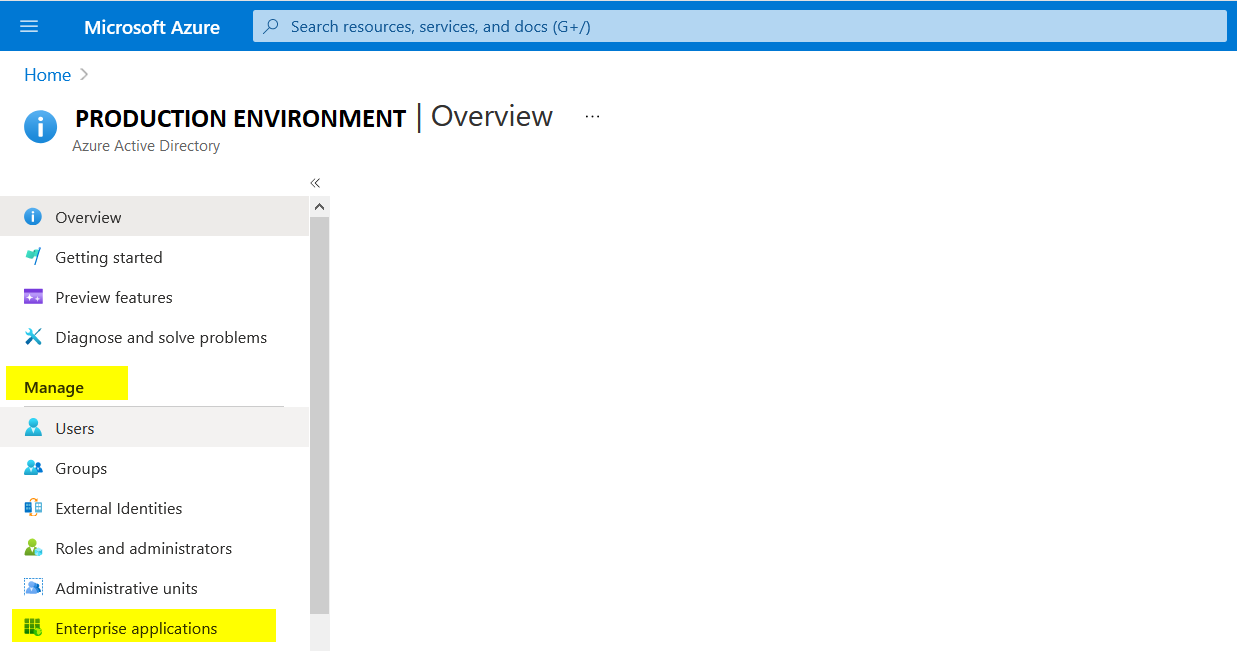
In the Manage section of the Azure Active Directory blade, click Enterprise applications.
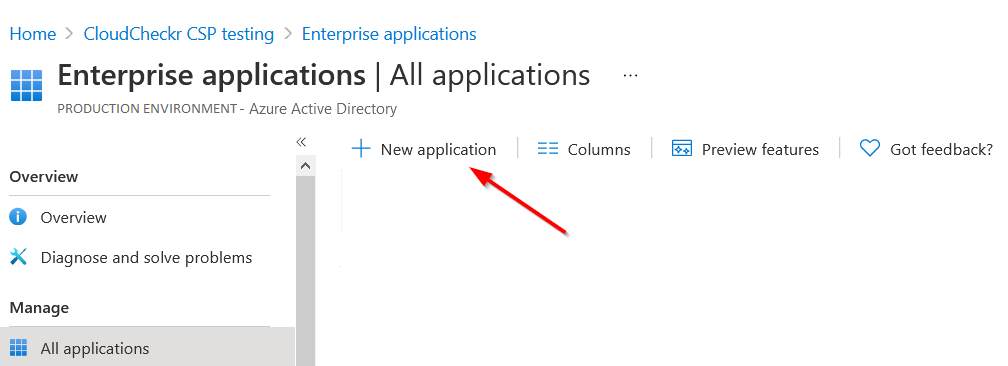
From the top of the right pane, click New application.
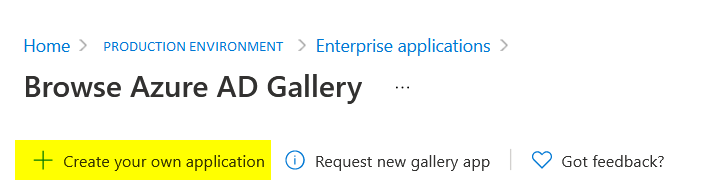
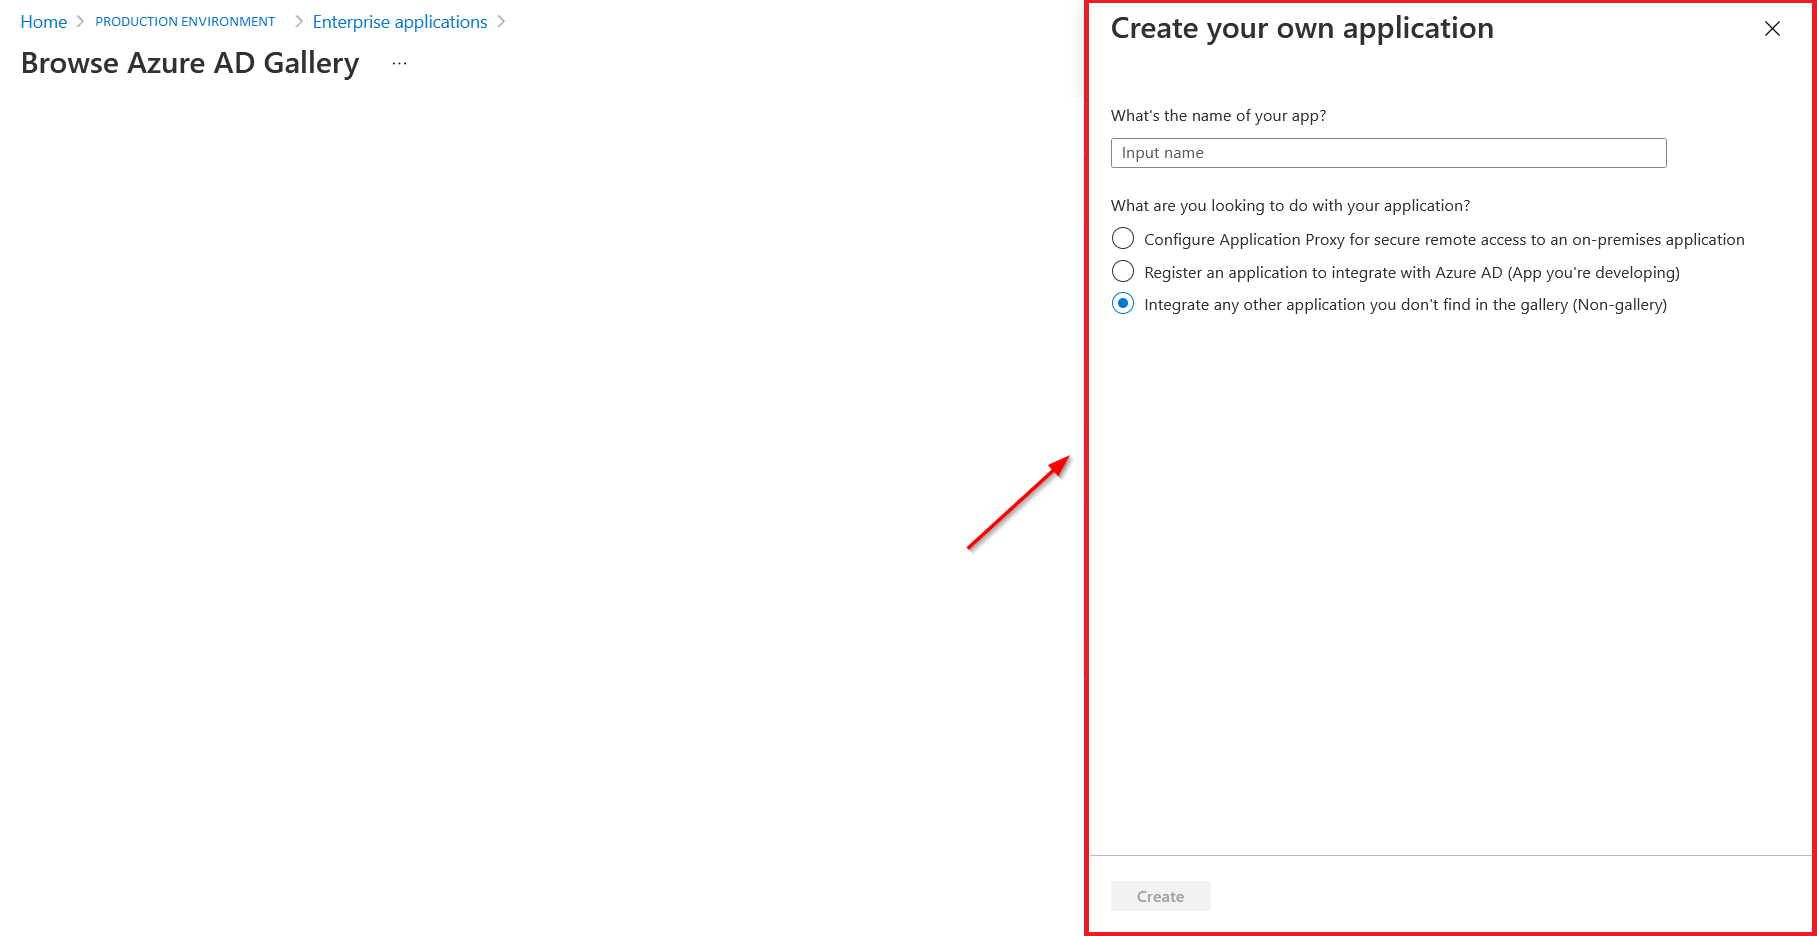
From the Browse Azure AD Gallery, click Create your own application.
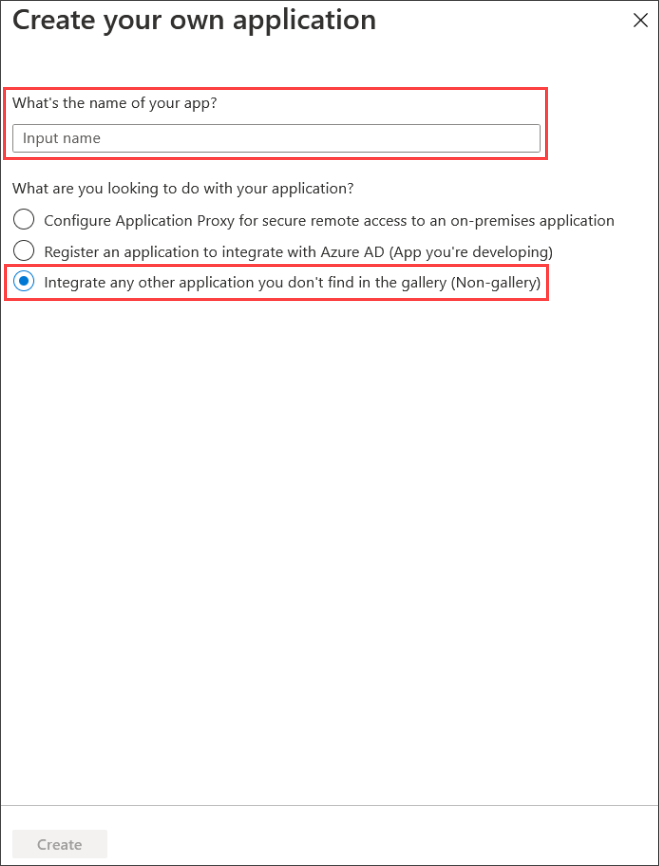
The Create your own application pane opens.
In the What's the name of your app text field, provide a name for your new application.
Select the Integrate any other application you don't find in the gallery (Non-gallery) radio button.
From the bottom of the pane, click Create. The Register an application page opens.
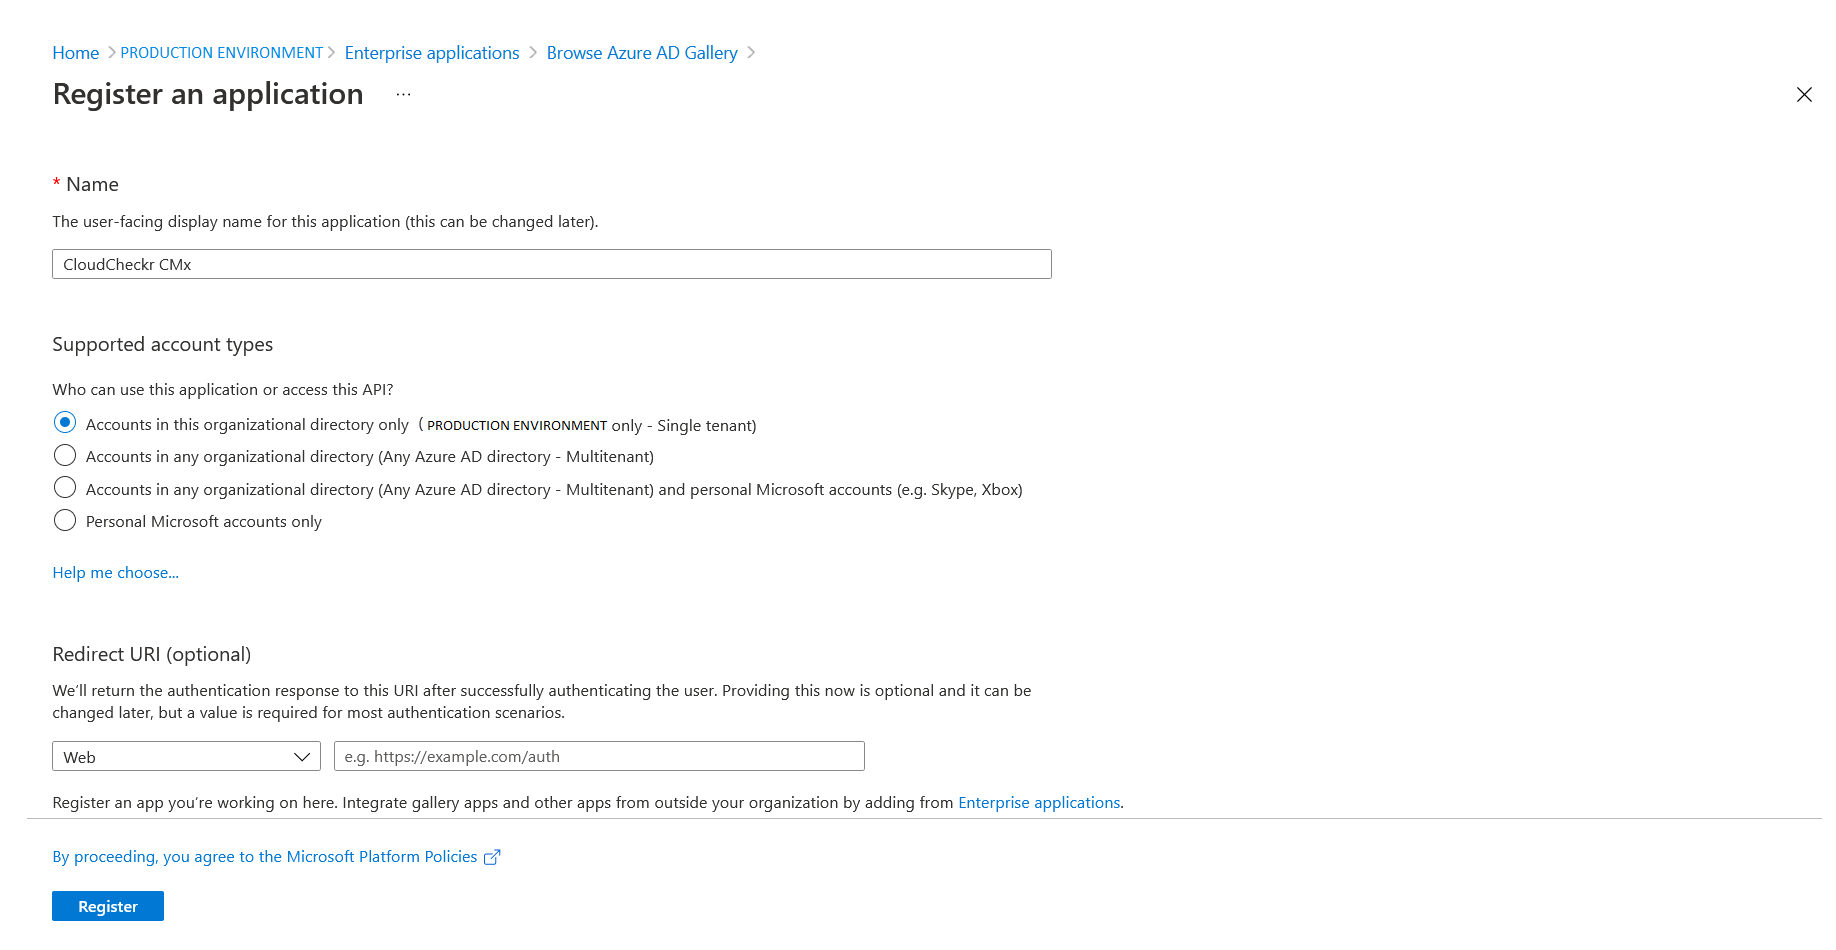
The next step in the workflow will show you how to register your application.
On the Register an application page, you will notice that Azure automatically populates the name of your application. Unless specified otherwise, you can register your application using the default options on this page.
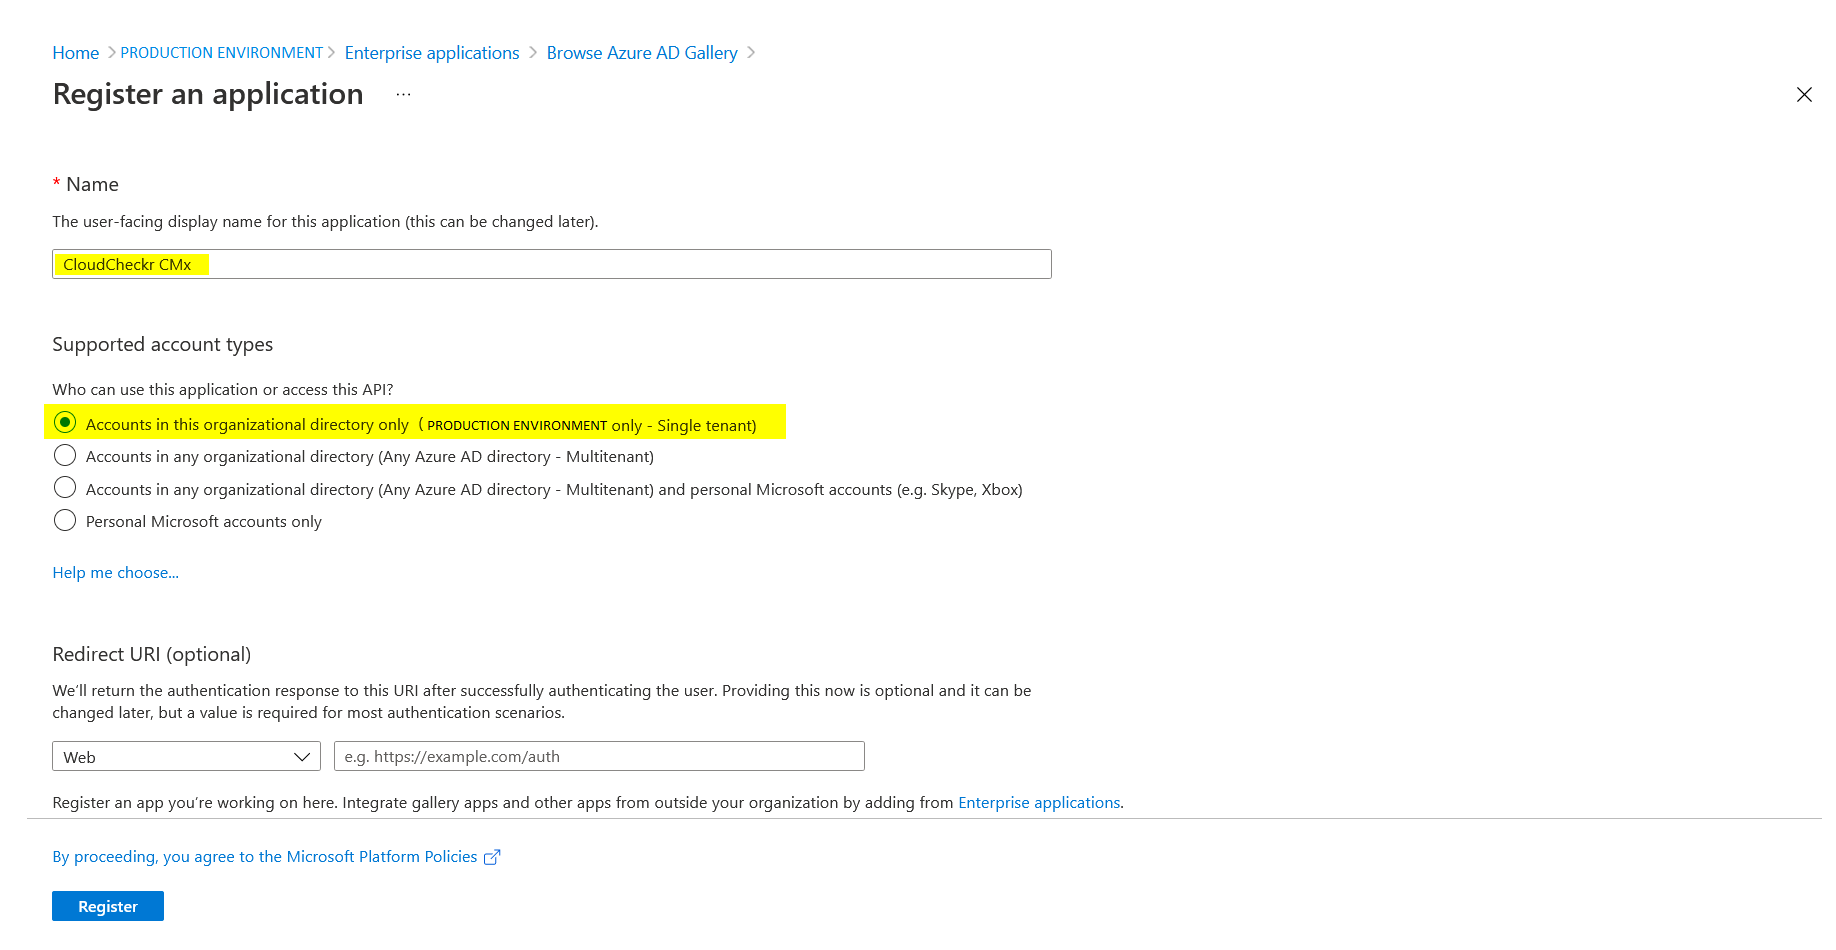
Under Supported account types, verify that the Accounts in this organizational directory only (PRODUCTION ENVIRONMENT only - Single tenant) radio button is selected. Here is an example of wht your screen will look like:
Click Register. A popup indicates that your application is now registered and you are returned to the Browse Azure AD Gallery page.
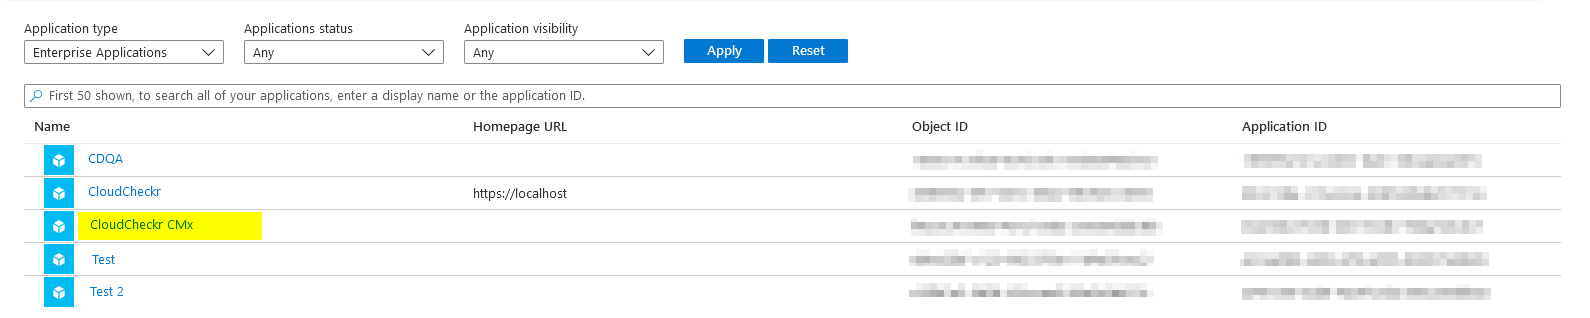
Locate the breadcrumbs at the top of the page and click Enterprise applications.
You will now see your newly registered application in the application list:
Azure provides a handy Getting Started wizard so you can more easily complete thec configuration of your enterprise application. In this step, we will focus on how to set up a user.
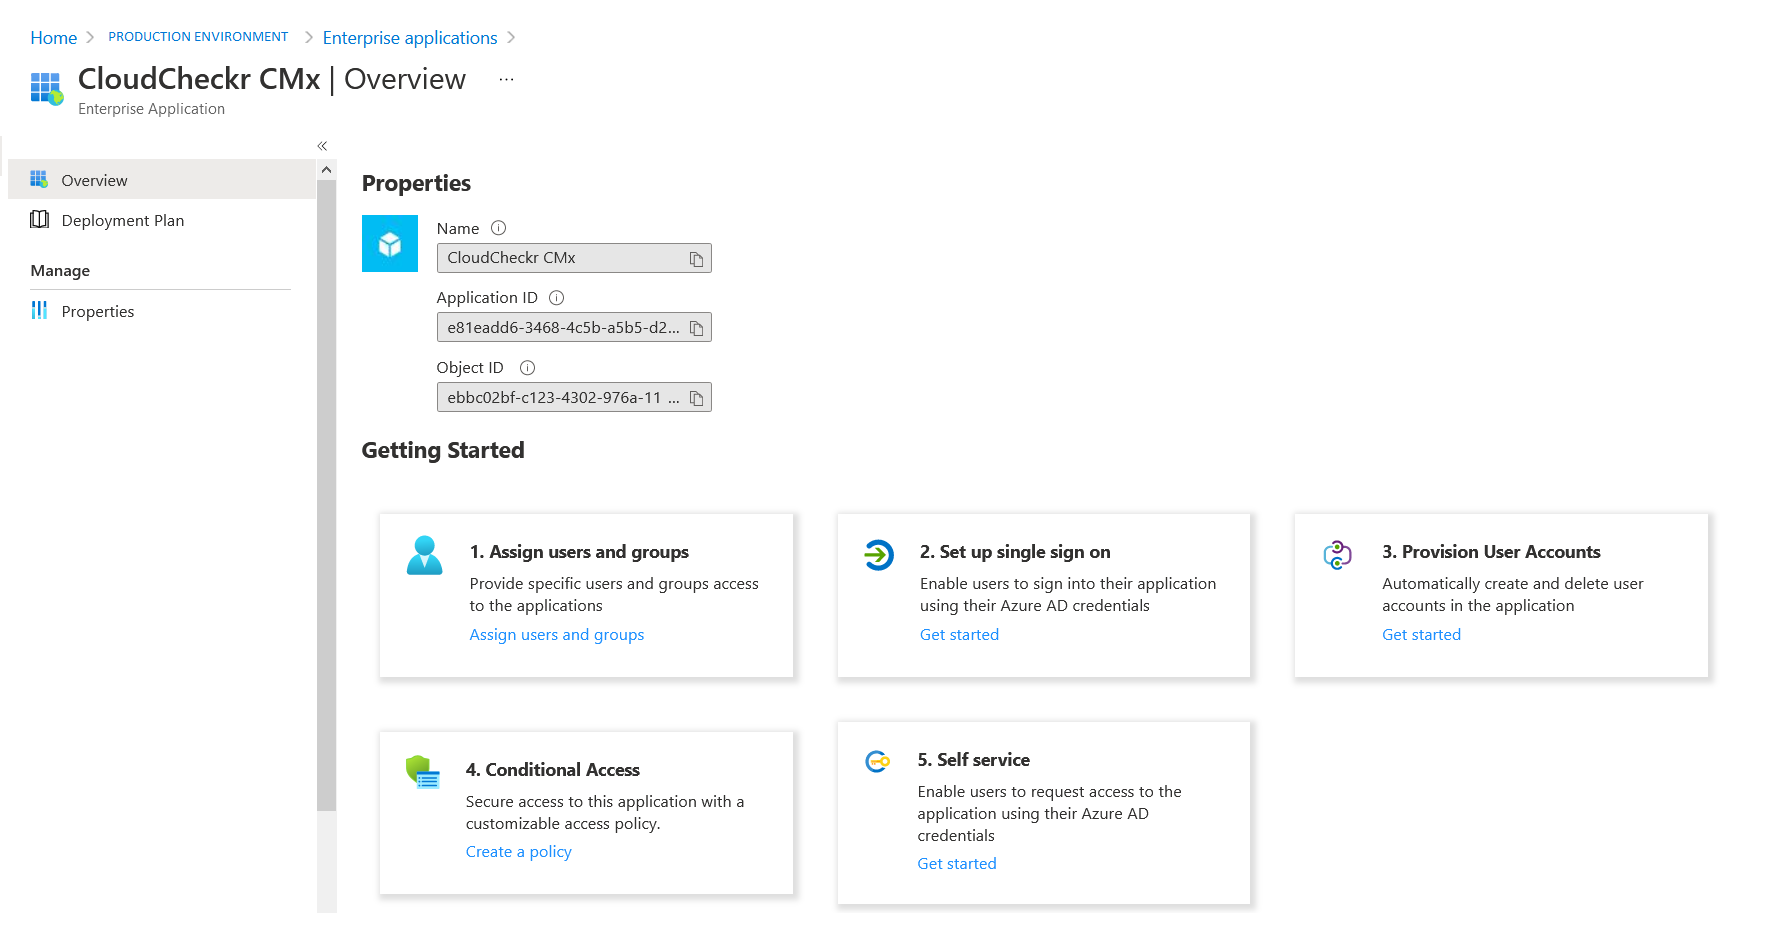
From the application list on the Enterprise page, click the row that contains your new application.
Azure now displays the Overview page for your application. Notice that the right pane includes the application properties and a Getting Started wizard:
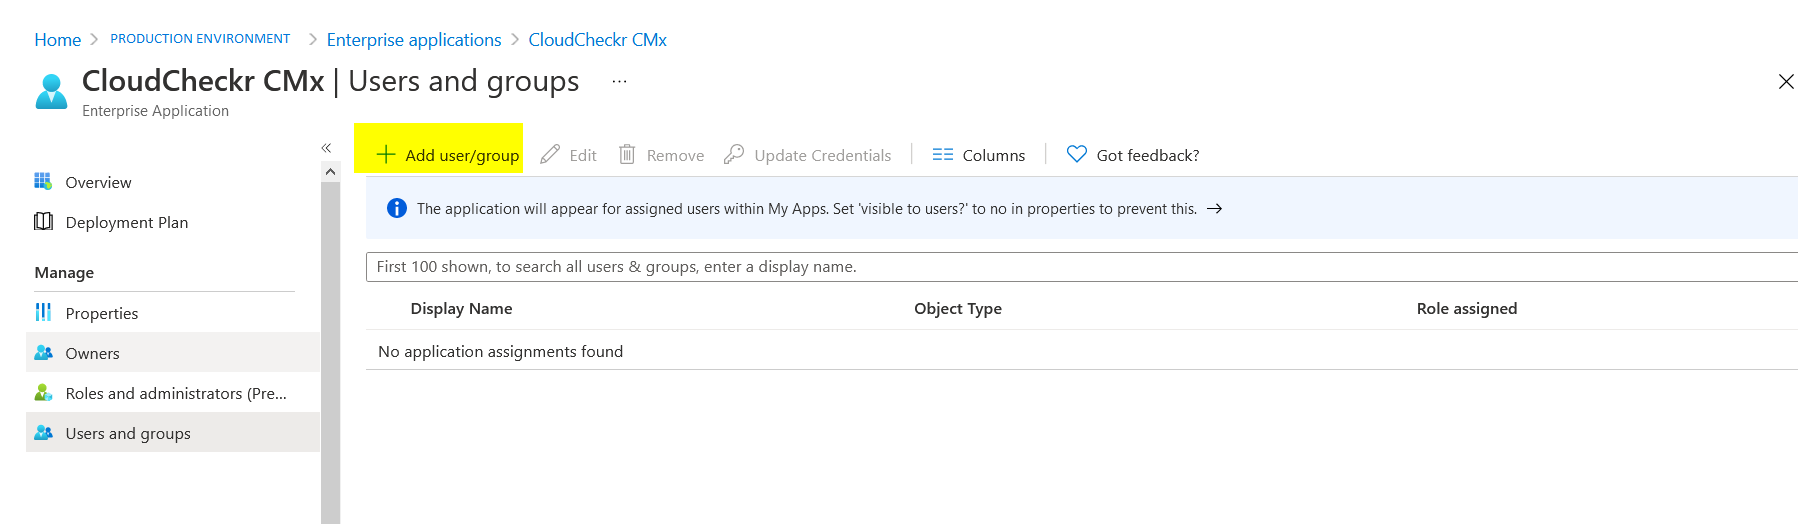
Click the Assign user and groups box. The Users and groups page opens.
Click + Add user/group.
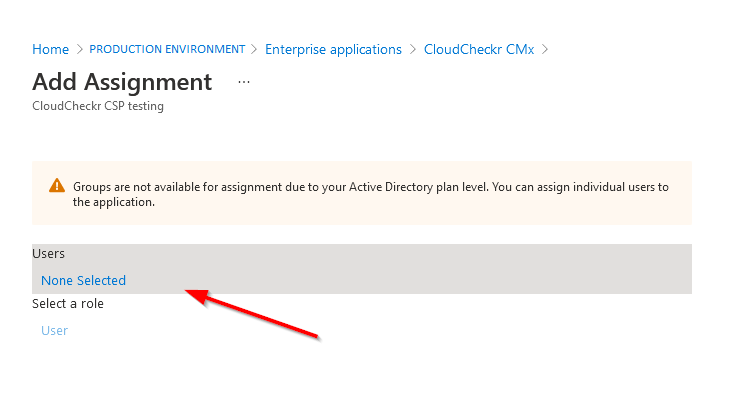
The Add Assignment page opens. Since you have not assigned a user yet, none are listed under the Users section.
Click the None selected link.
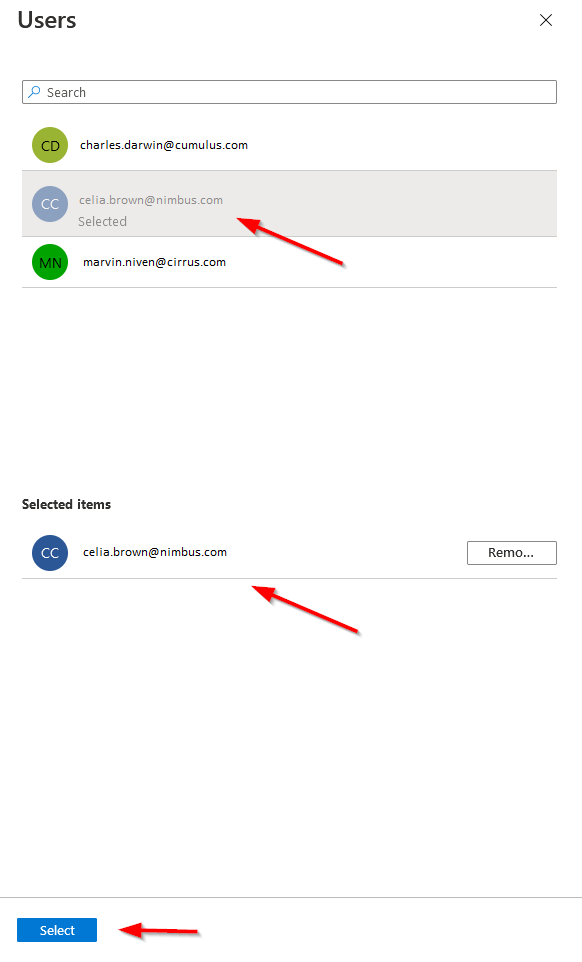
The Users pane opens.
Choose a user from the list and click Select. In our example, we chose celia.brown@nimbus.com.
From the left side of the screen, click Assign. The selected user is now assigned to your enterprise application.
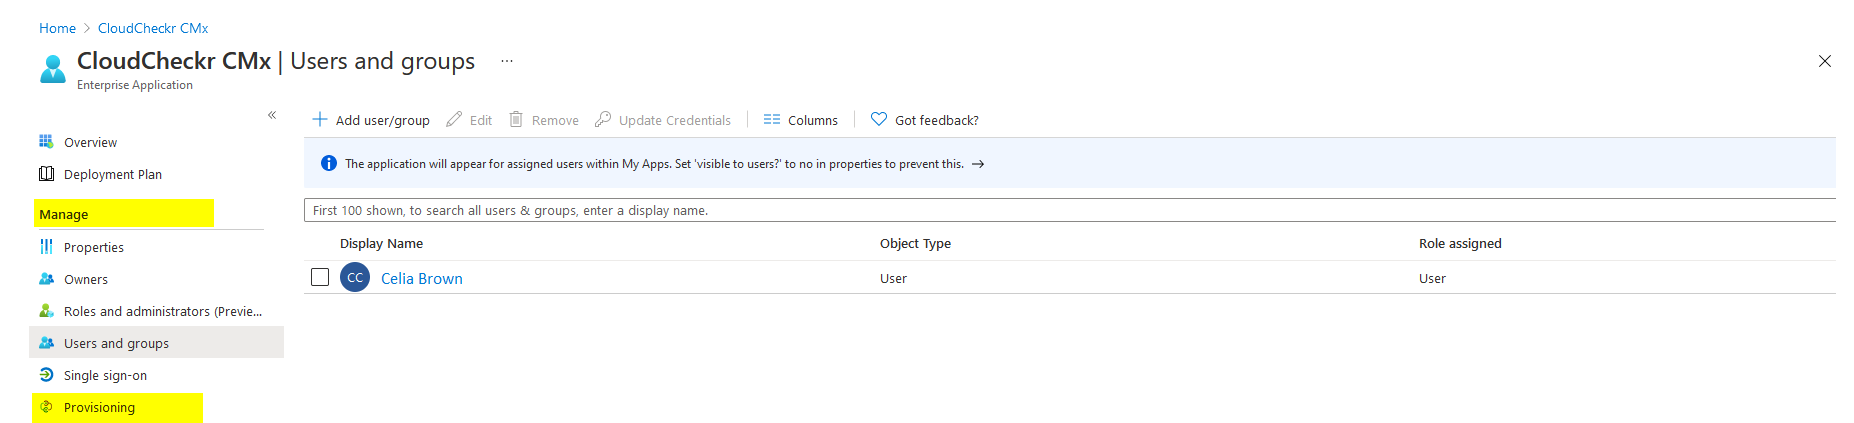
In the Manage section of the Users and groups page, click Provisioning:
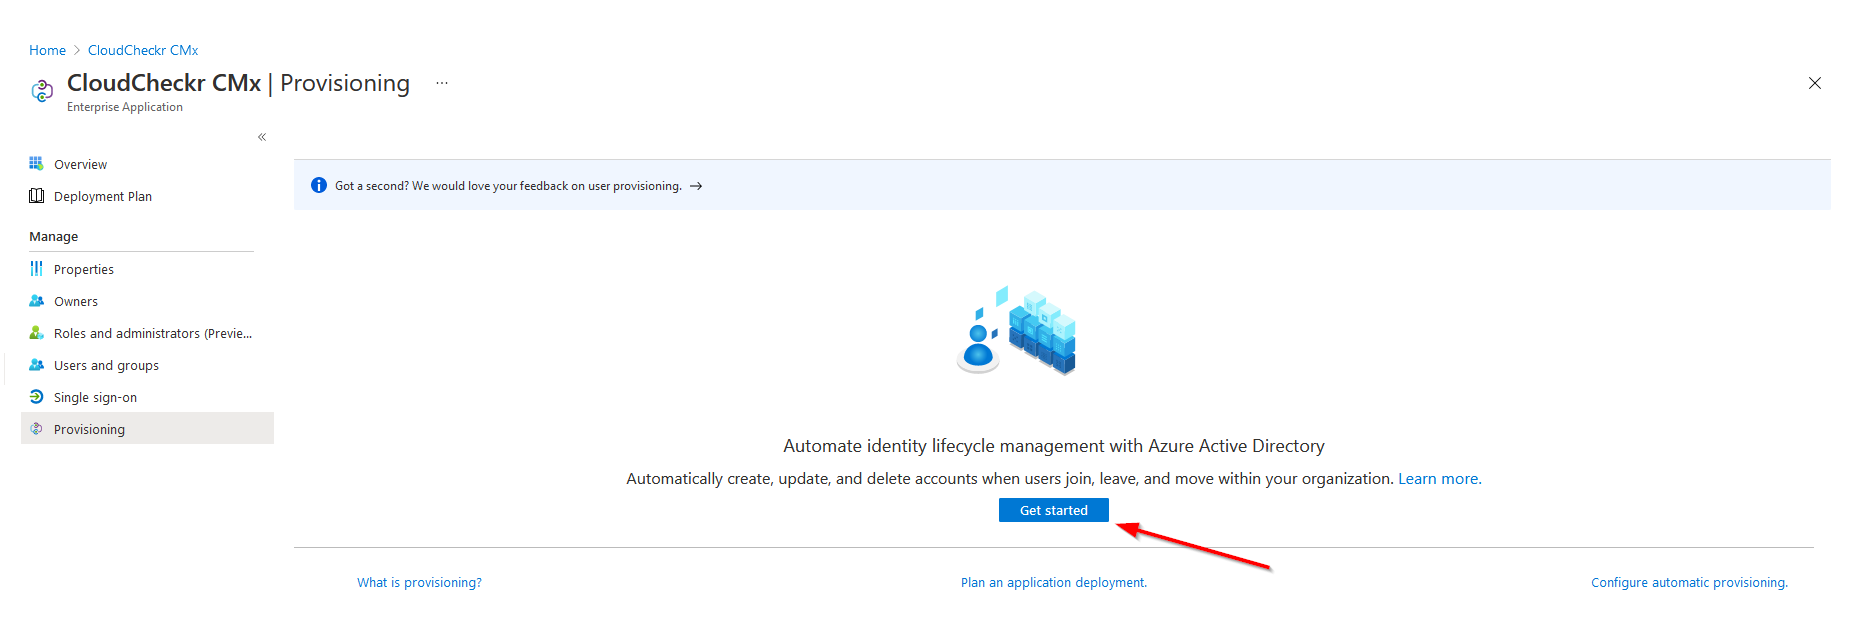
For your SSO configuration, we recommend that you set your provisioning mode to Manual, so that you control when to provision and de-provision your users.
From the middle of the right pane, click Get started.
Verify that Manual is selected from the drop-down menu and click X in the top right corner of the page.
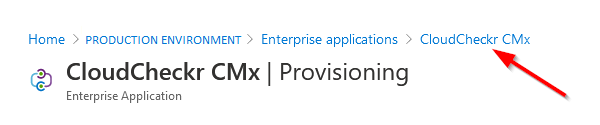
Locate the breadcrumbs at the top of the page and click CloudCheckr CMx.
In this step, we will show you how to set up SSO, so that you can use your Azure Active Directory creedentials to log in to CloudCheckr CMx.
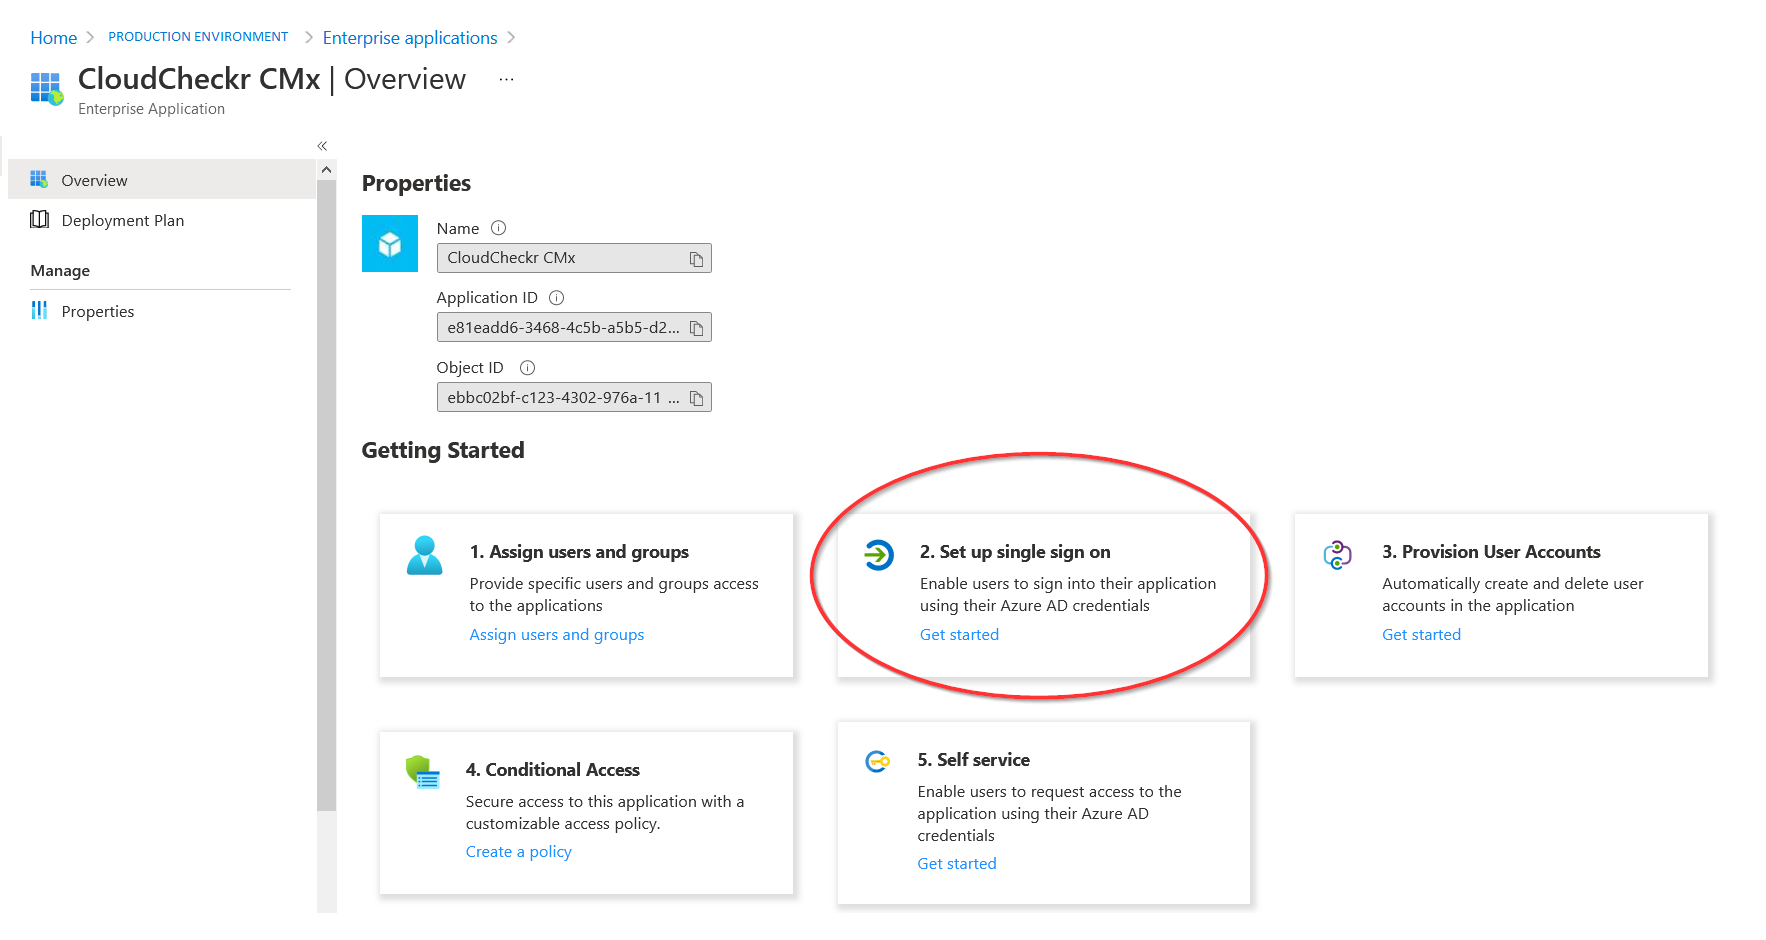
From the Overview page, click the Set up single sign on box:
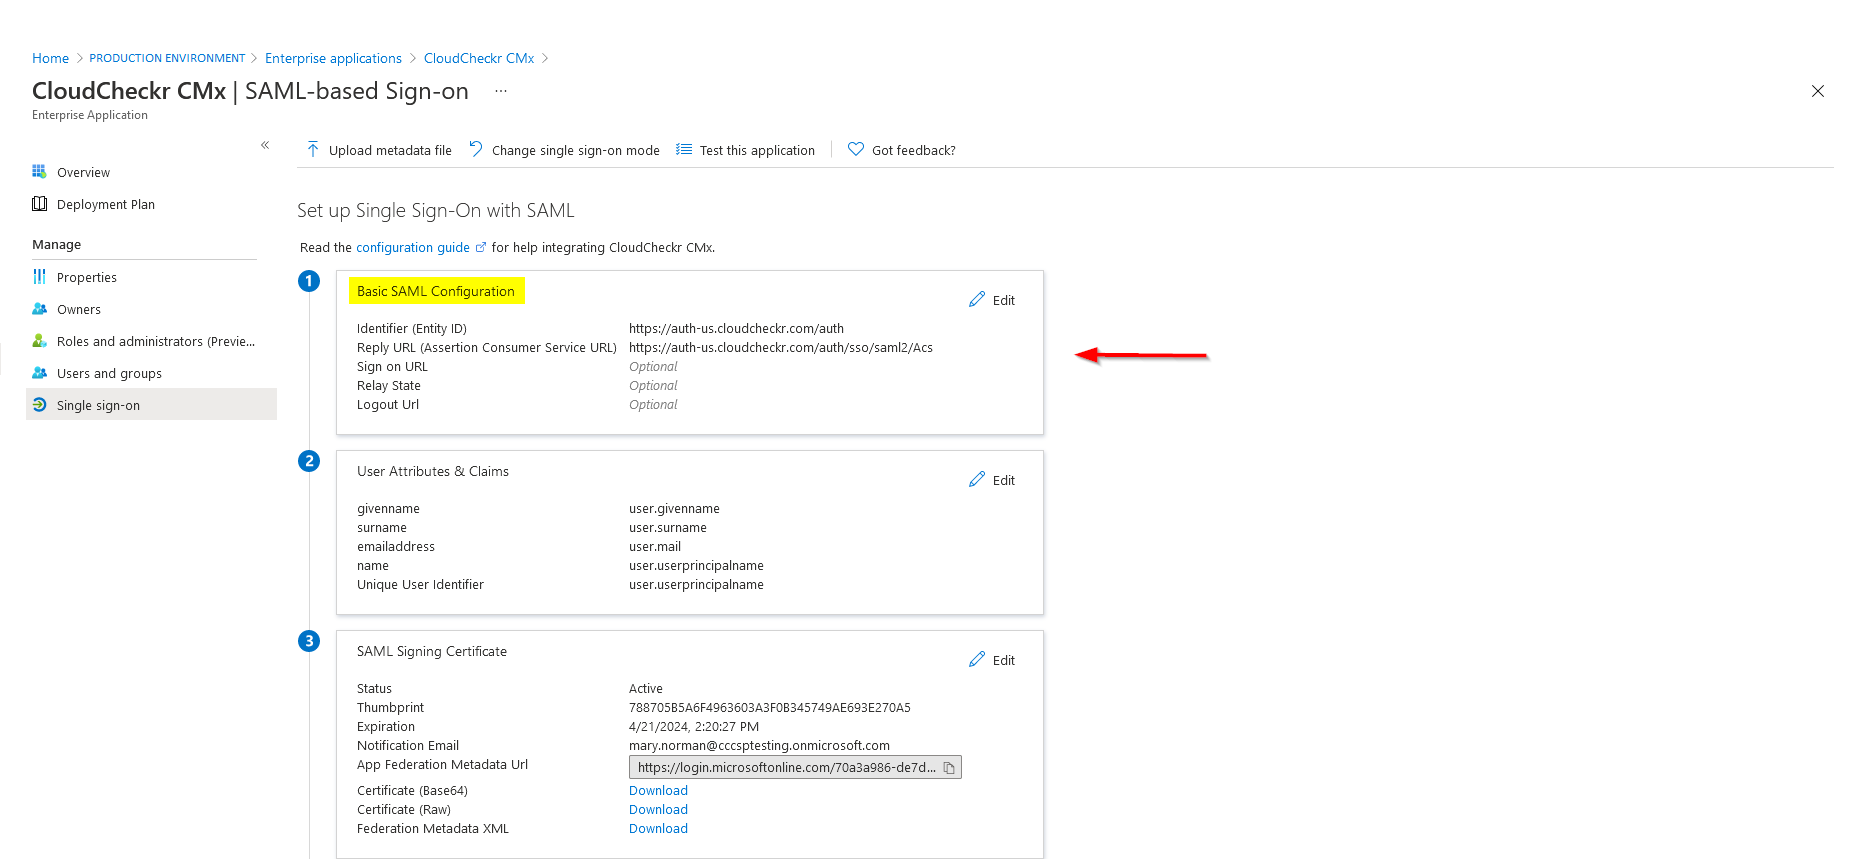
The SAML-based Sign-on page opens. Notice box 1, Basic SAML Configuration at the top of the right pane.
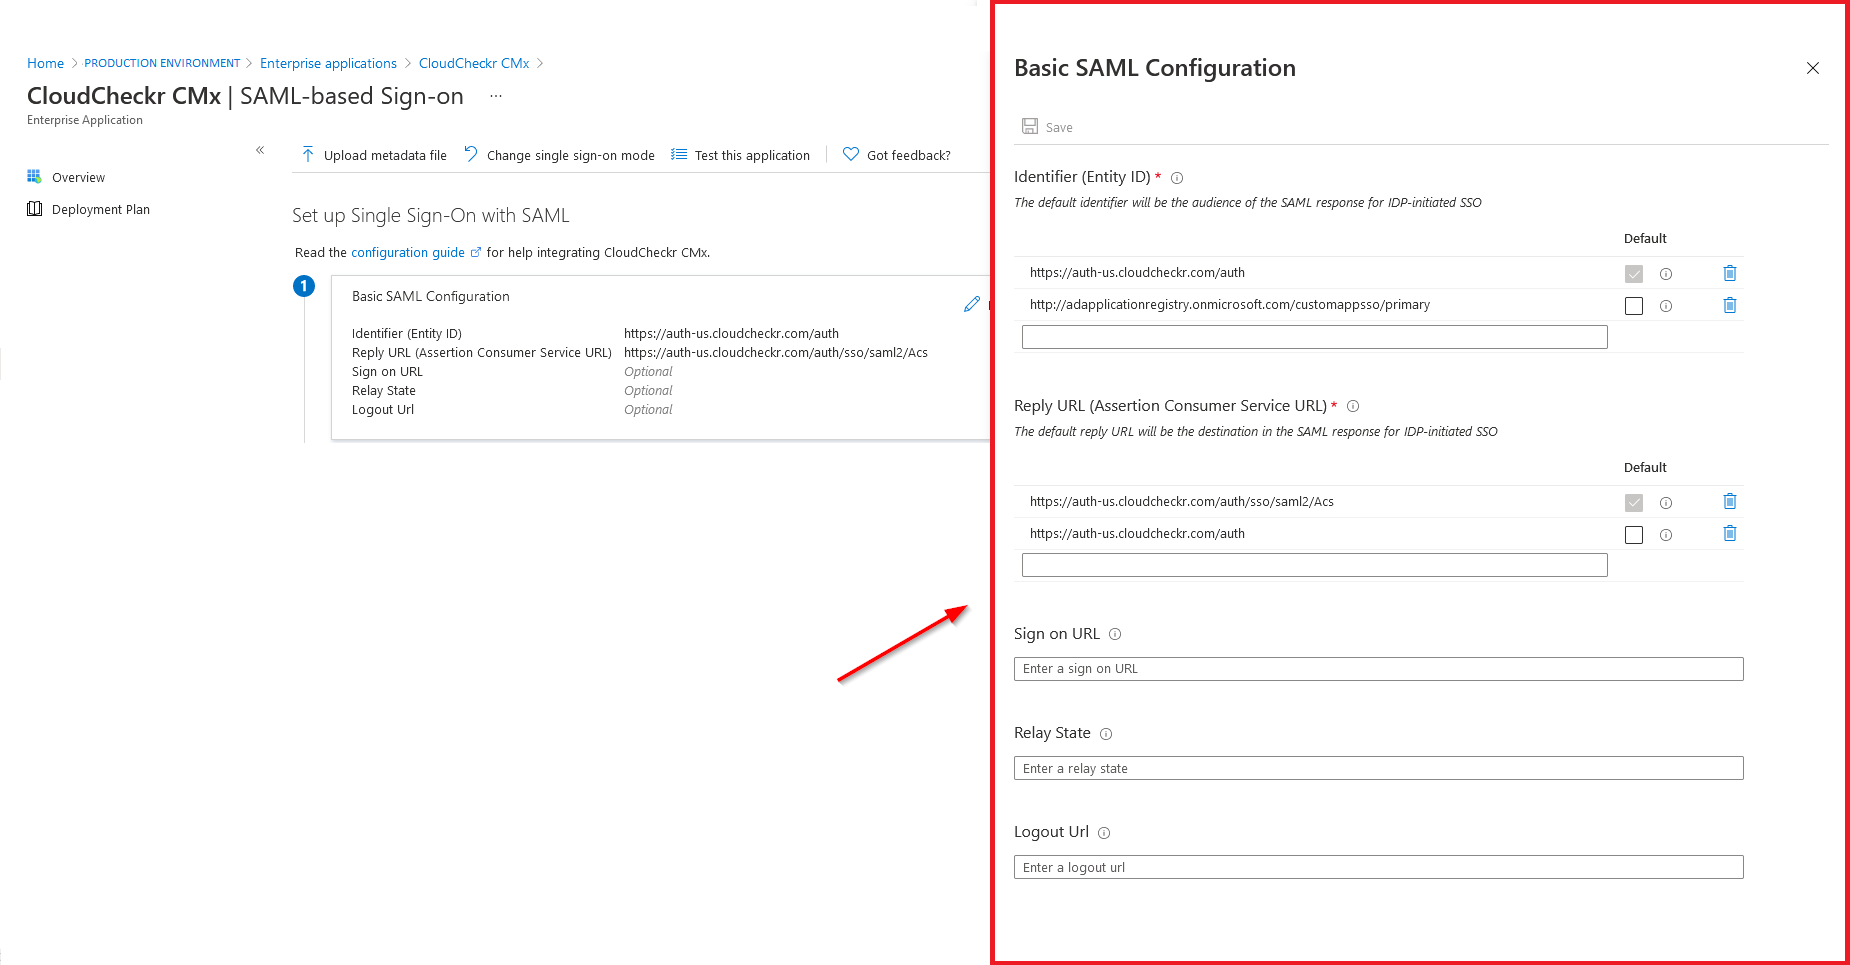
Click Edit (pencil icon) in the Basic SAML Configuration box. The Basic SAML Configuration pane opens:
Using this table as a guide, find the URL that corresponds to your CloudCheckr CMx region.
If you are a CloudCheckr enterprise customer who purchased our white label package, contact Customer Success or Support to confirm your authorization endpoint.
Region
URL
US Production (https://app-us.cloudcheckr.com)
https://auth-us.cloudcheckr.com/auth
Europe (https://app-eu.cloudcheckr.com)
https://auth-eu.cloudcheckr.com/auth
Australia (https://app-au.cloudcheckr.com)
https://auth-au.cloudcheckr.com/auth
Gov (https://app-gov.cloudcheckr.com)
https://auth-gov.cloudcheckr.com/auth
Federal (https://app-fed.cloudcheckr.com)
https://auth-fed.cloudcheckr.com/auth
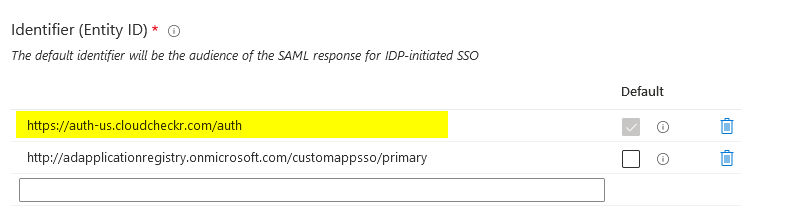
Verify that the URL is indicated in the first text field in the Identifier (Entity ID) section. In our example, the region we are using is US Production, and we verified that https://auth-us.cloudcheckr.com/auth is correct:
If the URL is not listed, paste it into the first text field.
In the Identifier (Entity ID) section, verify that the checkbox next to your URL is selected.
If you don't select this checkbox, your configuration will fail.
Using this table as a guide, find the URL that corresponds to your CloudCheckr CMx region.
If you are a CloudCheckr enterprise customer who purchased our white label package, contact Customer Success or Support to confirm your authorization endpoint.
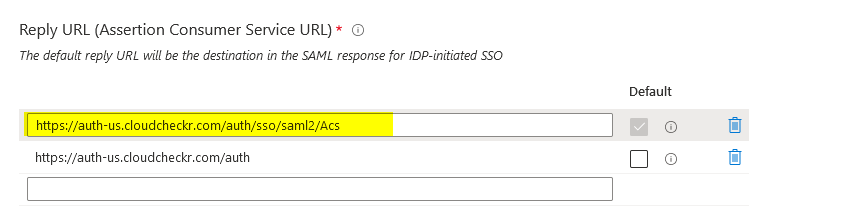
Verify that the URL is indicated in the first text field in in the Reply URL (Assertion Consumer Service URL) section. In our example, the region we are using is US Production, and we verified that https://auth-us.cloudcheckr.com/auth/sso/saml2/Acs is correct:
If the URL is not listed, paste it into the first text field.
At the top of the pane, click Save.
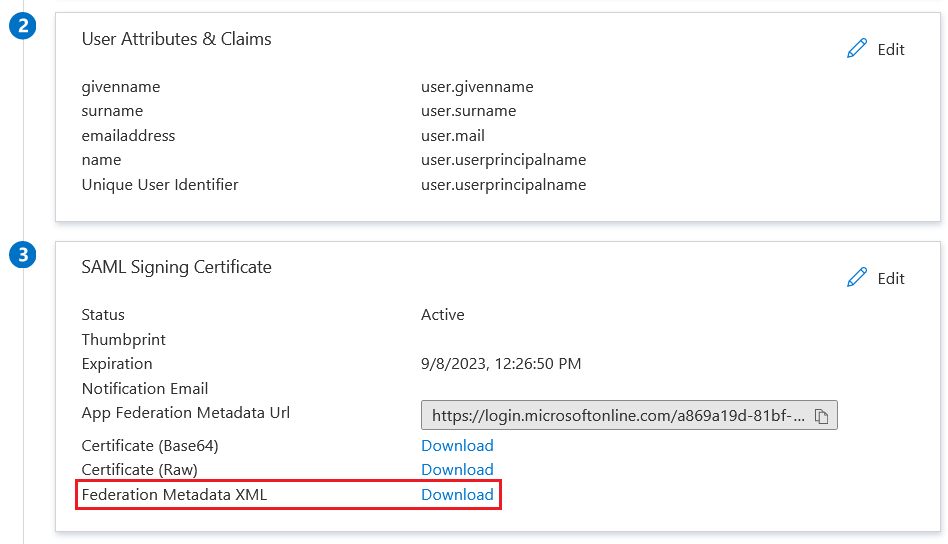
Once saved, click the Download link for Federation Metadata XML. You will need to send this file to CloudCheckr Support.
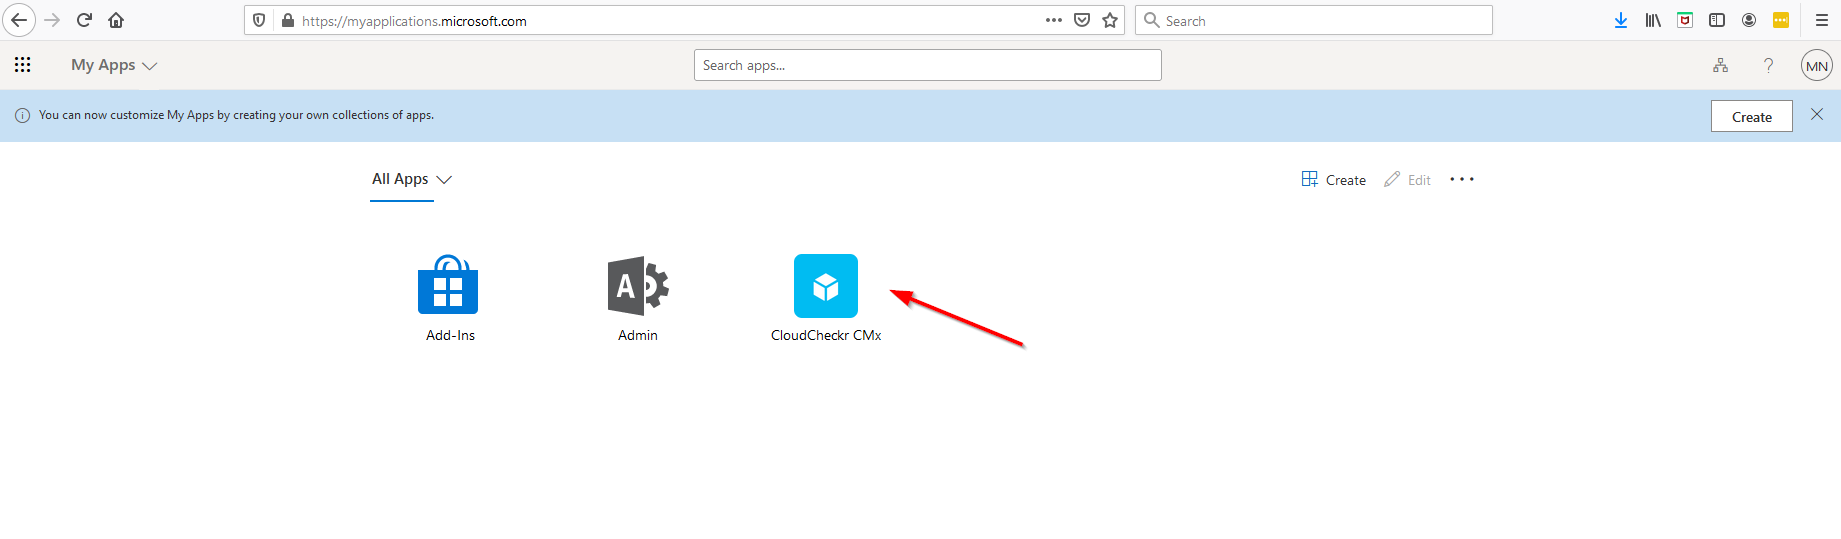
Once the SSO configuration is complete, you can log in to My Apps and select CloudCheckr CMx from the list of applications:
Create a support ticket in the Flexera Community that indicates you configured your SAML information.
Attach the XML file that you downloaded in the previous procedure to your ticket.
Although CloudCheckr will provision your users for the first-time logon, your organization must enable specific permissions and account access for your CloudCheckr CMx users. For more information, see the Access Management and Roles topics.
In Step 3, users were assigned to the CloudCheckr app used for single sign on. Users will need to access myapps.microsoft.com and click on the CloudCheckr tile to access the application.
 to display the portal menu.
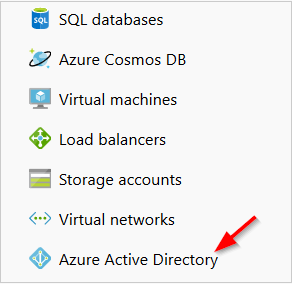


 If you don't select this checkbox, your configuration will fail.