Configure Single Sign-On for AWS in CloudCheckr
In this topic, you will learn how to set up SSO with your AWS account by configuring:
- AWS (the Identity Provider or IdP)
- CloudCheckr (the Service Provider or SP)
Procedure
- Log in to the AWS Management Console.
The AWS services page opens.
- In the Find Services text field, type AWS SSO.
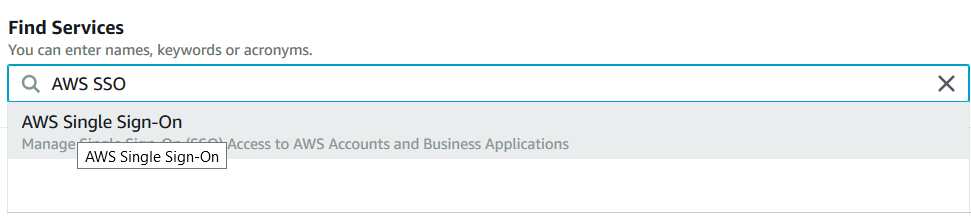
The AWS Single Sign-On Console opens.
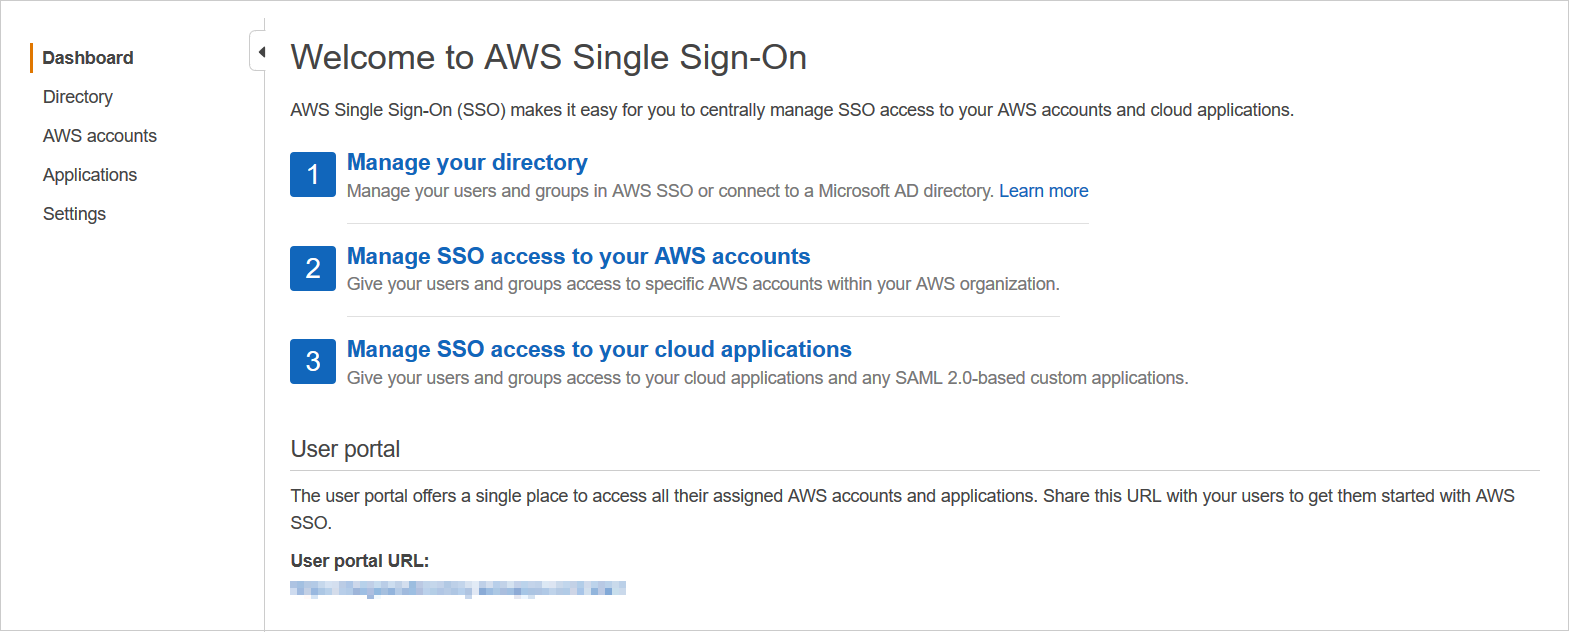
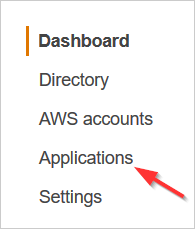
- From the Dashboard, click Applications.
The Applications screen opens.
- Click Add a new application.
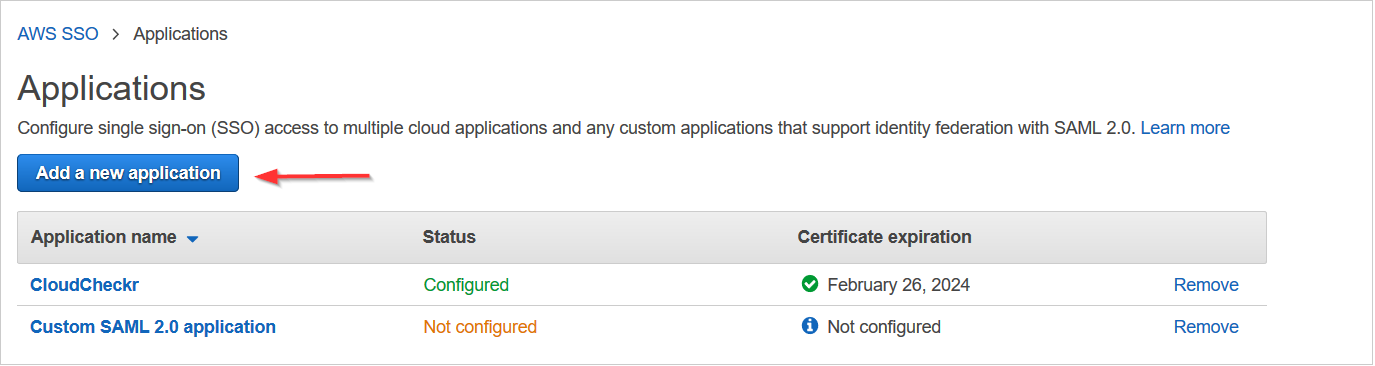
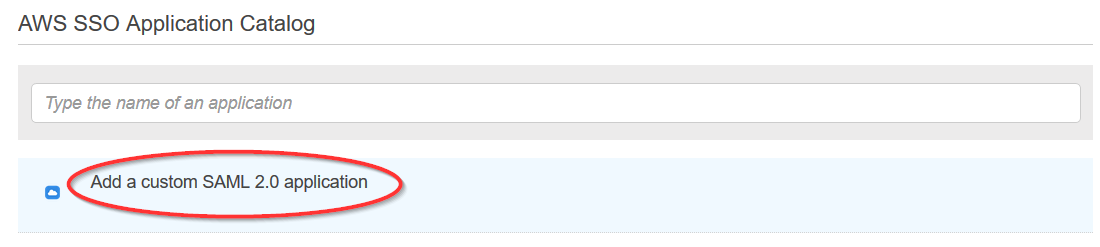
The AWS SSO Application Catalog opens.
- Click Add a custom SAML 2.0 application.
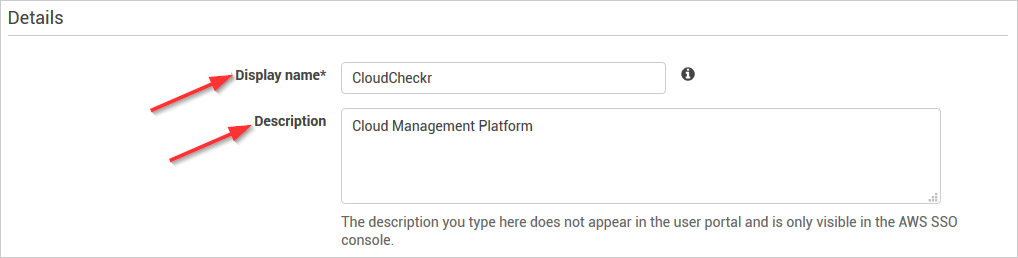
- In the Details section:
- Type CloudCheckr in the Display name field.
- Type Cloud Management Platform In the Description field.
- Scroll down to the AWS SSO metadata section.
- Click Download to download the AWS SSO SAML metadata file and send it to
Support.

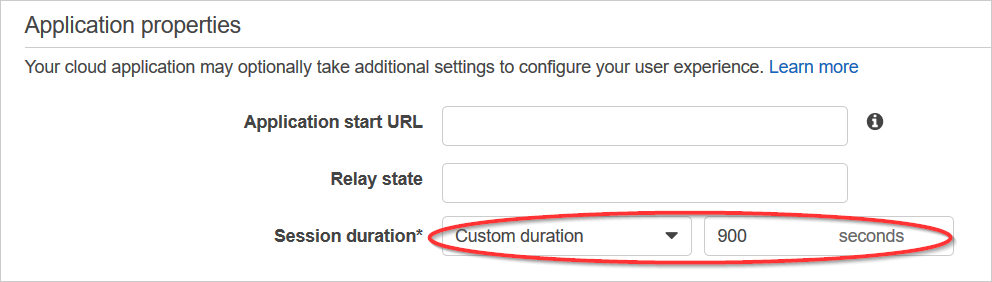
- Scroll down to Application properties.
- For Session duration, select Custom duration and select 900 seconds.
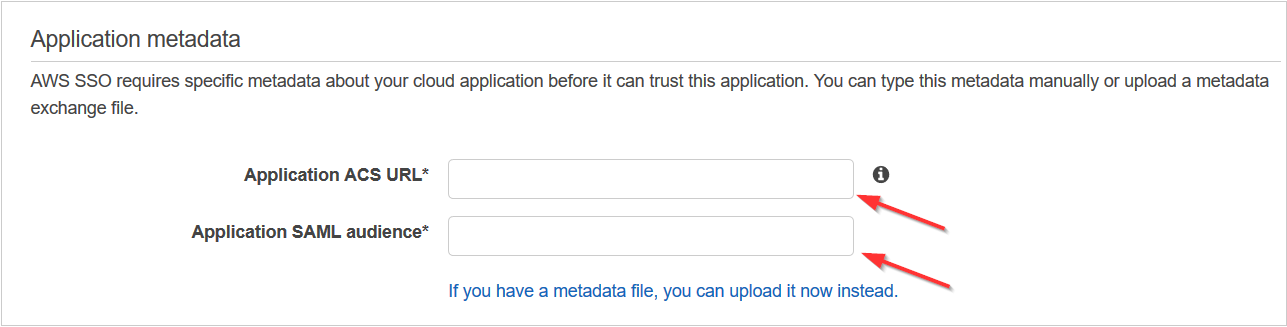
- Scroll down to Application metadata.
- Click the link, If you don't have a metadata file, you can manually type your metadata values.
- Choose the Application ACS URL and Application SAML Audience that match the AWS region you use to access CloudCheckr:
Region
Application ACS URL
Application SAML Audience
US
https://app.cloudcheckr.com/sso/acs
https://app.cloudcheckr.com
EU
https://eu.cloudcheckr.com/sso/acs
https://eu.cloudcheckr.com
AU
https://au.cloudcheckr.com/sso/acs
https://au.cloudcheckr.com
GOV
https://gov.cloudcheckr.com/sso/acs
https://gov.cloudcheckr.com
FED
https://fed.cloudcheckr.com/sso/acs
https://fed.cloudcheckr.com
- Type the values you just selected into the appropriate fields.
- Click Save Changes.
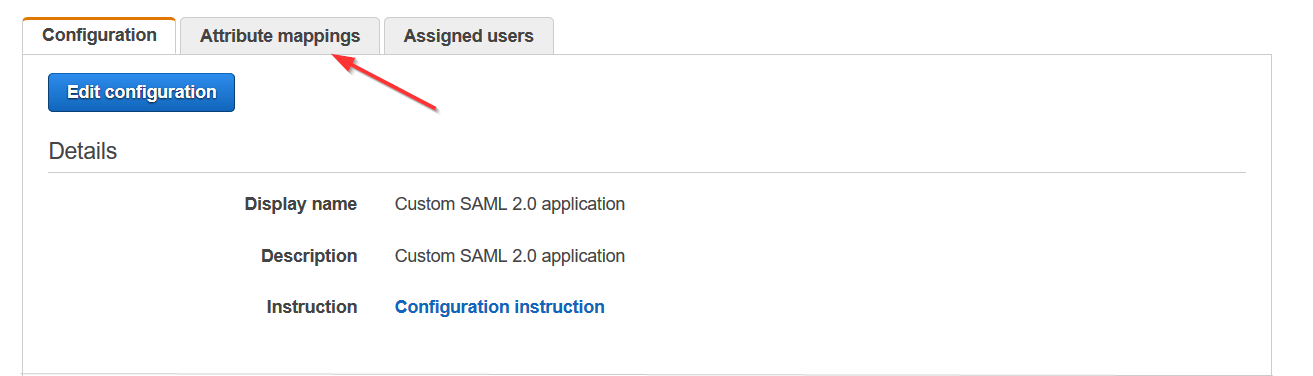
AWS displays details about your CloudCheckr application.
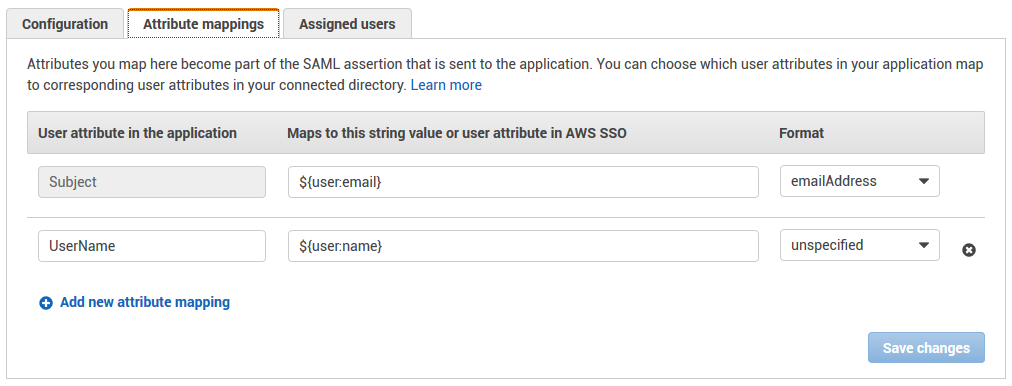
- Click Attribute Mappings.
- Perform the following actions in this tab:
- For the Subject User attribute, type $ {user:email} and leave the format as emailAddress.
- Click Add new attribute mapping.
- For the UserName attribute, type ${user:name} and leave the format as unspecified.
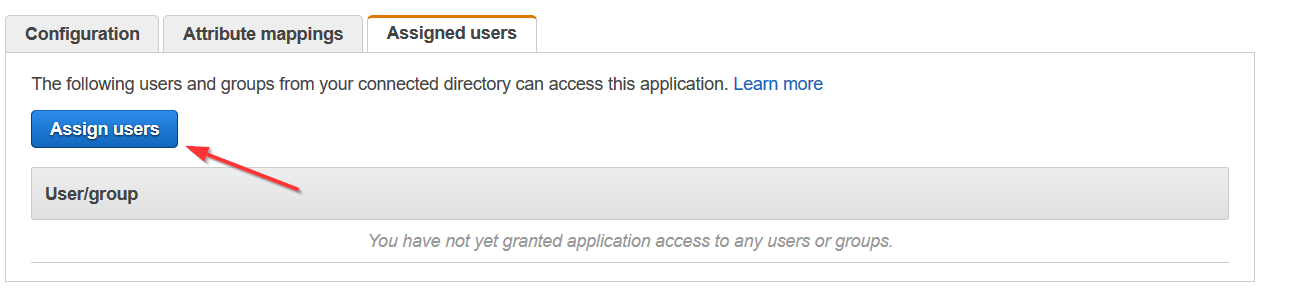
- Click Assigned users.
- Click Assign users to assign users you would like to access CloudCheckr from your directory.
- Once CloudCheckr Support has added your metadata to your account, you need to perform the following steps in CloudCheckr:
- Launch CloudCheckr.
- Select your account from the Accounts List page.
- From the header menu, click the Settings icon and select Partner / Account > Users.
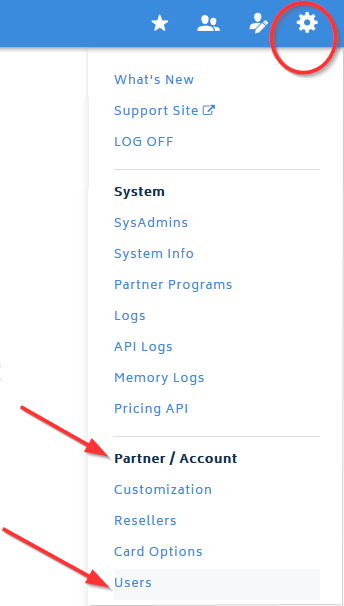
The Users page opens.
- Click the name of a user.
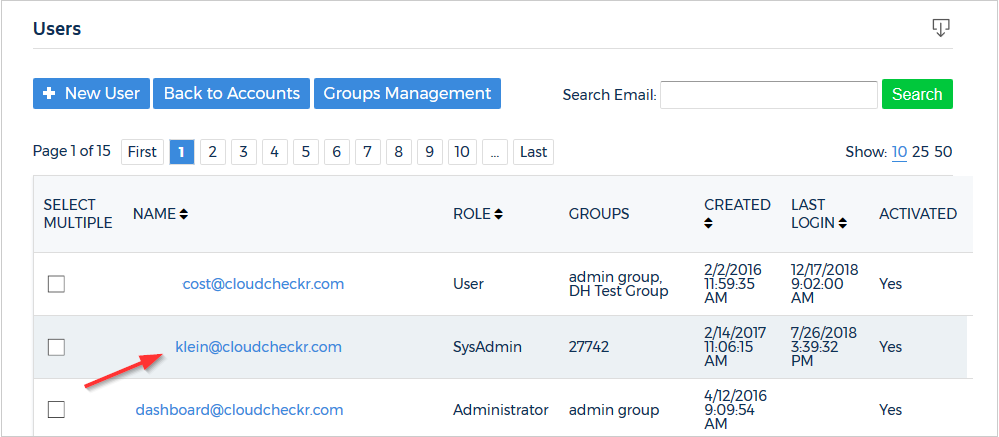
The Edit User page opens.
- CloudCheckr cannot auto-provision new users in AWS SSO.
To identify the users permitted to use AWS SSO, select the SSO checkbox and select AWSfrom the drop-down menu in the Logon section.
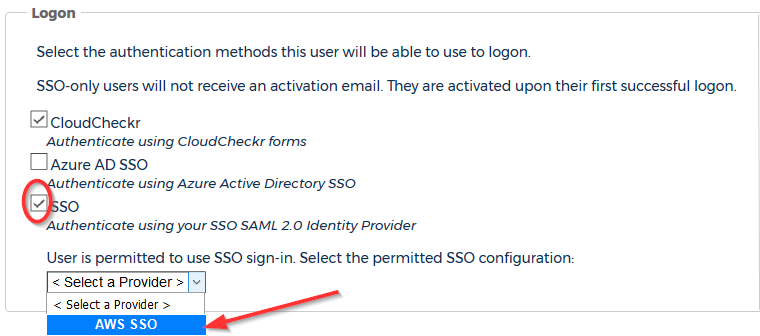
- At the bottom of the page, click Update.