Copying Saved Filters
The Advanced Filtering report is now deprecated and replaced by the Advanced Grouping report. Follow these instructions to see how to copy your saved filters from the Advanced Filtering report to the Advanced Grouping report.
Procedure
- Open an Advanced Filtering Report that contains a saved filter.
- From the left navigation pane, choose Cost > AWS Billing > Custom Reporting > Advanced Filtering. The Advanced Filtering report displays.
- From the drop-down list in the Saved Filters section, select a saved filter.
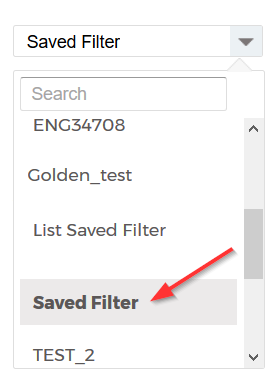
The application loads the settings for the saved filter.
- Open the Advanced Grouping report.
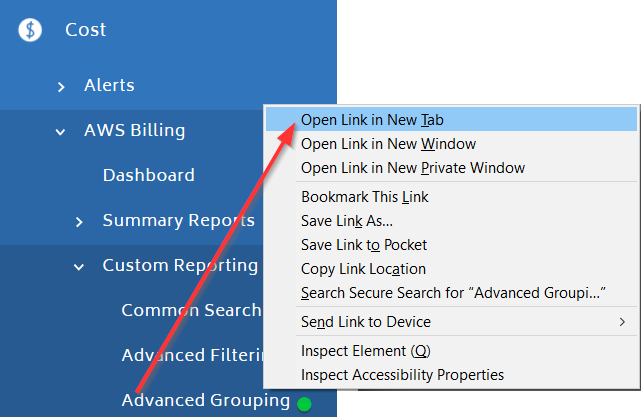
- From the left navigation pane, choose Cost > AWS Billing > Custom Reporting and right-click Advanced Grouping.
- From the fly-out menu, select Open Link in New Tab.
This action opens up a new browser window so you can work with the reports side-by-side for easier conversion.
- Manually copy the saved settings from the Advanced Filtering report to the new Advanced Grouping report.
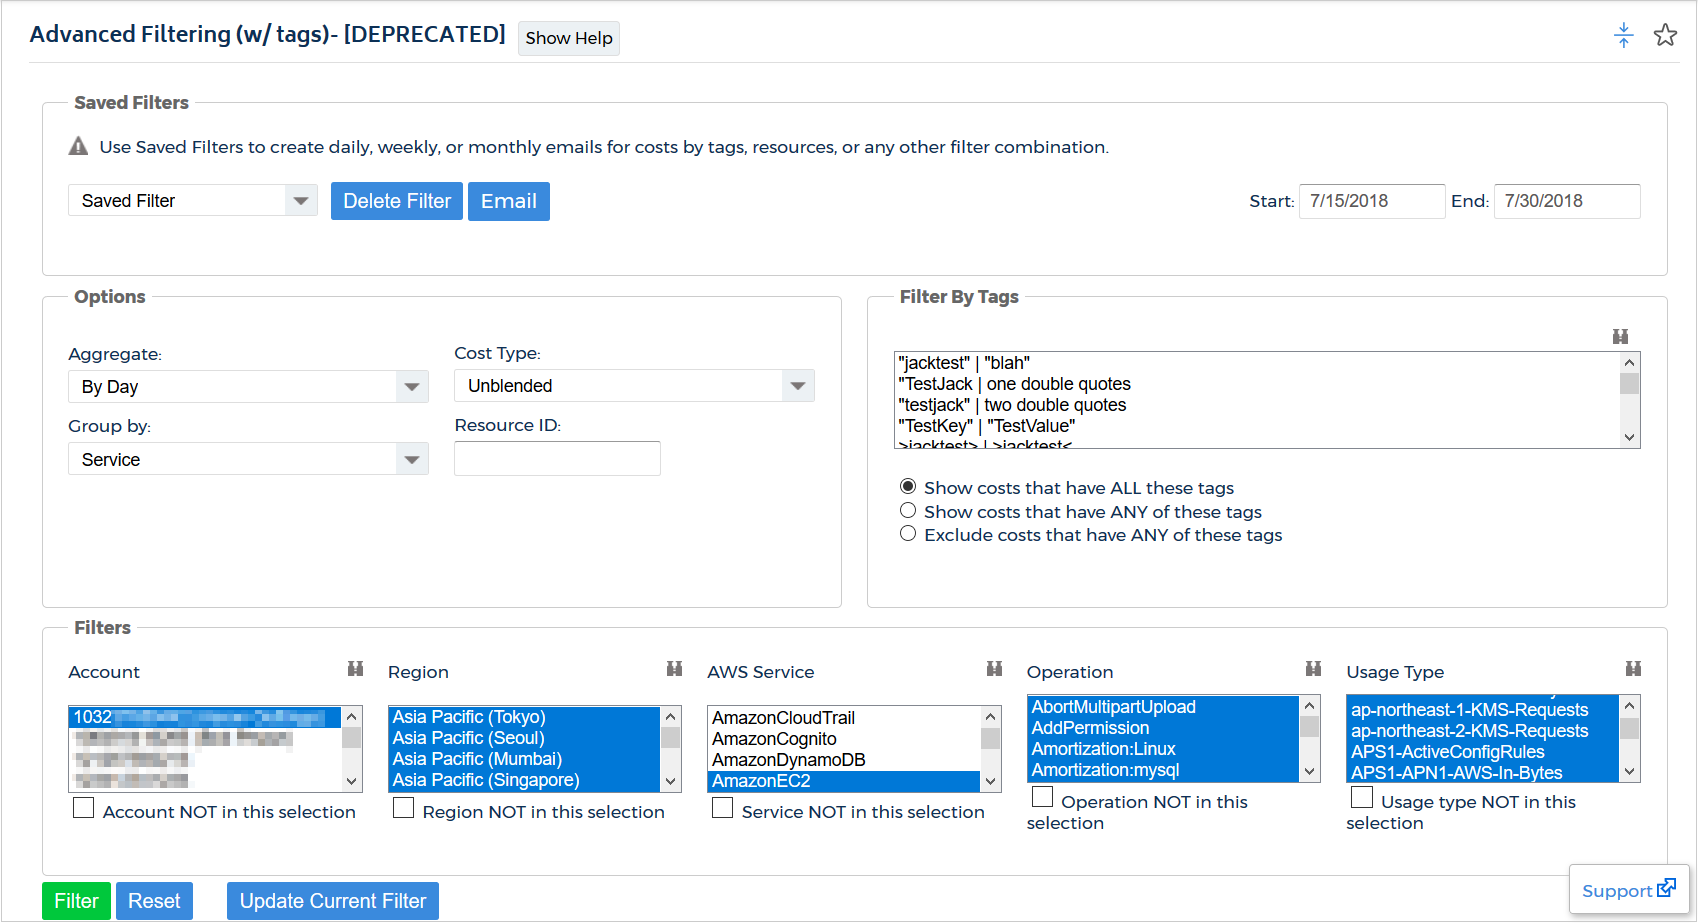
In this example, the saved filter in the Advanced Filtering report contains the following settings:
Setting
Value
Group By
Service
Cost Type
Unblended
Filter by Tags
Show costs that ALL these tags
Account
1032********
AWS Service
EC2 and S3
Region/Operation/Usage Type
all values
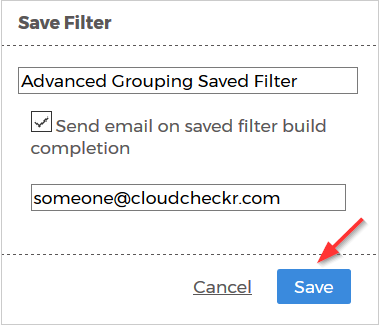
- After you have verified that the settings in the reports match, click Save Filter at the bottom of the Advanced Grouping report.
- Provide a name for the saved filter.
If applicable, provide the email address of the user who will receive an email when the saved filter build is complete and select the check box.
- Click Save.
- If you have any email preferences in your Advanced Filtering report, you must copy those settings too.
- From the Saved Filters section in the Advanced Filtering report, click Email.
The Email Report dialog box opens.
- In the Saved Filters section of the Advanced Grouping report, click Manage Emails.
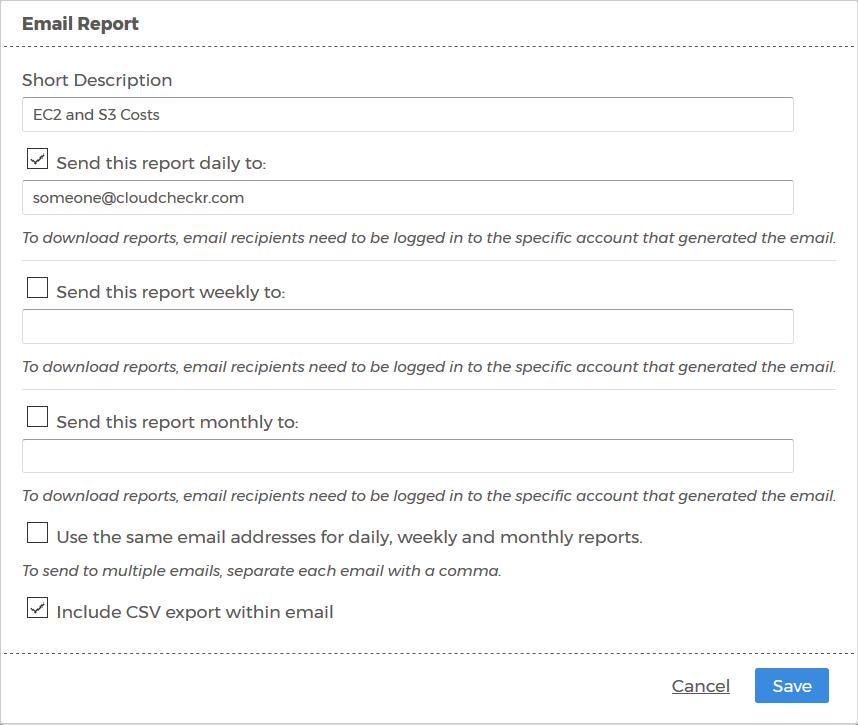
The Email Report dialog box opens. It contains the same settings as the dialog box in the Advanced Filtering report. - Manually copy the email settings from the Advanced Filtering report to the new Advanced Grouping report.
In this example, the dialog box includes the following preferences:
Setting
Value
Short Description
EC2 and S3 Costs
Send this report daily to
selected
Email recipient
someone@cloudcheckr.com
Include CSV export with email
selected
- Click Update Filter to ensure your email preferences are saved along with your new Advanced Gouping filter.