As a CloudCheckr CMx customer, you can modify account details for any accounts listed in the Accounts tab on the Account Hierarchy page.
However, what you can modify depends on the cloud provider associated with your selected account. And for Azure accounts, the sub-type will also play a role in what you can modify in your account.
This topic defines what we mean by sub-type and shows you how to modify an Azure account with or without a sub-type.
What Is a Sub-Type?
The sub-type identifies the Azure account type, which is based on the Azure program that you are a part of—Enterprise Agreement (EA) for example—or the task you want to perform—such as viewing billing data for a single subscription.
The option you select on the Configuration page determines your sub-type.
Click Sub-Types to see how your configuration selection maps to the sub-types:
If you select:
Your sub-type is:
Collect billing data from my Partner Center/CSP Account
AzureCloudSolutionProvider
Collect billing data from my MCA
AzureMicrosoftCustomerAgreement
Collect resource information from my Azure Subscription
AzureSubscription
Collect resource information from my Legacy Enterprise Agreement
AzureEnterpriseAgreement
Collect information from my Azure Active Directory
AzureActiveDirectory
View billing data for a single subscription
MapToPayer
Procedures
Click a button to learn how to modify an Azure account with or without a sub-type:
If you are already in List view of the Accounts tab, skip to Step 4.
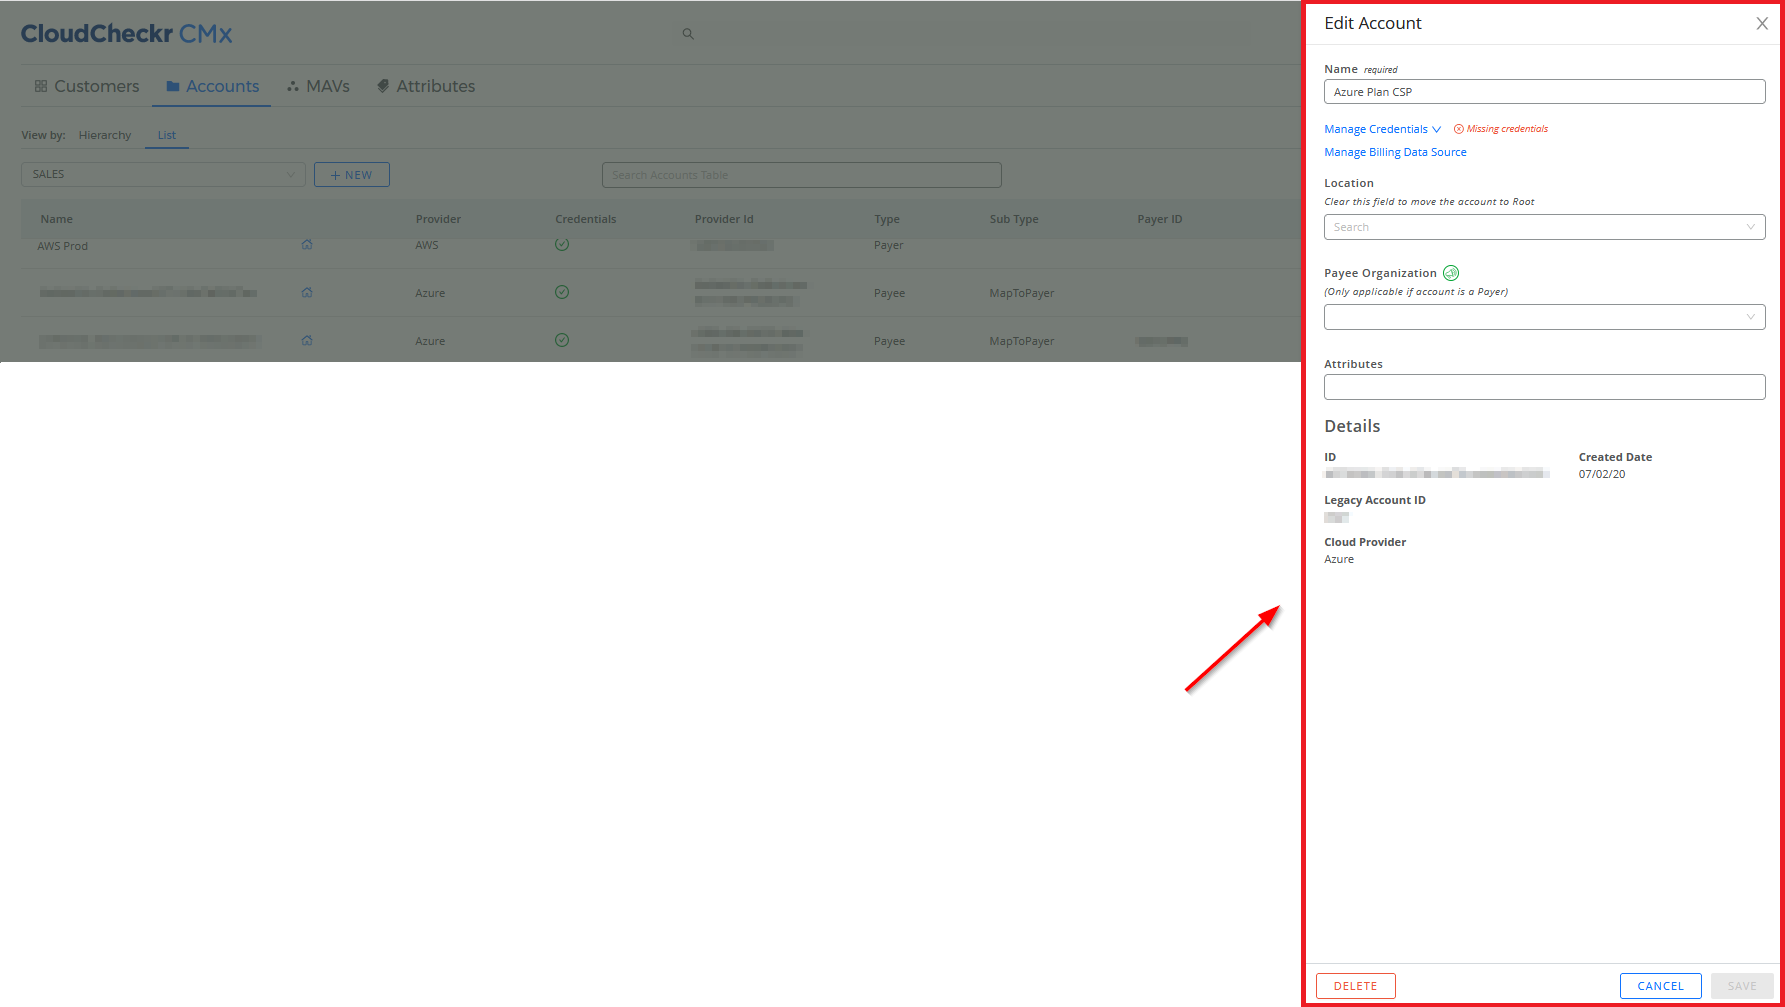
Launch CloudCheckr CMx.
Type Account Hierarchy in the Search bar to access the Account Hierarchy page:
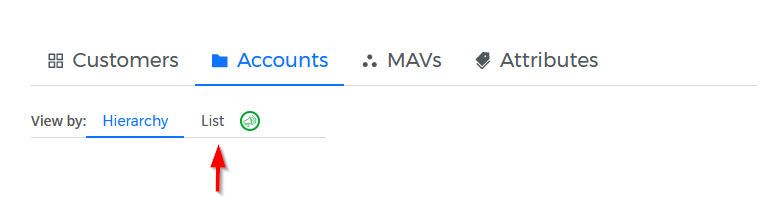
In the View by section, click List.
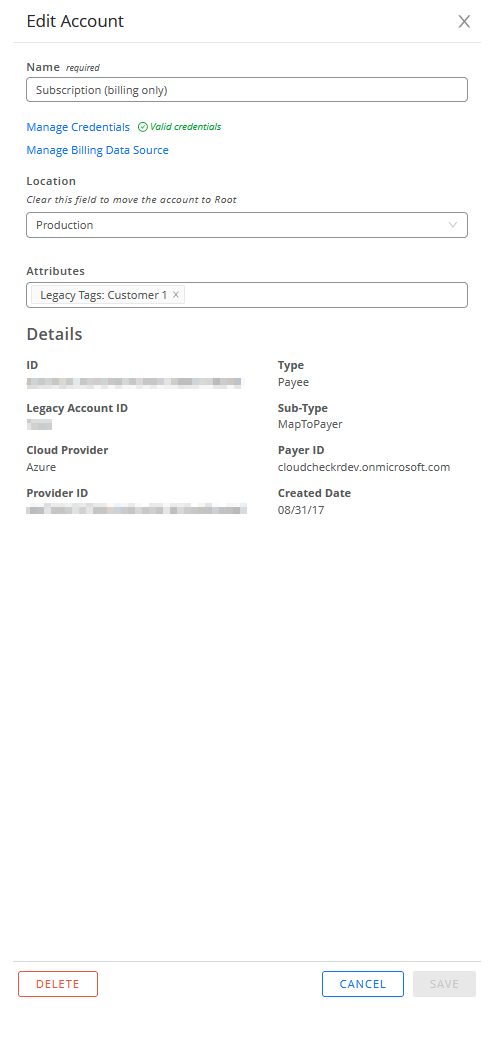
Click in the row of a selected Azure account that has a sub-type. The Edit Account sub-drawer opens.
Here is a close-up of the Edit Account sub-drawer:
Perform any or all the following actions on your Azure account:
change the name of the account
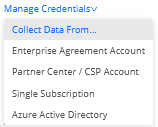
click the Manage Credentials link to update your account credentials. The state of your credentials is indicated by one of the following icons:
Icon
What It Means
Your credentials are valid
Your credentials are not configured
Your credentials are not invalid
click the Manage Billing Data Source link to change your billing setup
select a folder from the Location drop-down menu to move your account to another location
change how you want to organize your Payee accounts (only available in Payer accounts)
add or delete attributes associated with your account
view details such as the CloudCheckr and Azure account IDs
delete an account
Click SAVE.
If you are already in List view of the Accounts tab, skip to Step 4.
Launch CloudCheckr CMx.
Type Account Hierarchy in the Search bar to access the Account Hierarchy page:
In the View by section, click List.
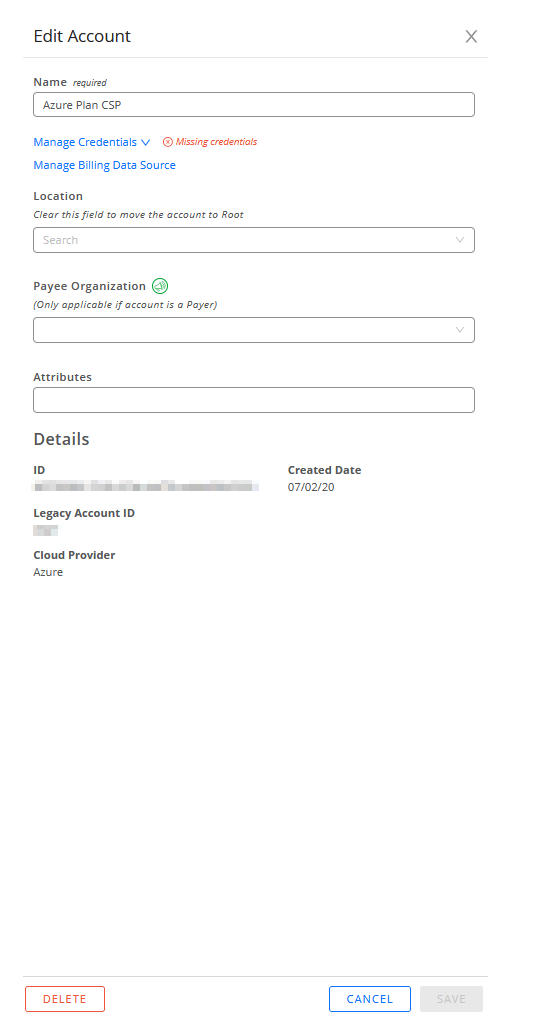
Click in the row of a selected Azure account that does not have sub-type. The Edit Account sub-drawer opens.
Here is a close-up of the Edit Account sub-drawer:
Perform any or all the following actions on your Azure account:
change the name of the account
click Manage Credentials to select an account type:
CloudCheckr CMx will return you to the Configure Account page where you can credential your account.
click the Manage Billing Data Source link to change your billing setup
select a folder from the Location drop-down menu to move your account to another location or folder
change how you want to organize your Payee accounts (only available in Payer accounts)
add or delete attributes associated with your account
view details such as the CloudCheckr and Azure account IDs

 in the row of a selected Azure account that has a sub-type. The Edit Account sub-drawer opens.